Adding dates
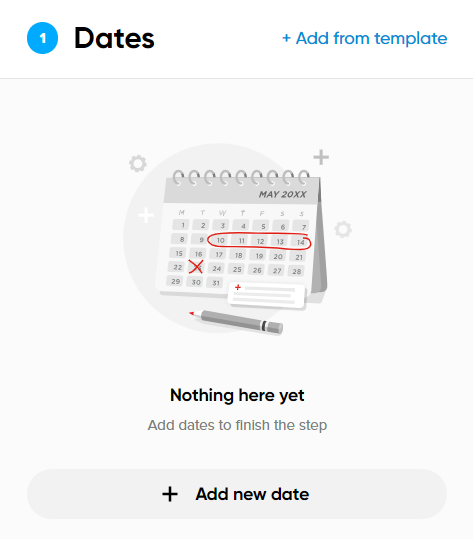
To add the date range, click Add new date or Add from template if you previously saved one.
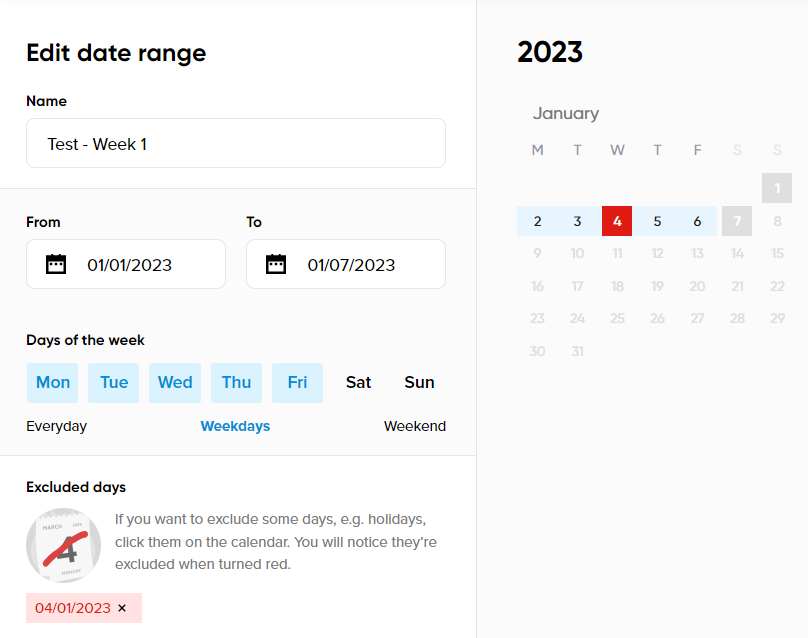
Follow these steps to add a date range:
1. Provide a name.

2. Select the start date and the end date.
Maximum number of date ranges
- Route Analysis: 24
- Area Analysis: 1
Maximum date range: up to 1 year
Minimum date range: 1 day
Keep in mind, that it would be best not to include the last two days as a date range because it takes some time to collect all the most recent probe data in Traffic Stats data sources, so there might be a smaller sample size for those days.
3. Select the day(s) of the week you would like to be included.
4. Exclude specific date(s) if needed. This is done by clicking the excluded date(s) on the calendar to the right.
5. Click Add to report.
Once added to your report, it is possible to Edit, Save as a template or Delete the date range.
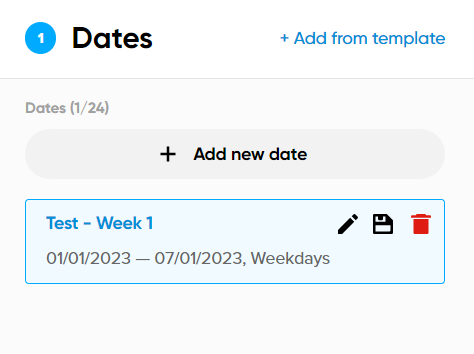
After adding the date range to the report, you are able to add the other 23 date ranges.
When all the required date ranges are added, click "Next" to move to the next step.