Map styles
A map style defines the look and feel of a map. It is written in JSON format and specifies how to:
- Style symbols, lines, polygons, background, hill shading, heatmap points, raster tiles, circles, and extruded polygons.
- Specify which of these elements should be drawn.
- Set the drawing order of these elements.
You can find the structure of the map style in the MapLibre Style Specification documentation.
Different applications may require different styles, so map visualisation can be aligned with brand identity or specific use cases. For example, a tourist app might show POIs like museums and restaurants, while a truck navigation app could include road shields. The Map Display module comes with two pre-defined styles, and it also supports loading custom styles.
Style variants
Styles can have variants—different versions of the look and feel for specific contexts, such as day and night. The Map Display module allows you to assign style variants to different style modes, which are defined by StyleMode. Style mode can be specified by using the MapStyleState which is part of the MapViewState object. The map can be initialized with either:
The mode can also be swapped at runtime. When StyleMode.DARK is set but the style does not have a dark variant, the main style variant is used.
mapViewState.styleState.styleMode = StyleMode.DARK
Loading predefined styles
The Map Display module provides predefined styles that can be used in the application. These styles are available in the StandardStyles object:
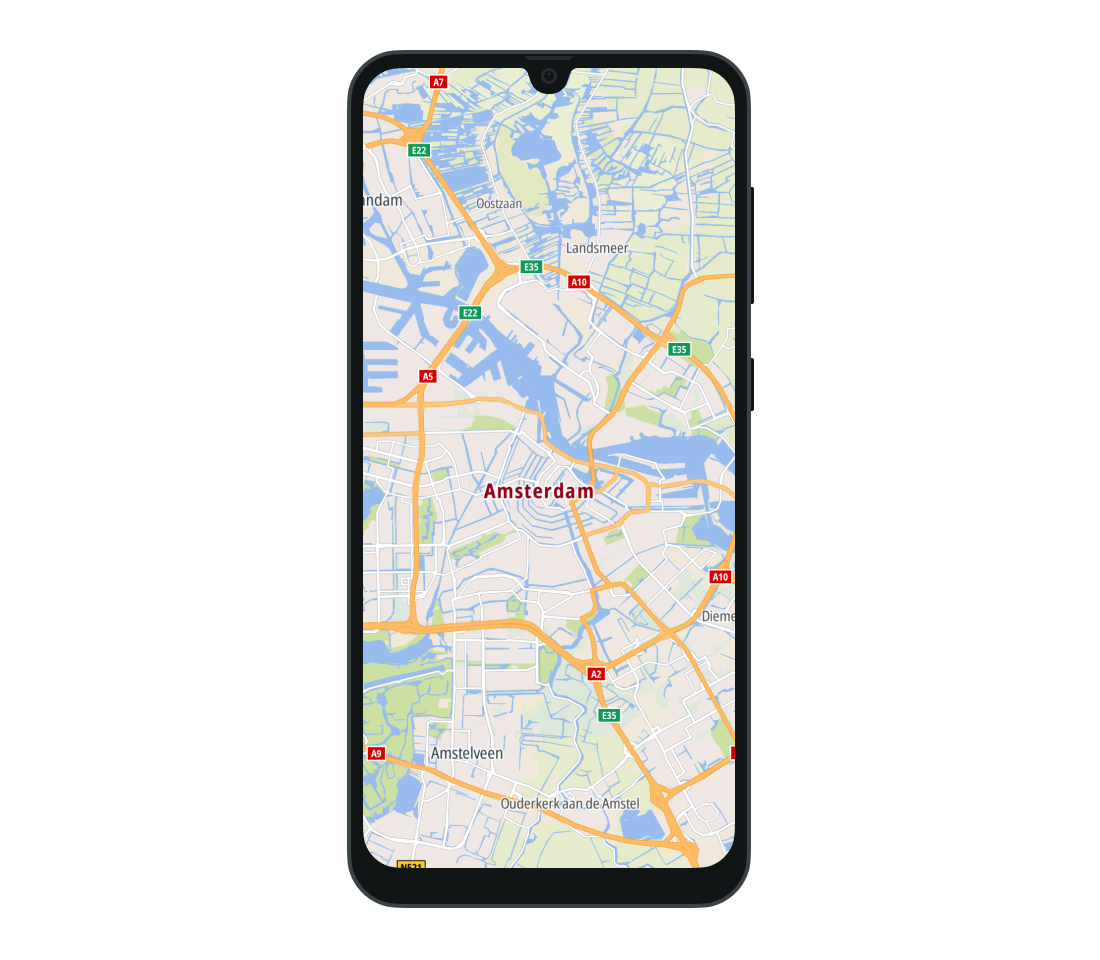
BROWSING- A style made for browsing the map. This is the default style used by the Map Display module.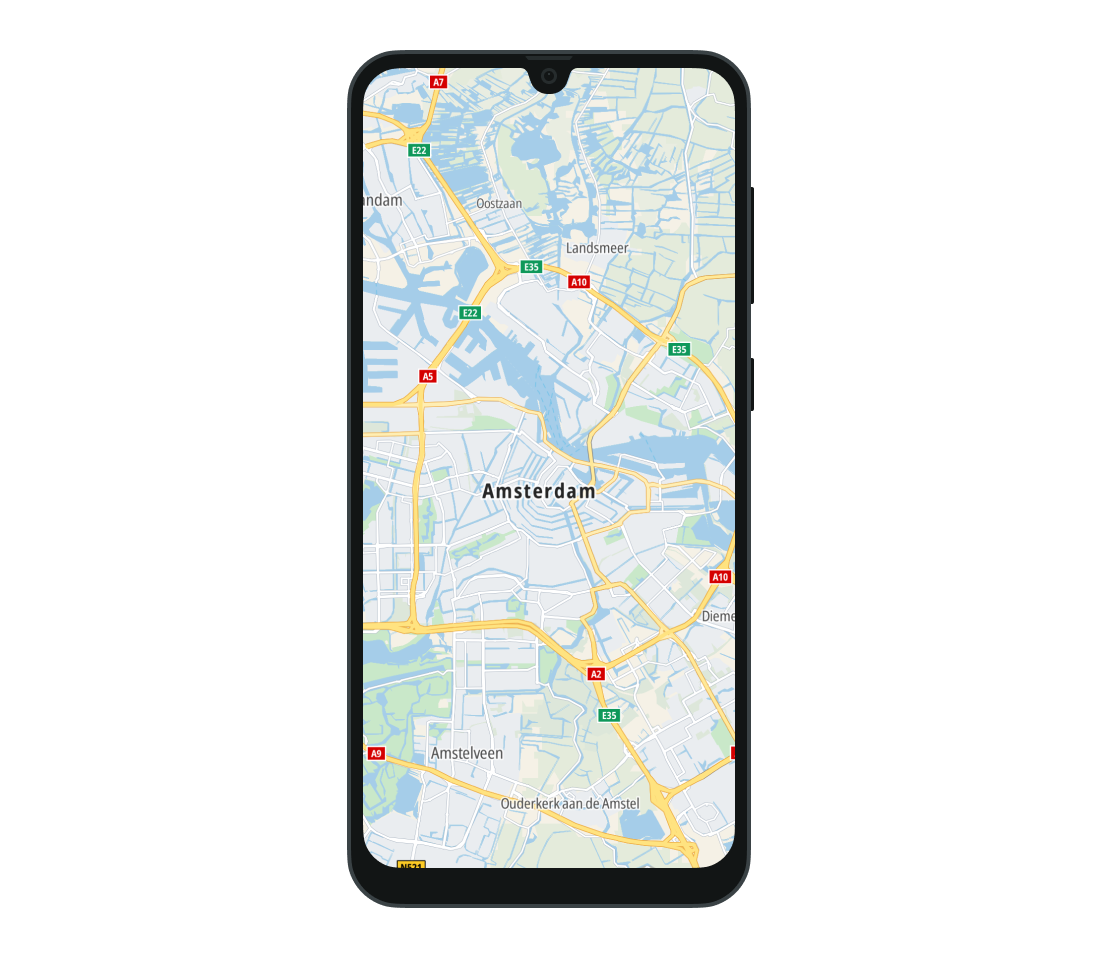
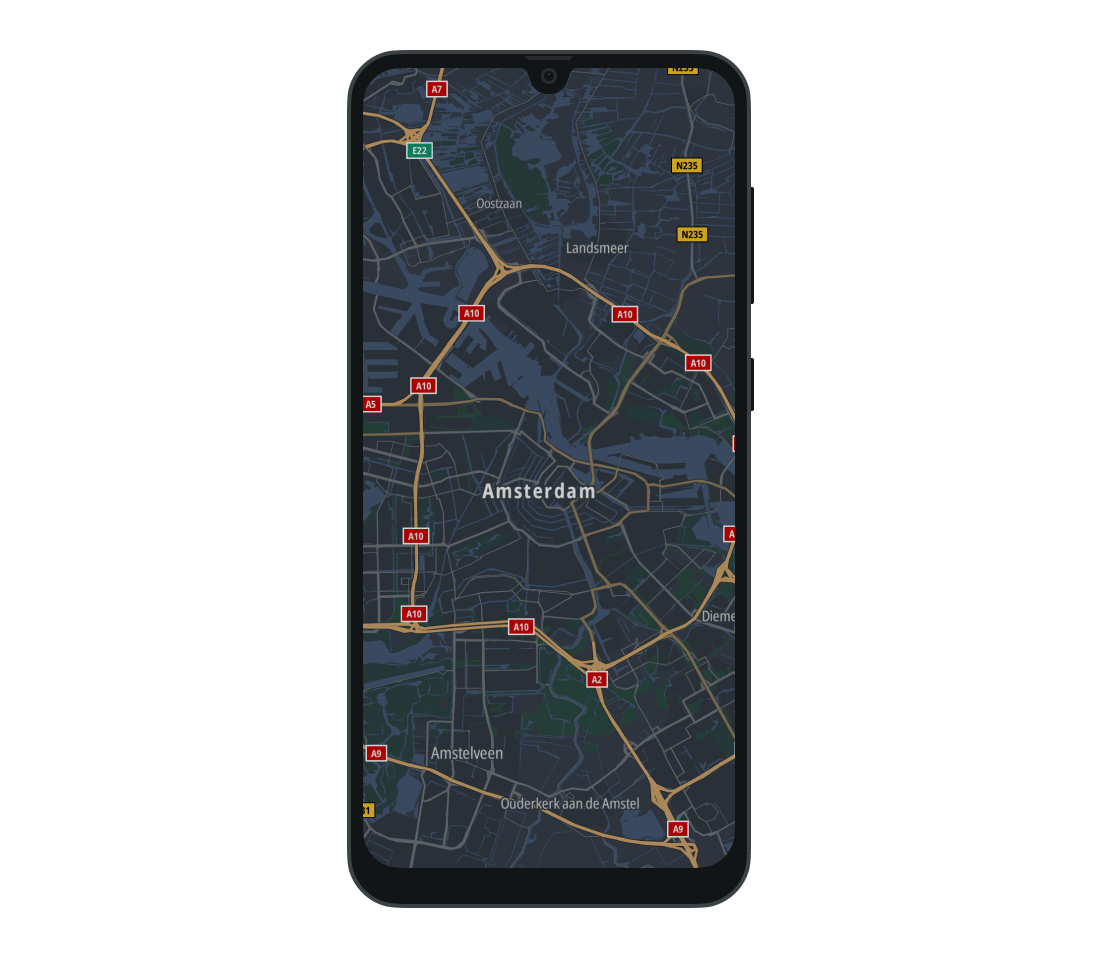
DRIVING- A style intended for navigation. This style renders routes in gray and shows traffic flow and road shields.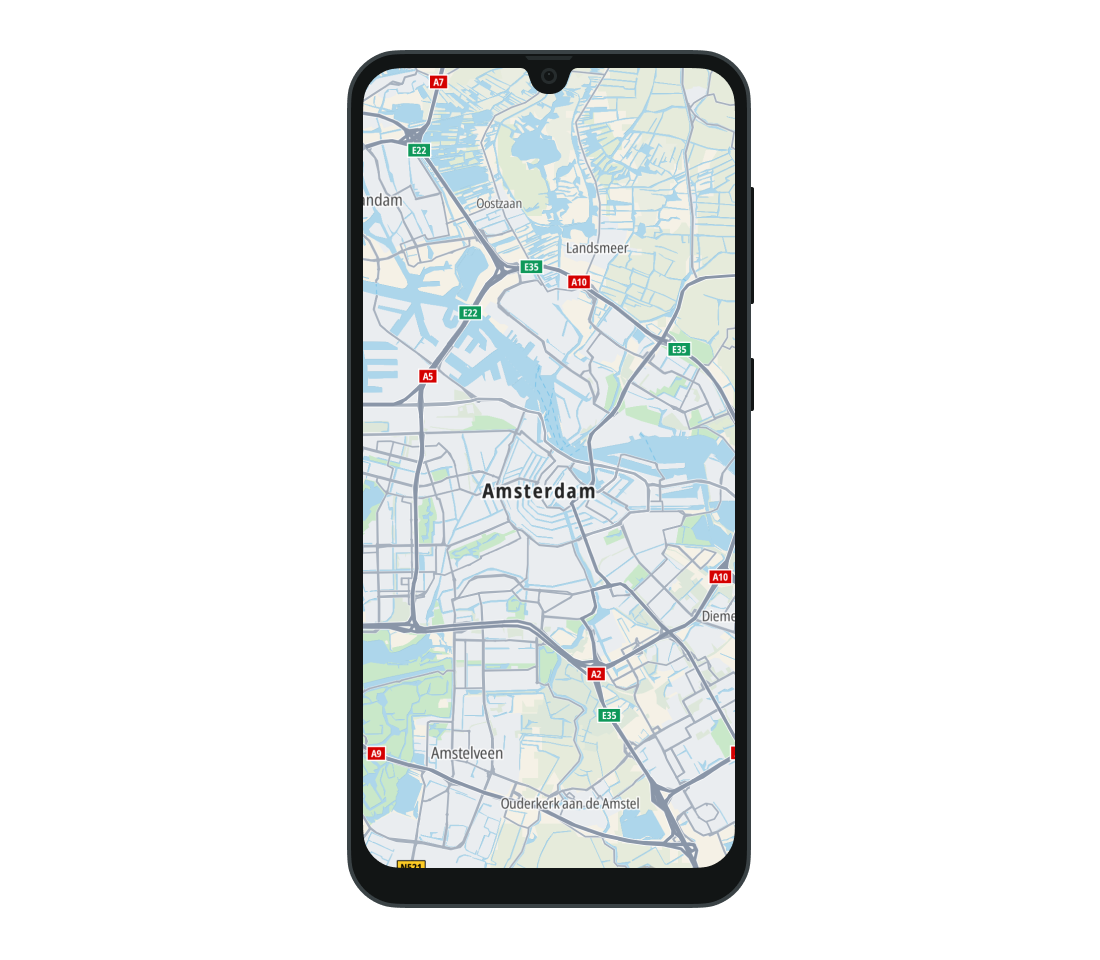
SATELLITE- A style that uses satellite imagery to draw the map.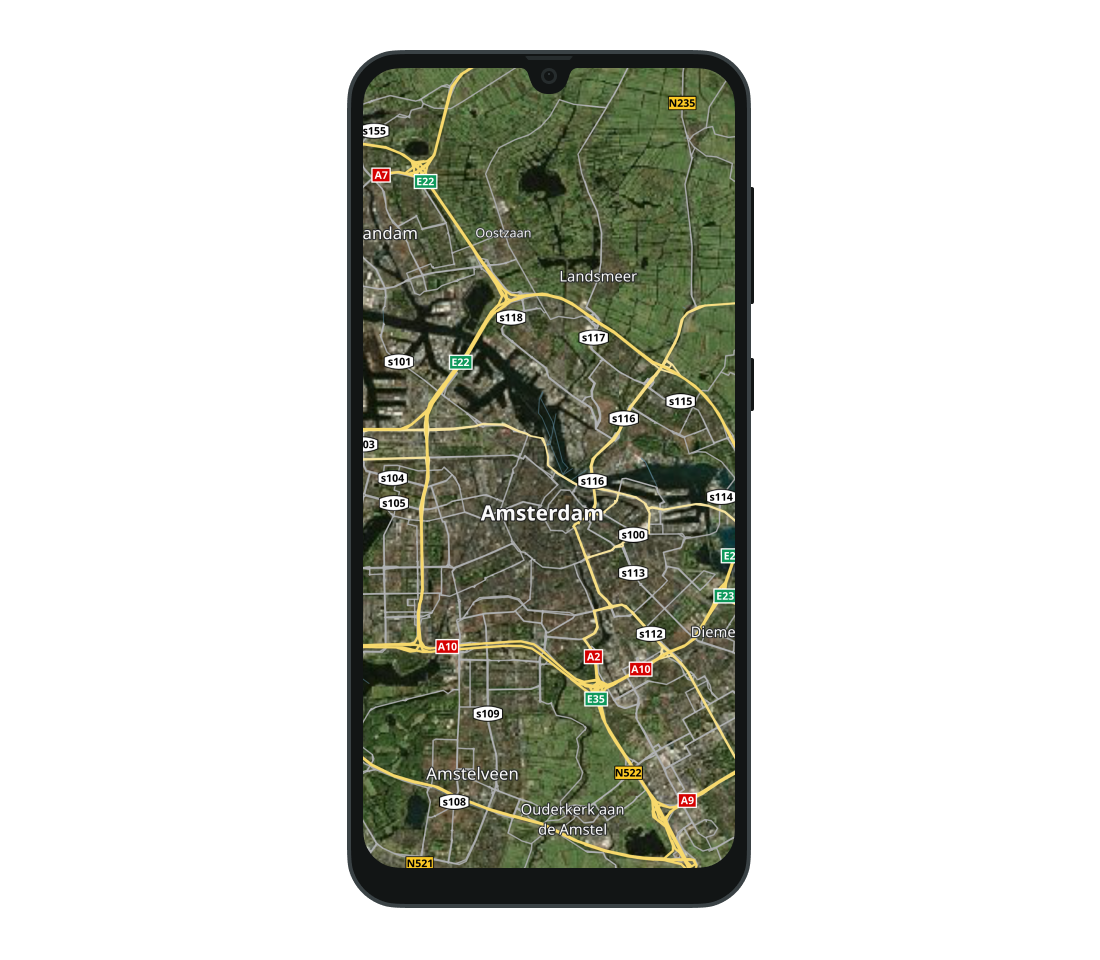
Customizing a style
You can also create your own custom map style to suit the specific needs and branding of your application. This lets you tailor the visual elements of the map to align with your brand identity or enhance user experience based on the context in which the map will be used.
Use the TomTom Map Maker to create application-specific styles. It offers an intuitive interface for real-time previews, customizable style URL integration, and one-click deployment.
Style URIs
Use the StyleDescriptor class to provide the URIs of custom styles. You can create different styles to use for main and dark modes by setting StyleDescriptor.uri and StyleDescriptor.darkUri. The URI for main mode is required.
1val styleDescriptor =2 StyleDescriptor(3 uri = Uri.parse("asset://custom_style.json"),4 darkUri = Uri.parse("asset://dark_custom_style.json"),5 )
Supported URIs:
- asset:// - Specifies a file located in the asset directory. To retrieve the URI for an asset, use the
Urisobject.val styleUri = Uris.forAssetFile(assetFile = "custom_style.json") - http:// or https:// - Specifies a file located on a web server.
- file:// - Specifies a file located on the file system.
Loading a style
The style can be loaded when the map is initialized by specifying the initialStyle property of the InitialCameraOptions object.
1val mapViewState = rememberMapViewState(2 initialCameraOptions = InitialCameraOptions.LocationBased(3 position = AMSTERDAM,4 ),5 initialStyle = styleDescriptor,6)
You can also change the style of the map at runtime by calling the loadStyle suspend function.
1val styleDescriptor =2 StyleDescriptor(3 uri = Uri.parse("asset://custom_style.json"),4 darkUri = Uri.parse("asset://dark_custom_style.json"),5 )6mapViewState.styleState.loadStyle(styleDescriptor)
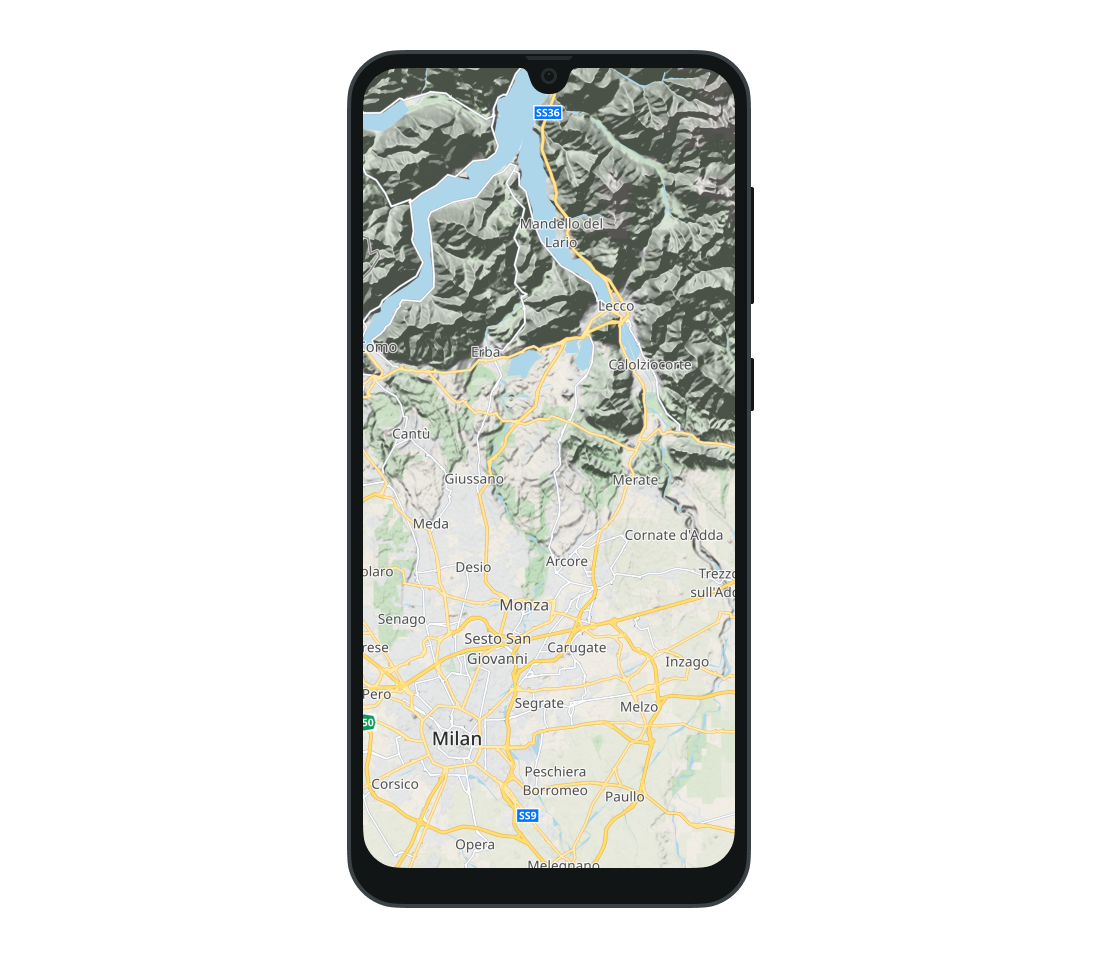
Adding hill shading
The TomTom Map Display SDK allows you to add style layers—such as hill shading and traffic—to the map style.
To show or hide hill shading, call the appropriate methods on the MapViewState object. For more information, see the Map setup guide.
To show hill shading:
mapViewState.styleState.showHillShading = true
To hide hill shading:
mapViewState.styleState.showHillShading = false
Next steps
Since you have learned how to style a map, here are recommendations for the next steps: