Projects
Projects simplify collaboration in Map Maker by grouping styles, assets, and API keys under one shared space. Instead of each style belonging to a single user account, they live in a project where colleagues can work together with easily managed permissions.
In this guide, you will learn:
- What a project is.
- How projects improve collaboration and asset management.
- How user roles and permissions affect access.
- How projects help with products and entitlements.
- Where to manage projects.
Improved collaboration with projects
A project is a shared workspace for your API keys, map styles and other related resources. Any style you create (or move) into a project becomes available to the members of that project. The same applies to API keys in the project - keys are shared among all project members.
For individual accounts, styles were assigned to a single user. This made collaboration harder, especially when someone left the team or when multiple people needed to iterate on the same style. With projects, all project members share ownership, making it easier to administer.
Key benefits
- Shared styles: styles are no longer user-scoped. Project members can open, modify, and publish the same styles without handover friction.
- Shared API keys: project members can use the same API keys rather than creating personal duplicates. It is easier to control keys usage.
- Permission control: permission system let you distinguish who can view, edit, manage members, or administer API keys.
- Easier entitlement management: assigning additional TomTom products or entitlements is streamlined at the project level instead of per individual.
- Continuity: work persists even if an original creator becomes inactive; the project retains ownership.
Managing a project
All project administration, like inviting or removing members, assigning roles, requesting access, or managing API keys is performed from the MyTomTom.
Project permissions
Projects support permissions-based access so you can balance collaboration with control.
If you use a personal account, you already have the correct permissions assigned by default.
To be able to edit styles in Map Maker, you need to be assigned Map Maker: View / Edit / Publish permission.
To assign Map Maker: View / Edit / Publish permission:
- Make sure you have correct permissions to manage project members. You need to be assigned Project settings: View / Edit permission.
- Open the MyTomTom page and log in.
- Select the project you want to assign permissions to from the Projects list and open Project settings.
- Click the Access management tab.
- Find the user you want to assign permissions to in the list of project members and click the Edit icon. If the user is not a member of the project yet, you can invite them by clicking the Add user button.
- Find Map Maker section and select View / Edit / Publish permission from the drop-down menu.
If you want to use API Keys from the project in Map Maker, note that you need to be assigned at least the API & SDK Keys: View permission.
Using projects in Map Maker
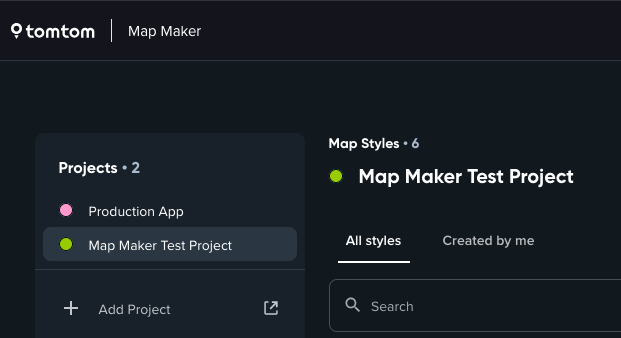
When you are assigned to a project, after opening the Style List page in Map Maker, you will see the Project list on the left sidebar. This list contains all the projects you are a member of. To switch between the projects, just click on the project name.
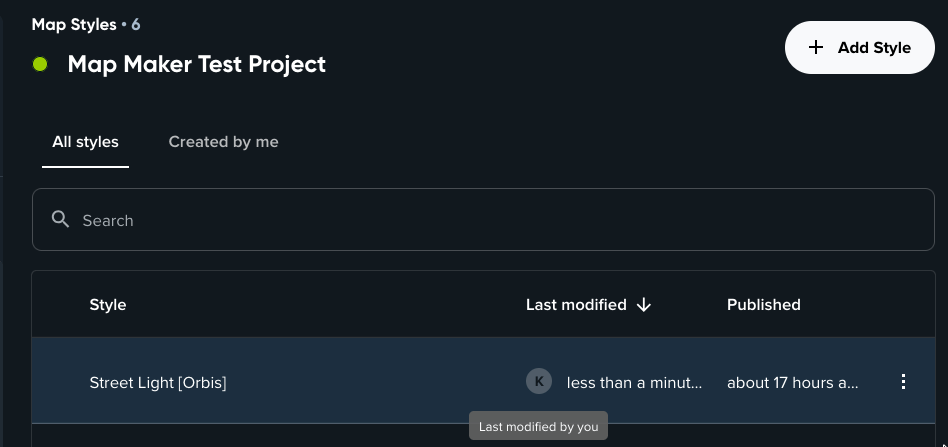
To help you navigate between styles, you can use All styles and Created by me tabs above the style list. This will filter the styles based on the style creator. Hovering over avatar in the Last modified column of the style list will show you information about the user, who last modified the style.
Limitations
Even though projects enhance collaboration and improve API management, there are some limitations to be aware of. Map Maker does not support collaborative editing of a single style. If multiple users edit the same style, changes can be lost due to synchronization conflicts.
To avoid situations where multiple users edit the same style, Map Maker will show you an indicator if the style was edited in the last 5 minutes by another user. If you see this indicator, it is recommended to coordinate with your team members to avoid overwriting each others changes.

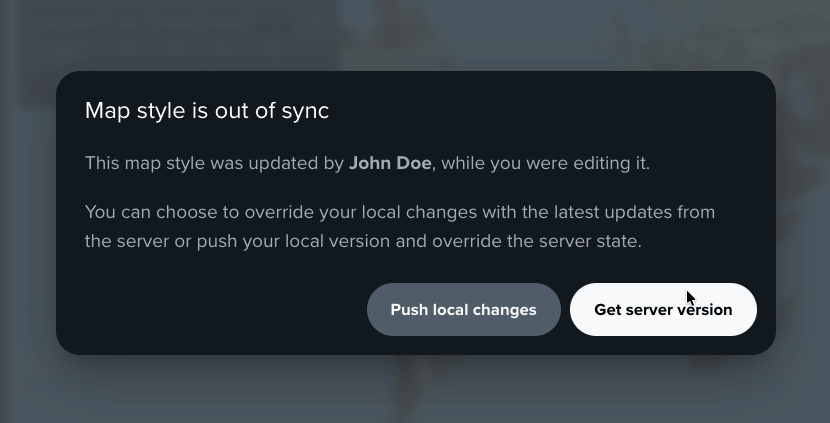
When you still end up in the situation, when the same style is edited by multiple users, when trying to save your changes, Map Maker will inform you about the conflict. From there you can choose to either override the changes made by others or discard your changes and reload the latest version of the style.