Custom map banner
The Maps for Android SDK provides support for custom marker balloons. However, you are limited to only display one balloon at any given time. Therefore displaying multiple views on the map is not possible when using markers. To display multiple views on the map and tie them to a certain position on the map you need to fulfill some basic steps.
In this example we will be adding a new custom view after every Long Click event and tie it to
the Long Click location.
The first step is to define how our custom view will look. In this example we are going to use the following XML layout:
1<androidx.constraintlayout.widget.ConstraintLayout xmlns:android="http://schemas.android.com/apk/res/android"2 xmlns:app="http://schemas.android.com/apk/res-auto"3 xmlns:tools="http://schemas.android.com/tools"4 android:layout_width="wrap_content"5 android:layout_height="wrap_content"6 android:background="@color/transparent">78 <androidx.constraintlayout.widget.ConstraintLayout9 android:layout_width="wrap_content"10 android:layout_height="wrap_content"11 android:layout_marginTop="@dimen/custom_banner_internal_layout_margin"12 android:layout_marginEnd="@dimen/custom_banner_internal_layout_margin"13 android:layout_marginRight="@dimen/custom_banner_internal_layout_margin"14 android:background="@drawable/center_balloon_bg"15 app:layout_constraintEnd_toEndOf="parent"16 app:layout_constraintStart_toStartOf="parent"17 app:layout_constraintTop_toTopOf="parent">1819 <ImageView20 android:id="@+id/banner_icon"21 android:layout_width="@dimen/custom_banner_icon_size"22 android:layout_height="@dimen/custom_banner_icon_size"23 android:layout_marginStart="@dimen/custom_banner_icon_margin"24 android:layout_marginLeft="@dimen/custom_banner_icon_margin"25 android:src="@drawable/ic_markedlocation"26 app:layout_constraintBottom_toBottomOf="@+id/banner_title"27 app:layout_constraintStart_toStartOf="parent"28 app:layout_constraintTop_toTopOf="@+id/banner_title" />2930 <TextView31 android:id="@+id/banner_title"32 android:layout_width="wrap_content"33 android:layout_height="wrap_content"34 android:layout_gravity="center"35 android:layout_margin="@dimen/custom_banner_title_margin"36 android:textColor="@android:color/black"37 app:layout_constraintBottom_toBottomOf="parent"38 app:layout_constraintEnd_toEndOf="parent"39 app:layout_constraintStart_toEndOf="@+id/banner_icon"40 app:layout_constraintTop_toTopOf="parent"41 tools:text="Your position is" />42 </androidx.constraintlayout.widget.ConstraintLayout>4344 <ImageButton45 android:id="@+id/banner_remove_button"46 android:layout_width="@dimen/custom_banner_remove_icon_size"47 android:layout_height="@dimen/custom_banner_remove_icon_size"48 android:background="@drawable/round_button_background"49 android:src="@drawable/ic_remove"50 app:layout_constraintEnd_toEndOf="parent"51 app:layout_constraintTop_toTopOf="parent" />52</androidx.constraintlayout.widget.ConstraintLayout>
Now since our layout is properly defined we can define
our TomTomMapCallback.OnMapLongClickListener
1private val onMapLongClickListener = TomtomMapCallback.OnMapLongClickListener { latLng ->2 processLongClickEvent(latLng)3}
And register it using the following method in onResume() of your Fragment/Activity:
tomtomMap.addOnMapLongClickListener(onMapLongClickListener)
Whenever a Long Click occurs, its position is translated to screen pixels and the custom view
creation starts:
val screenPosition = tomtomMap.pixelForLatLng(latLng)createAndAddViewToLayout(latLng, screenPosition)
The custom view creation consists of three steps: layout inflation, setup of the initial position,
and adding to the ViewGroup which in this case is the Fragment root layout:
1private fun createAndAddViewToLayout(position: LatLng, rawScreenPosition: PointF) {2 val view = inflateCustomView(position)3 view.viewTreeObserver.addOnGlobalLayoutListener(object : ViewTreeObserver.OnGlobalLayoutListener {4 override fun onGlobalLayout() {5 view.viewTreeObserver.removeOnGlobalLayoutListener(this)6 setViewPosition(view, rawScreenPosition)7 lockViewToPosition(position)8 }9 })10 container.addView(view)11}
When layout inflation occurs, the main thing to remember is that you either should add tags to the
view or to the store view ID, so whenever the camera move occurs we will be able to easily update
the view position. In this example we are using passed position as a tag. Additionally we hook up
the OnClickListener to the ImageButton from the layout that will remove this view from
the ViewGroup.
1private fun inflateCustomView(position: LatLng): View {2 val annotationBalloon =3 LayoutInflater.from(requireContext()).inflate(R.layout.custom_banner_view, container, false)4 annotationBalloon.tag = position56 val textView = annotationBalloon.findViewById<TextView>(R.id.banner_title)7 textView.text = getString(R.string.custom_banner_title, position.latitude, position.longitude)89 val removeButton = annotationBalloon.findViewById<ImageButton>(R.id.banner_remove_button)10 removeButton.setOnClickListener { removeView(annotationBalloon) }1112 return annotationBalloon13}
After inflation is done, we need to add onGlobalLayoutListener to get a callback when the view
size is determined. Now we can calculate the initial position of the view using the previously
obtained screen pixels and adding the proper offset.
Then we do a view translation to the new position:
1private fun setViewPosition(view: View, rawScreenPosition: PointF) {2 view.x = rawScreenPosition.x - (view.width / 2)3 view.y = rawScreenPosition.y - view.height4}
After the screen position is set, we tie the view using its tag to the position of the Long Click
for future screen position updates. In this example we store positions which are used as tags inside
of ViewModel in a List:
viewModel.mapBannerPositions.add(position)
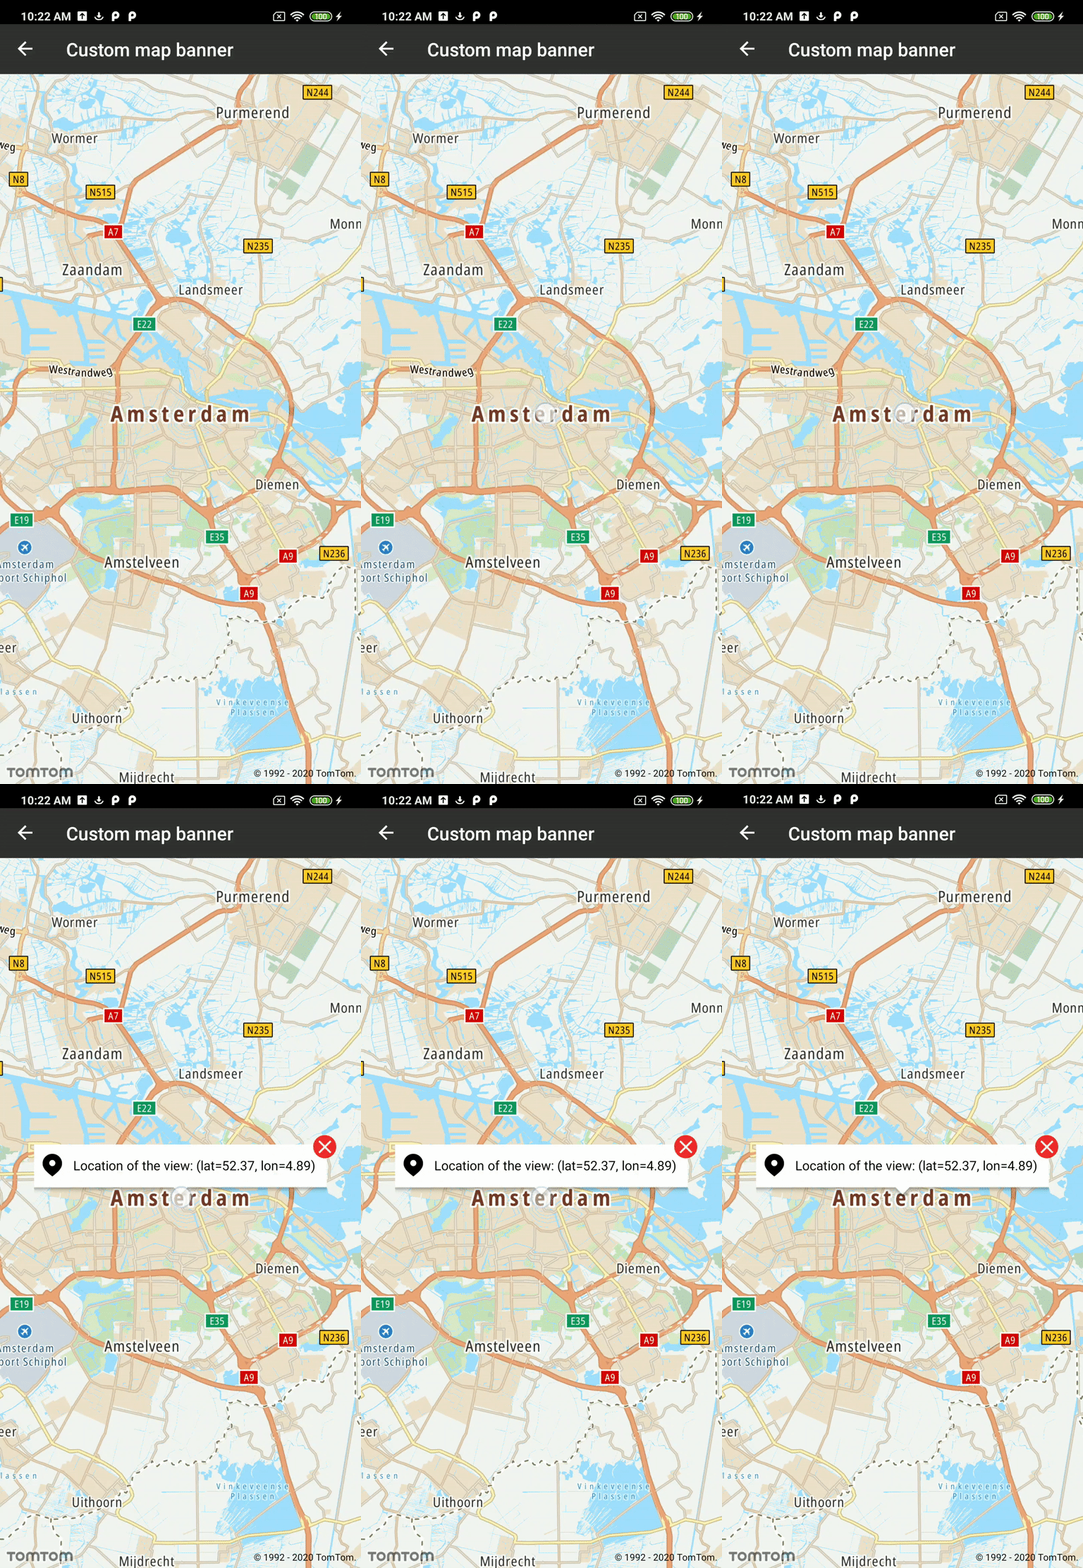
At this point every Long Click will add a view like this:

Unfortunately, right now the custom view is not updating its position on the screen when the camera is moving. To achieve that effect we need to register for camera changed events or rendering events.
In this example we are going to use
the TomTomMapCallback.OnMapChangedListener#onDidFinishRenderingFrame() listener for a smoother
transition effect. If you are going to have multiple views we recommend using
the TomTomMapCallback.OnCameraChangedListener instead. Both callbacks are called multiple times
per second. Therefore you should not run any heavy operations inside callbacks.
Register the listener in onResume of your Fragment/Activity:
tomtomMap.addOnMapChangedListener(onRenderFrameListener)
When the onDidFinishRenderingFrame() method is called, you need to recalculate and apply the new
view position on the screen using:
1viewModel.mapBannerPositions.forEach { latLng ->2 val screenPosition = tomtomMap.pixelForLatLng(latLng)3 setViewPosition(container.findViewWithTag(latLng), screenPosition)4}
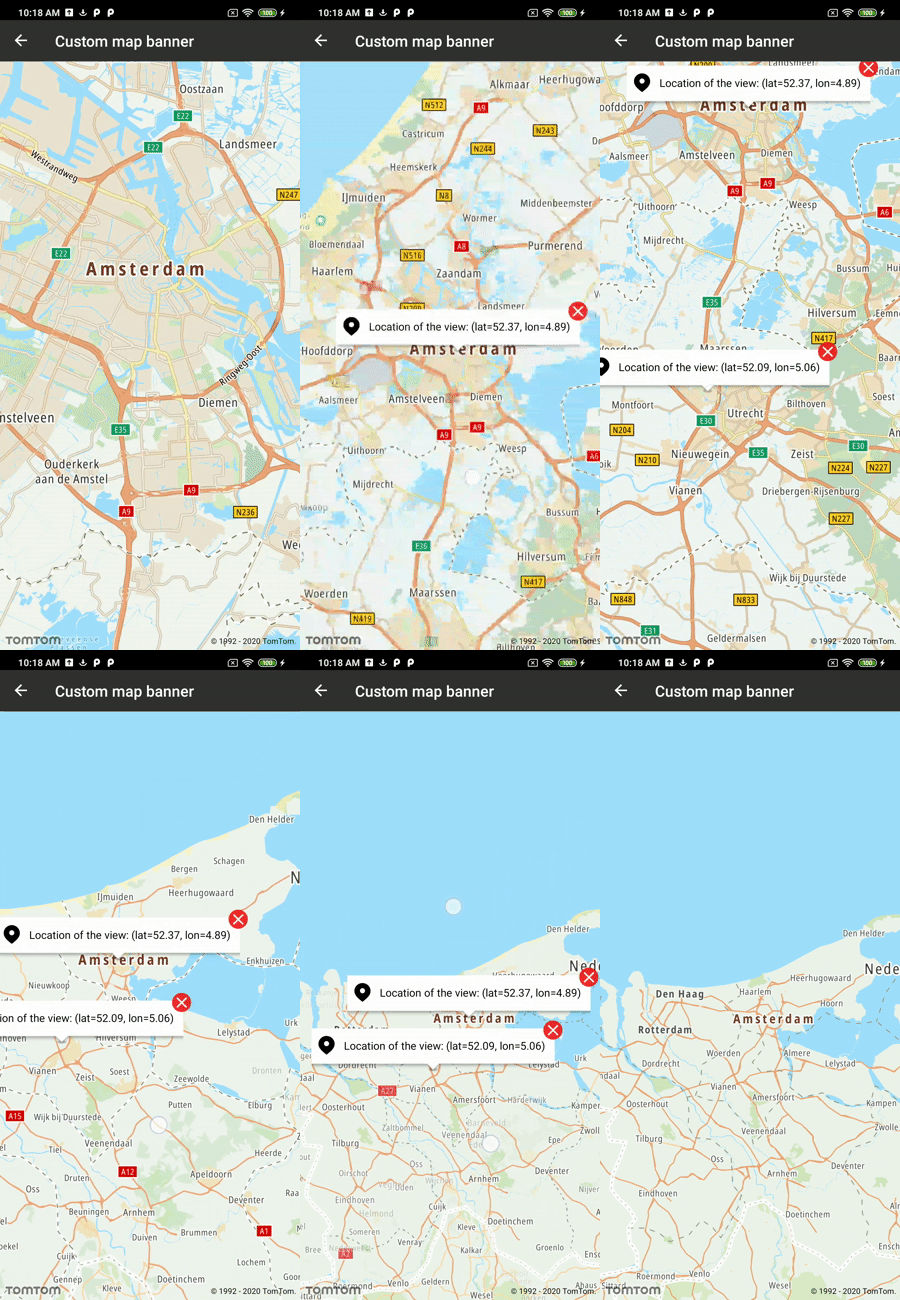
At this point, the view should react on a map movement:

Unregister both listeners on your Fragment/Activity onPause() method:
tomtomMap.removeOnMapChangedListener(onRenderFrameListener)tomtomMap.removeOnMapLongClickListener(onMapLongClickListener)
To handle screen orientation changes, use data stored inside of ViewModel and recreate the views
before you register camera changed events or rendering an events listener.