Migrate from Google
Overview
This tutorial covers some fundamental use cases to help you switch your iOS app from Google’s SDK to TomTom’s SDK as quickly and efficiently as possible. It starts with the basic environment setup, then goes directly into the code.
Project setup
-
Configure the project as described in the project setup guide.
-
import the necessary frameworks using the following instructions, based on your preferred package manager. This tutorial uses the
TomTomSDKMapDisplayandTomTomSDKRoutePlannerOnlinemodules.Swift Package Manager
- Open your App’s target and navigate to General > Frameworks, Libraries, and Embedded Content.
- Add the following TomTomSDK libraries from the provided code snippet. Once the project is set up, import the mentioned frameworks into your code.
1import TomTomSDKCommon2import TomTomSDKMapDisplay3import TomTomSDKRoute4import TomTomSDKRoutePlanner5import TomTomSDKRoutePlannerOnline6import TomTomSDKRoutingCommonCocoaPods
- Add the following modules to your project’s
Podfile:1TOMTOM_SDK_VERSION = '0.71.1'23target 'YourAppTarget' do4 use_frameworks!5 pod 'TomTomSDKMapDisplay', TOMTOM_SDK_VERSION6 pod 'TomTomSDKRoutePlannerOnline', TOMTOM_SDK_VERSION7end - Install the dependencies by executing the following commands in the project directory:
pod repo update tomtom-sdk-cocoapodspod install --repo-update
- Import the following frameworks:
1import TomTomSDKCommon2import TomTomSDKMapDisplay3import TomTomSDKRoute4import TomTomSDKRoutePlanner5import TomTomSDKRoutePlannerOnline6import TomTomSDKRoutingCommon
-
Create a class with the TomTom API keys. These will be used later in the application.
1private enum Keys {2 static let tomtomApiKey = "YOUR_TOMTOM_API_KEY"3}
Displaying a map
To display the map using the Google Maps SDK for iOS, you need to perform these steps:
- Set the Google API before performing any request.
GMSServices.provideAPIKey("GOOGLE_API_KEY")
- Initialize the
GMSMapViewwith the chosen specification.1let options = GMSMapViewOptions()2options.frame = view.frame3mapView = GMSMapView(options: options) - Add the initialized
GMSMapViewto the parent view.view.addSubview(mapView)
TomTom SDK
To display the map using the TomTom SDK for iOS:
- Set the valid TomTom API key.
MapsDisplayService.apiKey = Keys.tomtomApiKey
- Initialize the
MapView. It is used to display a map in the view hierarchy.let mapView = MapView(frame: view.frame) - Add the initialized
MapViewto the parent view.view.addSubview(mapView) - Most actions on the map are performed using the
TomTomMapobject. It can be accessed only when the map is fully initialized. You can learn more about it in the Adding a map guide.1mapView.onMapReadyCallback = { map in2 self.map = map3}
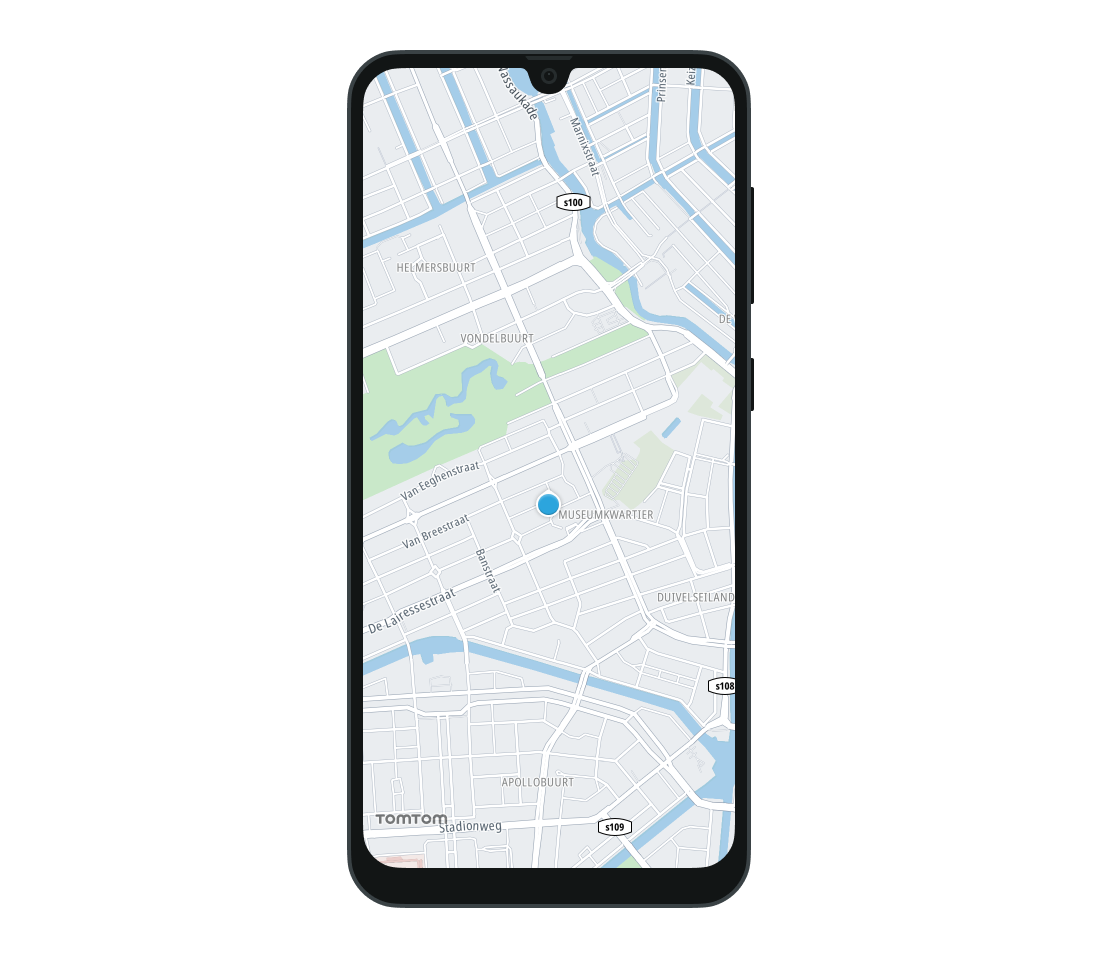
Displaying a marker
The next step is to allow your user to interact with the map. For instance, displaying a marker at the location where the user does a long click.
- In the Google SDK you need to set
GMSMapViewDelegateto theGMSMapView.delegateproperty to observe gesture events on the map.mapView.delegate = self - In our case, the long press action is observed and the following method is triggered.
1func mapView(_: GMSMapView, didLongPressAt coordinate: CLLocationCoordinate2D) {2 displayMarker(at: coordinate)3}
- To display a marker at the chosen coordinates create the
GMSMarkerobject. It defines the marker configuration. To add the marker to the map, assign theGMSMapViewto the marker’s property.1private func displayMarker(at coordinate: CLLocationCoordinate2D) {2 let marker = GMSMarker(position: coordinate)3 marker.map = mapView4}
TomTom SDK
- To observe gesture events performed on the map, set the
MapDelegateto theTomTomMapobject.map.delegate = self - In this example the long click action is observed. To do it you need to override the following method of the
MapDelegate. You can learn more by reading Events and gestures.1func map(_ map: TomTomMap, onInteraction interaction: MapInteraction) {2 switch interaction {3 case let .longPressed(coordinate):4 displayMarker(at: coordinate)5 default:6 break7 }8} - To display a marker at the chosen coordinates you must create
MarkerOptions. It is used to configure the appearance of the marker. Then add theMarkerOptionsobject to theTomTomMap. If this operation fails, the exception is thrown. Learn more about working with markers in the Markers guide.1private func displayMarker(at coordinate: CLLocationCoordinate2D) {2 let markerOptions = MarkerOptions(coordinate: coordinate, pinImage: UIImage(named: "marker_pin_image")!)3 _ = try? map.addMarker(options: markerOptions)4}
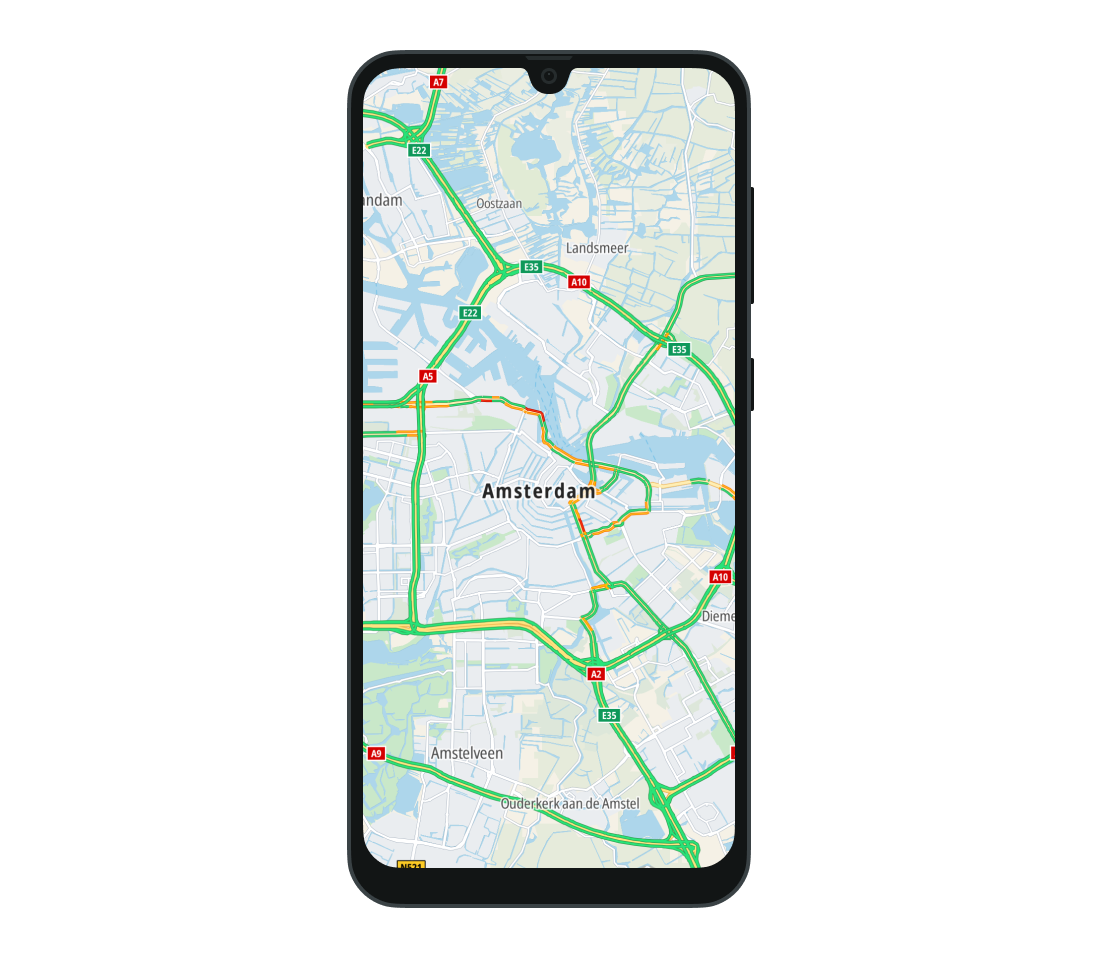
Displaying traffic
Google has only one method for traffic visualization. That method can only display traffic flow tiles. To show the traffic layer:
mapView.isTrafficEnabled = true
To hide the traffic layer:
mapView.isTrafficEnabled = false
TomTom SDK
The TomTom SDK provides two kinds of traffic information, traffic flow and traffic incidents.
- Traffic flow shows the difference between current and free-flow speed. Green indicates that the speeds are the same, meaning there are no traffic jams. Red indicates that traffic is slower than free-flow, meaning that there are traffic jams.
map.showTraffic()map.hideTraffic()
- Traffic incidents shows specific traffic problems such as closed roads, rain, ice on the road, or accidents.
map.showTrafficIncidents()map.hideTrafficIncidents()
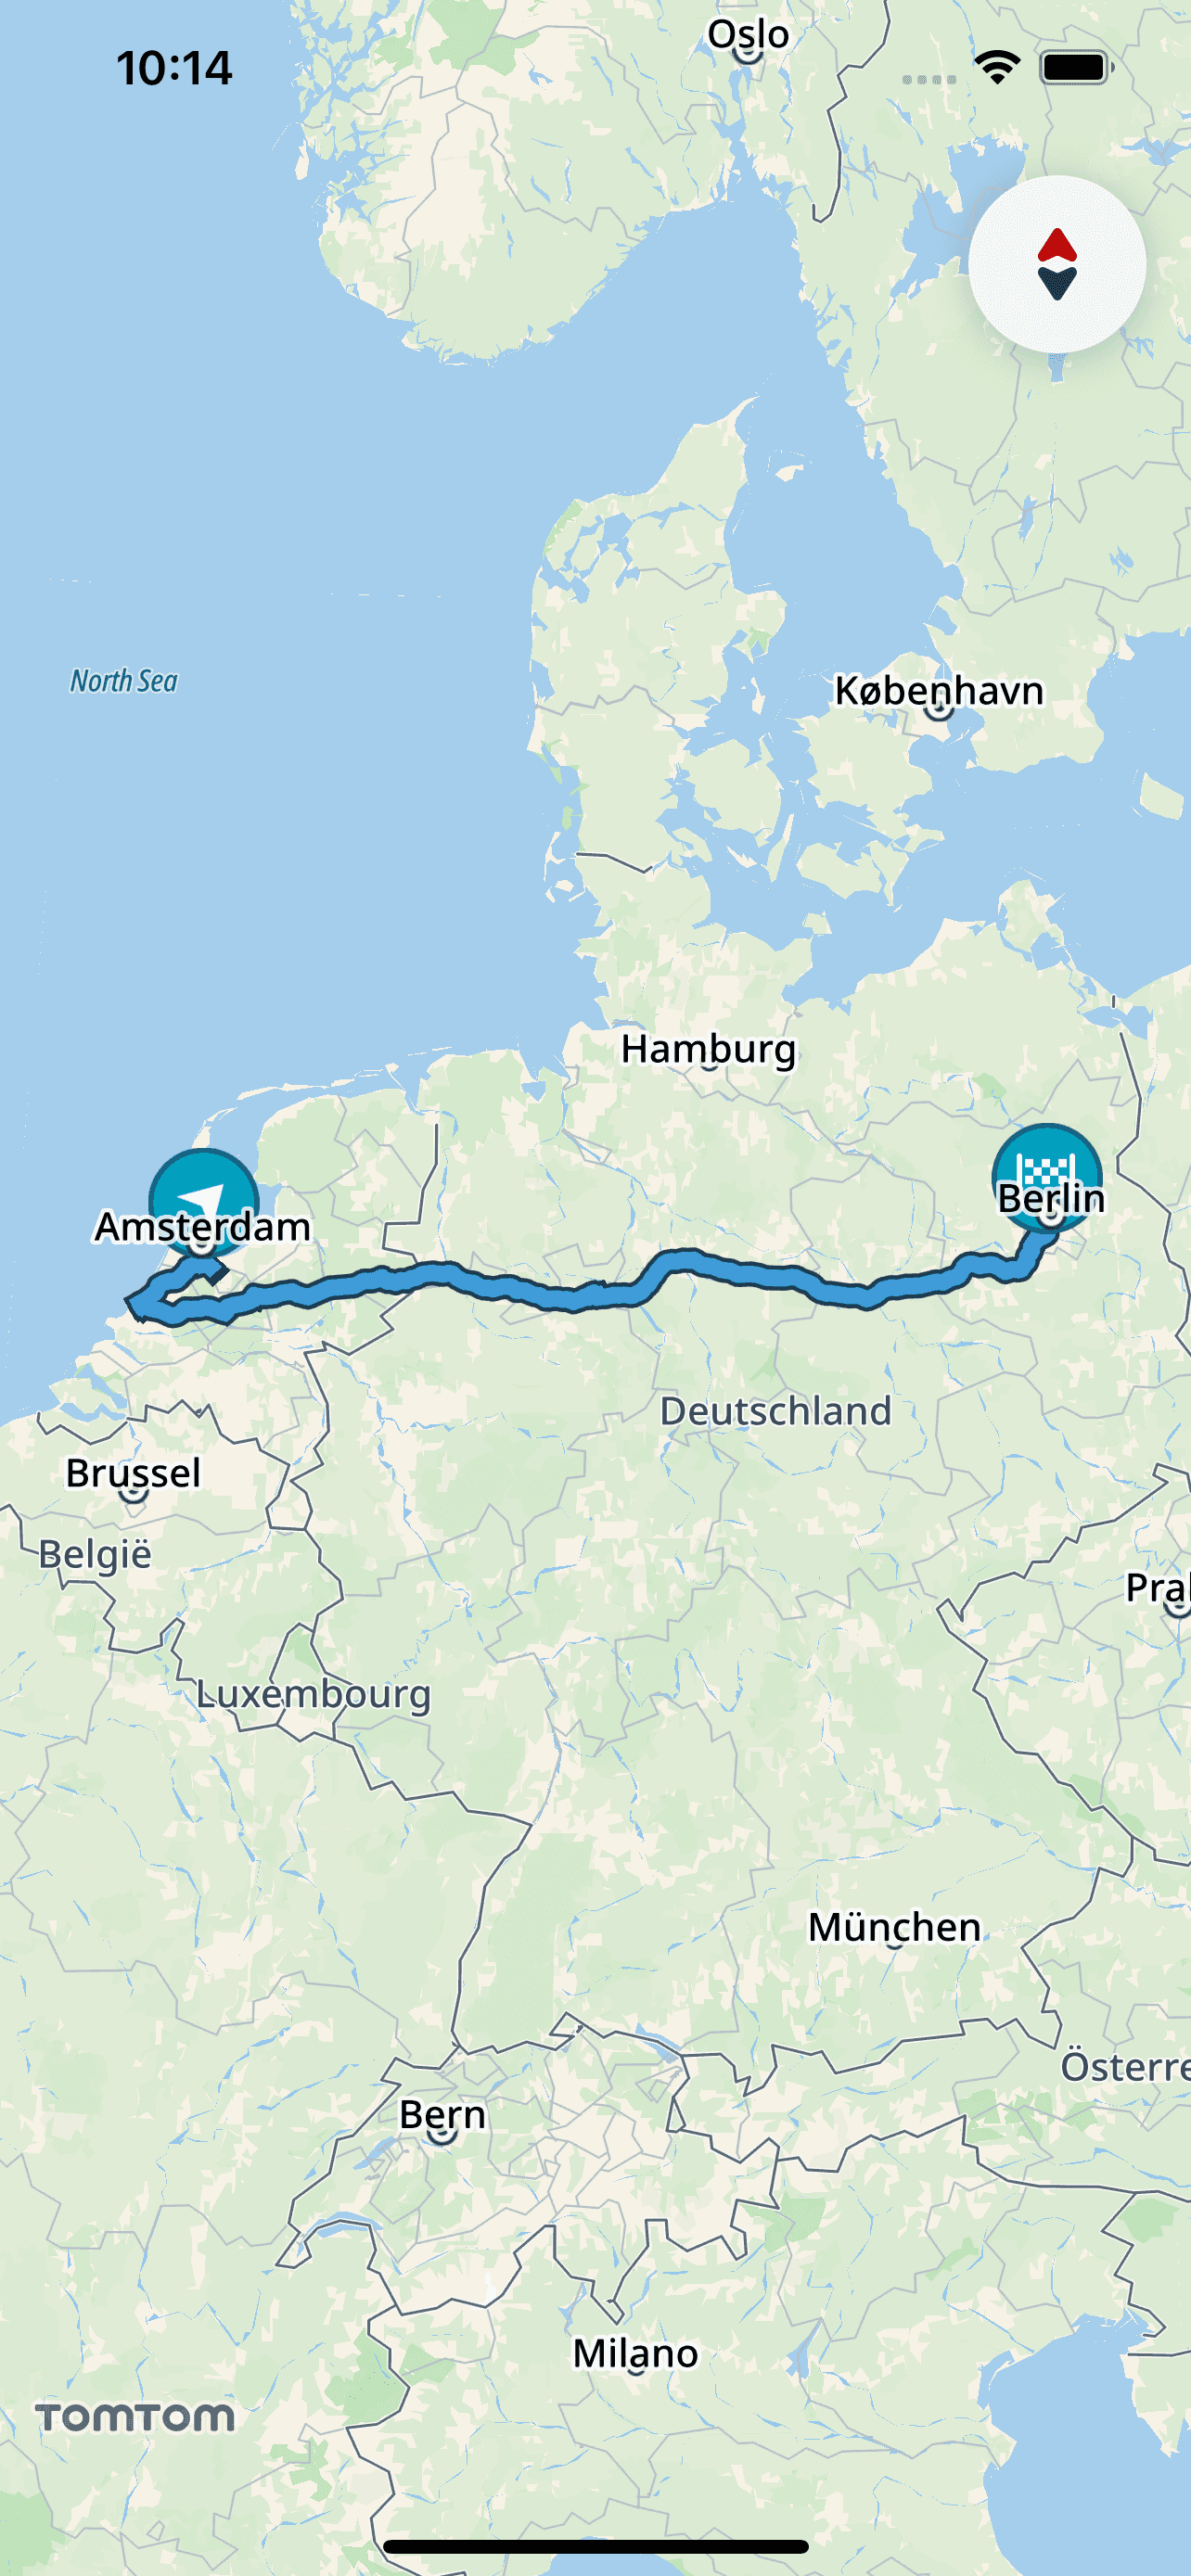
Displaying a route/directions
Displaying a route in the Google Maps SDK for iOS is not straightforward. It boils down to interacting with the Directions API, gathering a list of route positions, then drawing a polyline from that list directly onto the map. The instructions are not discussed in this tutorial. If you are interested in getting more detailed migration steps, Contact Sales.
TomTom SDK
The TomTom Routing API allows the app to easily calculate a route between two points, add waypoints, and specify other route properties. The requested Route can then be simply drawn on the map. Detailed information about routing in the TomTom SDK can be found in the Routing module documentation. A good place to start is the Quickstart guide.
- In the current TomTom SDKs the entry point to the routing service is the
OnlineRoutePlannerclass. Prepare a property to hold its instance.private var routePlanner: OnlineRoutePlanner! - Before accessing the Online RoutePlanner you must initialize the
OnlineRoutePlannerobject with a TomTom API key.routePlanner = OnlineRoutePlanner(apiKey: Keys.tomtomApiKey) - Build and perform the route request. The request requires departure and destination coordinates. You can also provide additional parameters. Add them all using the
RoutePlanningOptionsstruct and then use the object to perform the routing request. As with the SDK, routing results are returned in the provided closure. You can read more about routing in the Planning a route guide.1let itinerary = Itinerary(origin: departure, destination: destination)2let routingOptions: RoutePlanningOptions3do {4 routingOptions = try RoutePlanningOptions(5 itinerary: itinerary,6 costModel: CostModel(routeType: .fast),7 vehicle: Car()8 )9} catch {10 print("Invalid planning options: \(error.localizedDescription)")11 return12}1314routePlanner.planRoute(options: routingOptions, onRouteReady: nil, completion: { result in15 switch result {16 case let .success(routingResponse):17 self.handleRoutingResponse(routingResponse)18 case let .failure(error):19 print("API error: \(error.localizedDescription)")20 }21}) - Use the result of the call to draw a route on the map. To do this, get the route that you want to draw from the
RoutePlanningResponse. Use theRouteto build aRouteOptionsobject. This is also the place to specify visual properties for the route. Then add theRouteOptionsto theTomTomMap. NOTE: If adding a route to the map failed an error is thrown.
When you display all of the routes, you can also specify the padding from the edges of the map. You can read more about adding a route to the map in the Routes guide.
+
1guard let route = routingResponse.routes?.first else { return }2var routeOptions = RouteOptions(coordinates: route.geometry)3routeOptions.color = .red4_ = try? map.addRoute(routeOptions)5map.zoomToRoutes(padding: 50)
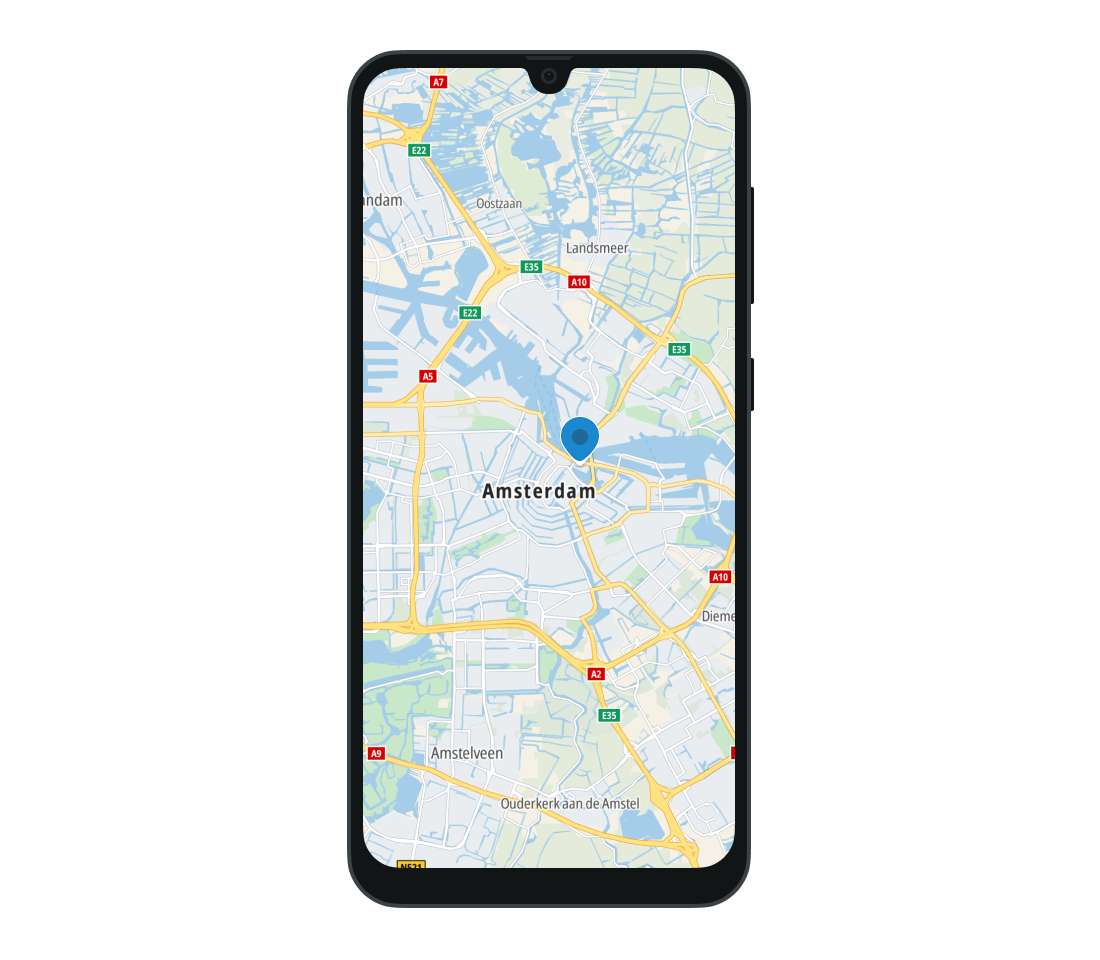
Showing user location
To access user location you must configure the following purpose strings in the Xcode build setting or in
Info.plist:NSLocationWhenInUseUsageDescription,NSLocationAlwaysAndWhenInUseUsageDescription. The correct key must be included or authorization requests immediately fail and the map is unable to get the user’s location.To get appropriate permissions, you must send authorization request by calling
requestWhenInUseAuthorization()orrequestAlwaysAuthorization()on theCLLocationManagerinstance respectively. Complete instructions to request location permissions on iOS can be found at Requesting authorization for location services.
To show user location on the map in Google Maps SDK for iOS you must enable location on GMSMapView.
mapView.isMyLocationEnabled = true
To show the location button set the following property.
mapView.settings.myLocationButton = true
TomTom SDK
To show the user location on the map, change the TomTomMap.locationIndicatorType to either LocationIndicator.userLocation(scale:) or LocationIndicator.navigationChevron(scale:). By default, the CLLocationManager is used as the source of location updates. However, you can also provide your own source. Learn more about user location in the Showing the user’s location guide.
map.locationIndicatorType = .userLocation
By default the center button is hidden, so to show it you need to change its visibility using MapView.
mapView.currentLocationButtonVisibilityPolicy = .visible