)
Geofencing lets us create virtual boundaries on a map that can track assets and enable us to connect our users to the things that matter the most to them. Learn more about what geofencing really is, why it’s important to use and more importantly, how simple it is to create your own geofence.
What is Geofencing?
You might have heard the term, “geofencing” being thrown around in the app world.
It’s exceptionally popular in geomarketing – think, offers that pop up on your phone when you happen to walk close by to a store. Starbucks has a great example of geomarketing – whenever you’re close or pass their store, the company pushes notifications to your Starbucks app with offers and promos. But how does geofencing in geomarketing work exactly? Basically, a geofence is a virtual boundary on the map, hence a geo (map) + fence (virtual boundary).
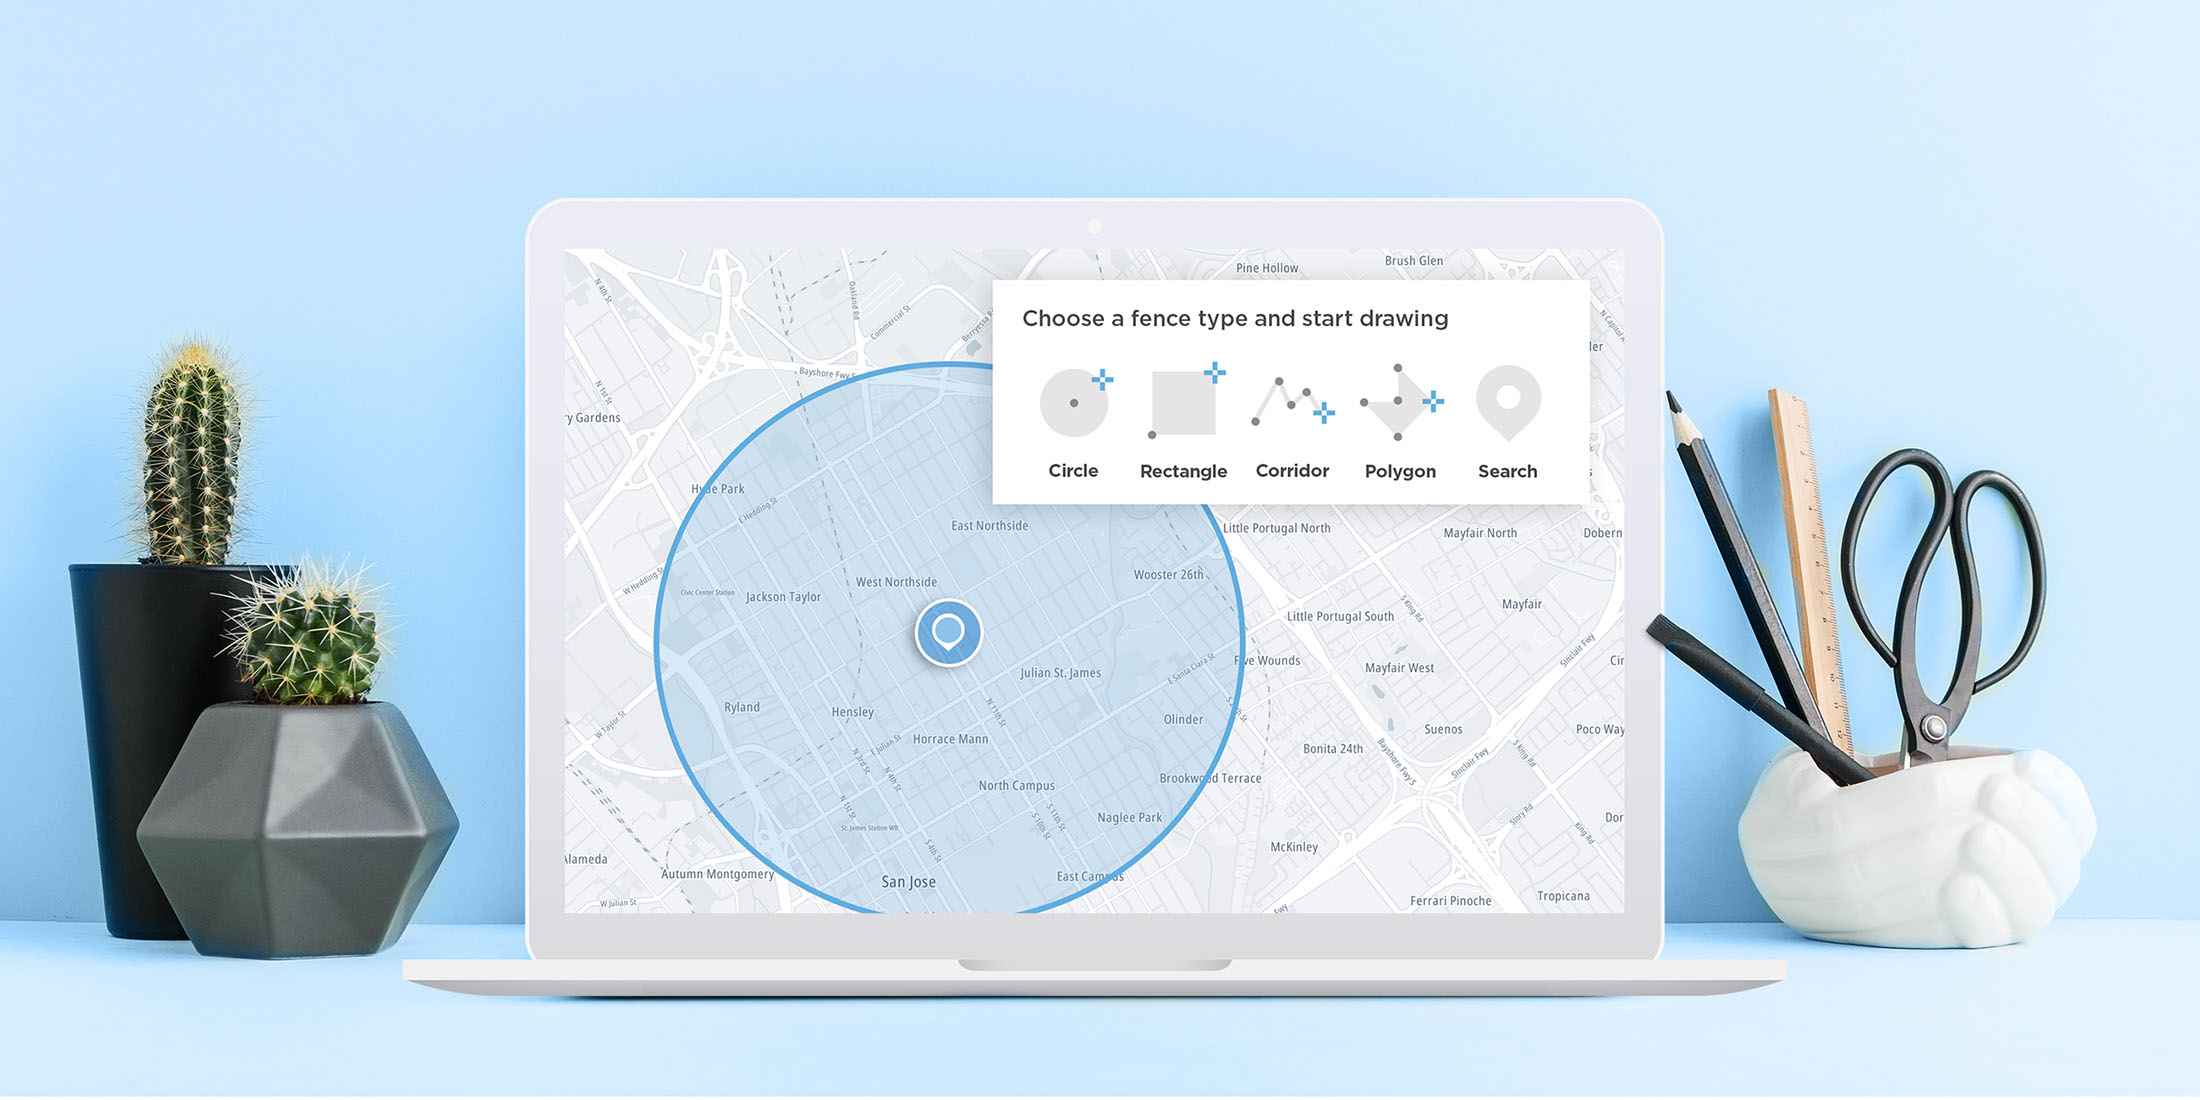
Geofences are predefined areas that are defined by map location coordinates. A geofence can be defined anywhere on Earth, and it can be as small or as large as you’d like it to be. You can also set up a geofence using any shape you’d like – circles, rectangle, or polygons with any number of sides. With TomTom, you can even draw a corridor which is basically a multiline with radius so that you can geofence a section of a road. Perhaps you’d like to track how many people are at a block party or it can be a parking lot, to track how many cars come and go. Once a geofence is defined, you can track when an object enters, leaves or just stays around the geofence.
Geofencing Concepts
Before we dive into the details and use cases of geofencing, there are a few concepts or key terms that will help you understand more about geofencing.
Coordinates
A coordinate is a point containing two numbers - longitude and latitude. Together, these numbers represent a specific point on a map. A geofence is often made up of a set of coordinates that define the boundaries of a geofenced area - although that’s not the only way to define a geofence, as we’ll discover in a moment.
Points of Interest
As its name implies, a Point of Interest (POI) is a specific map location that is important for some reason. A point of interest could be something like “San Jose City Hall” or “Moscone Center” - a well-known, publicly accessible location. Other common POIs include restaurants, hotels and stadiums.
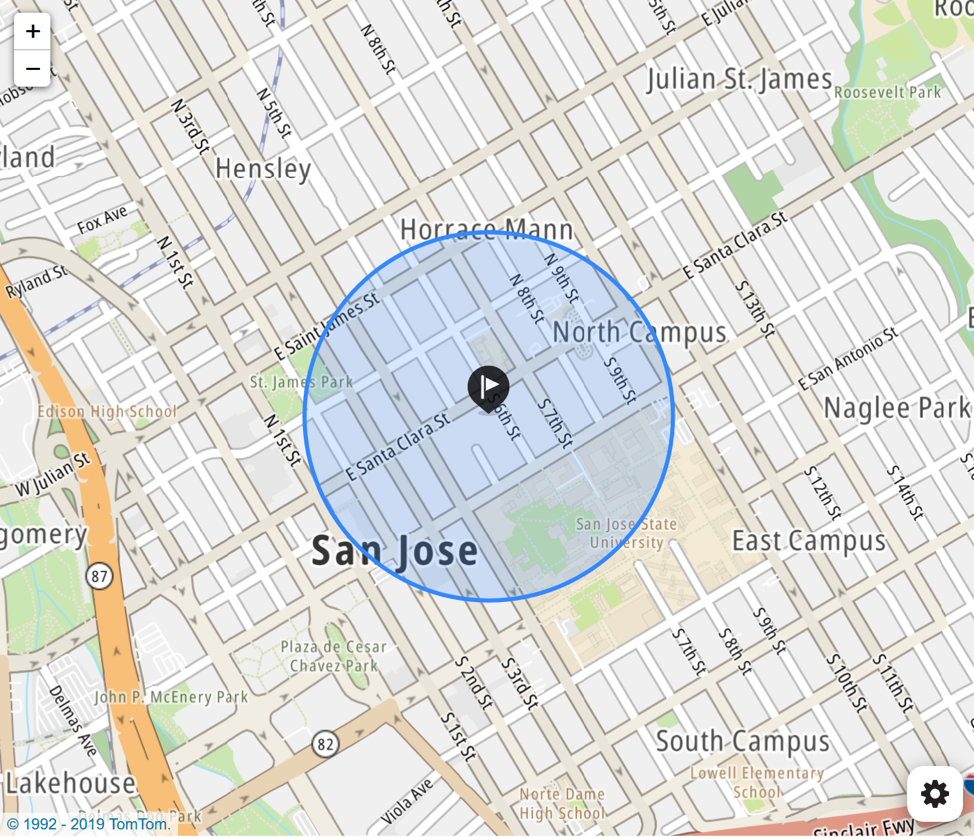
\POIs are useful in geofencing, because instead of a geofence defined by a set of coordinates, it’s often useful to create a circular geofence centered on a POI. As an example, POI centered geofences could be useful in a mobile restaurant suggestion app. The app could create geofences around well-known restaurants, and then notify the user when they’re near a restaurant they might like.
As an example of what this would look like, here’s a circular geofence that’s covering a 500-meter radius around a POI - in this case, San Jose City Hall:
Why Would You Want to Use a Geofence?
As we’ve just learned, geofencing allows us to define ‘fenced’ regions bound by map coordinates. But knowing what geofencing is doesn’t tell us much about why it’s useful.
In the abstract, geofencing lets us take action when an object with internet connectivity and location tracking ability – which could include mobile phones, vehicles, and potentially even packages – enter or leave a pre-defined geofenced area.
Let’s walk through a few scenarios where that ability can be useful:
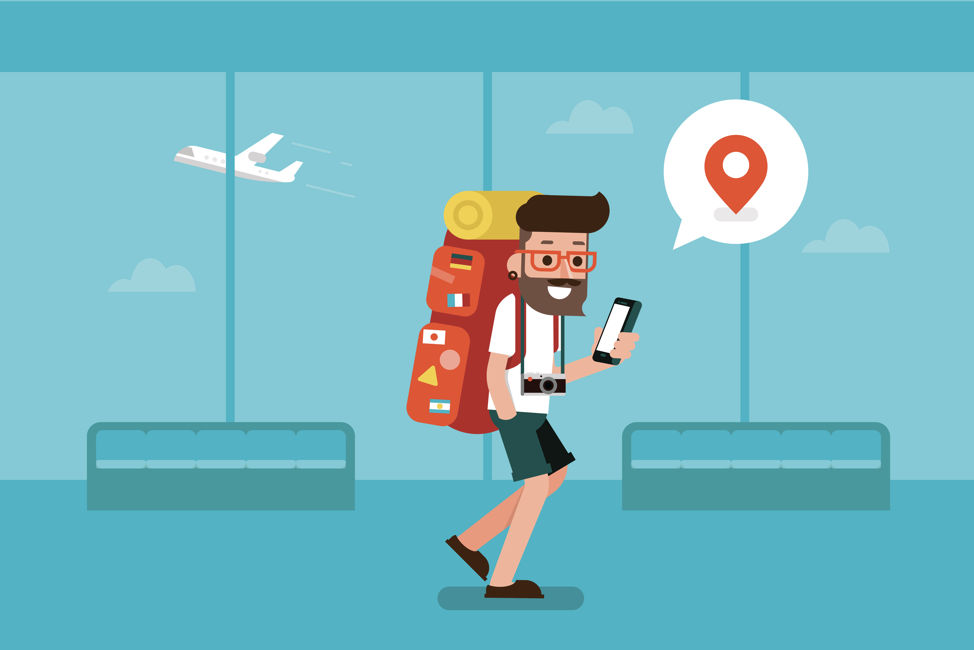
Airlines
One of my favorite examples is when an airline company creates a geofence around an airport. The airline can use the geofence to track when you have entered the airport and know that you have not only checked in, but that you are well within the timeline of boarding.
Perhaps it’s a rather large airport and it would take quite a few transfers to get to your flight’s terminal. A geofence could help get you where you need to be by estimating the time of travel to the gate and send push notifications to warn that you should start grabbing your luggage and running for dear life.
Finally, airlines could also create geofences within the airport, perhaps around their own lounge, and send deals that would encourage you to visit their space.

Mobile Restaurant Orders
Imagine you own a popular chain of restaurants. You realize that a mobile app will be key to your company’s future success. Your customers expect to order via an app, and then show up at one of your restaurants to pick up their order.
Timing is going to be tricky, though. Not everyone lives the same distance from the location they’ll be ordering from. You could keep it simple and just have the customer’s chosen restaurant start preparing their order right away – or you could use geofencing to make your app smart and ensure each customer’s order is hot and ready right when they arrive.
To do this, you’d set up circular geofences around of your restaurants. When a customer places an order, your app will track their location. When the customer enters the geofenced area around your restaurant, the app can signal the restaurant to start preparing the order.
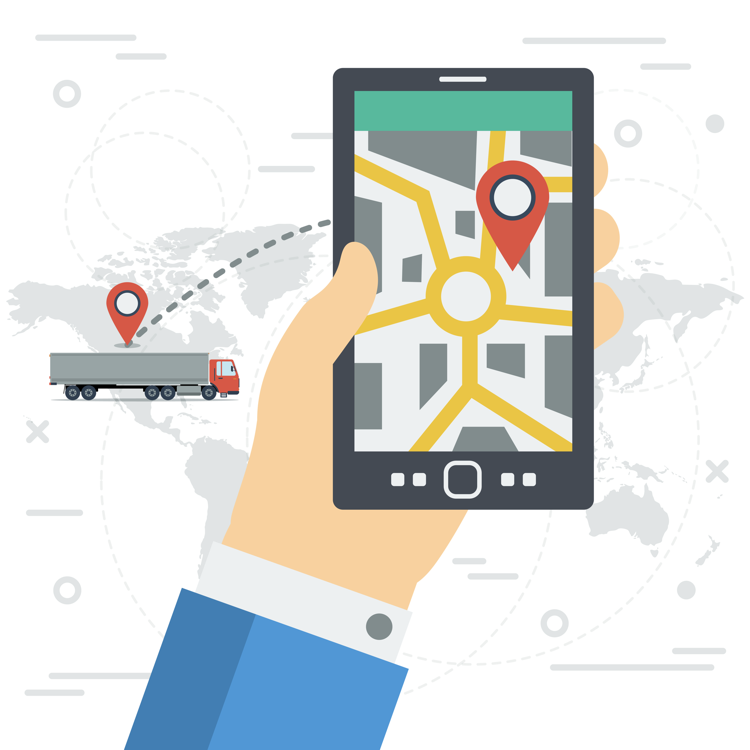
Vehicle Tracking
If you’re running a company with a fleet of vehicles, it’s important to ensure that the vehicles are being used responsibly. Although location tracking devices are common in fleet vehicles, managers don’t always have time to review every vehicle’s location logs.
Geofencing offers an easy solution. Vehicle fleet managers can set up geofenced areas where vehicles are allowed to be used – or set up restricted areas where vehicles aren’t allowed to go, such as low emission zones.
Combined with location tracking devices in each, vehicle geofencing can be used to generate alerts that let managers know when a fleet vehicle has left its assigned geographic region or has entered a restricted area.
This saves a lot of time for managers – geofences not only replaces timecards, but can also alert of unauthorized use instead of having to review all vehicle logs. It’s helpful for employees, too. Receiving an alert that they’ve left their assigned area can help employees take corrective action to ensure that they’re following company policies.
Finally, if your fleet of vehicles is part of a ride hailing or taxi dispatch service, you can use geofencing to keep your fleet in historically high traffic parts of urban areas, fix fares in certain geofences, and alert riders when their driver is arriving within a couple hundred meters of where they are.

Smart Homes
Smart homes and smart IoT devices are becoming increasingly popular. Geofencing can be used to enhance smart home technology and maker homeowners’ lives easier.
For example, it is common for homeowners to use a timer on their thermostat control to keep the house cooler during the day when nobody is home in the winter to reduce heating costs, or let the house get warmer when nobody is home in the summer to reduce air conditioning expenses. A timer isn’t a very accurate way to do this, though. People don’t always leave and arrive at the same time. And sometimes, they’ll work from home.
Setting up a geofence that extends to a certain range around a house could solve this problem. By using a geofence and having an app installed on the mobile devices of everyone that lives in a house, a smart thermostat could be programmed to adjust the temperature based on whether or not any of the house’s residents are inside the house’s geofence.
How do you use Geofencing?
Creating a geofence in our Geofence API is quite simple, which is essentially like drawing on a map. With our API, you can draw a polygon and get even more specific with your geofence, such as a route than just a circle.
To begin, you’ll need to create a new application in the TomTom Developer portal and ensure that it has permission to use the Geofencing API. Once you’ve created your application, you’ll be given a TomTom API key.
Keep this key handy, because you’d need to use it to access the API. Before you can use the Geofencing API, you’d also need to create a Geofencing admin key and create a Geofencing project. You can do this with two HTTP calls.
To register your admin key, you would make the following call:
POST https://api.tomtom.com/geofencing/1/register?key=Your_API_Key
{
  “secret”: “your_secret”
}
The exact instructions will depend on what language and HTTP library you are using, but the general format will be the same. In the URL, the ‘key’ query parameter should be set to the API key you generated in the previous step, and the POST body should be a JSON object containing a single property: secret. secret should be set to something that only your application knows and should never be shared with end users.
When you make this request, the Geofencing API will return an admin key like this:
{
  "adminKey": "your_admin_key"
}
Note that secret is also used to regenerate adminKey should it be compromised or lost.
Next, you’ll need to make one more POST request to create a project:
POST https://api.tomtom.com/geofencing/1/projects?key=Your_API_Key&adminKey=Your_Admin_Key
{
    "name": "A unique project name"
}
Note that in the URL query parameters, you’ll need to use both the API that was provided when you created the application, and admin key we just generated.
The API will respond with a unique ID for the project you just created.
{
  "id": "57dc2cad-85a3-439a-8224-2730d7822133",
  "name": "A unique project name"
}
With those steps completed, we’re ready to make a Geofence (woot)! For the next section, I’ll be using Python and the requests library for the example below, but this will work in any language that can make HTTP requests. Here’s an example that walks through the creation of an admin key and a Geofencing project, and then adds a geofence to the new project:
import requests

api_key = "your key goes here"
secret  = "replace this with a secret"

# get an admin ID
admin_data = { "secret" : secret }
admin_url = "https://api.tomtom.com/geofencing/1/register?key={0}".format(api_key)
admin_response = requests.post(admin_url, data=admin_data)
admin_json = admin_response.json()
admin_key = admin_json["adminKey"]
print("admin key: {0}".format(admin_key))

# create a Geofencing project
project_data = { "name" : "An amazing project" }
project_url = "https://api.tomtom.com/geofencing/1/projects?key={0}&adminKey={1}".format(api_key, admin_key)
project_response = requests.post(project_url, data=project_data)
project_json = project_response.json()
project_id = project_json["id"]

# add a Geofence
geofence_data = {
    "name": "San Jose City Hall",
    "type": "Polygon",
    "coordinates": [
        [
            [-121.886300, 37.338169],
            [-121.885258, 37.338697],
            [-121.885692, 37.337338],
            [-121.884630, 37.337850]
        ]
    ]
}

geofence_url = "https://api.tomtom.com/geofencing/1/projects/{0}?key={1}&adminKey={2}".format(projet_id, api_key, admin_key)
geofence_response = requests.post(geofence_url, data=geofence_data)
print(geofence_response.json())
Note that when we’re creating the geofence, the coordinates property of the request body contains a nested list of arrays. This is because a single geofence can contain multiple discrete areas, so multiple sets of coordinates can be added when creating the geofence, and you can create multiple geofences per project. If you’re familiar with the GeoJSON format, you’ll notice that our fence format is an extension to GeoJSON.
When drawn on a map, this geofence would represent a box around the block containing San Jose City Hall:

Now that you’ve added a geofence, how do you actually use it? That’s where the report request endpoint comes in. It enables you to provide the position of an object, and also lets you provide a maximum range around the object to which you’d like to search for geofences.
When you call this endpoint, the API will reply with a list of geofences the object is inside of, and a list of geofences the object is outside of. As mentioned in the example section above, there are many actions you could choose to take when an object enters or leaves a geofenced area.
Conclusion
Starting from scratch, we’ve walked through what geofencing is, why it’s important, and how you can add it to your own apps quickly and easily using the TomTom Geofencing API.
We're looking forward to seeing how you are uniquely using the Gofencing API - share your project with us in our Developer Forum.