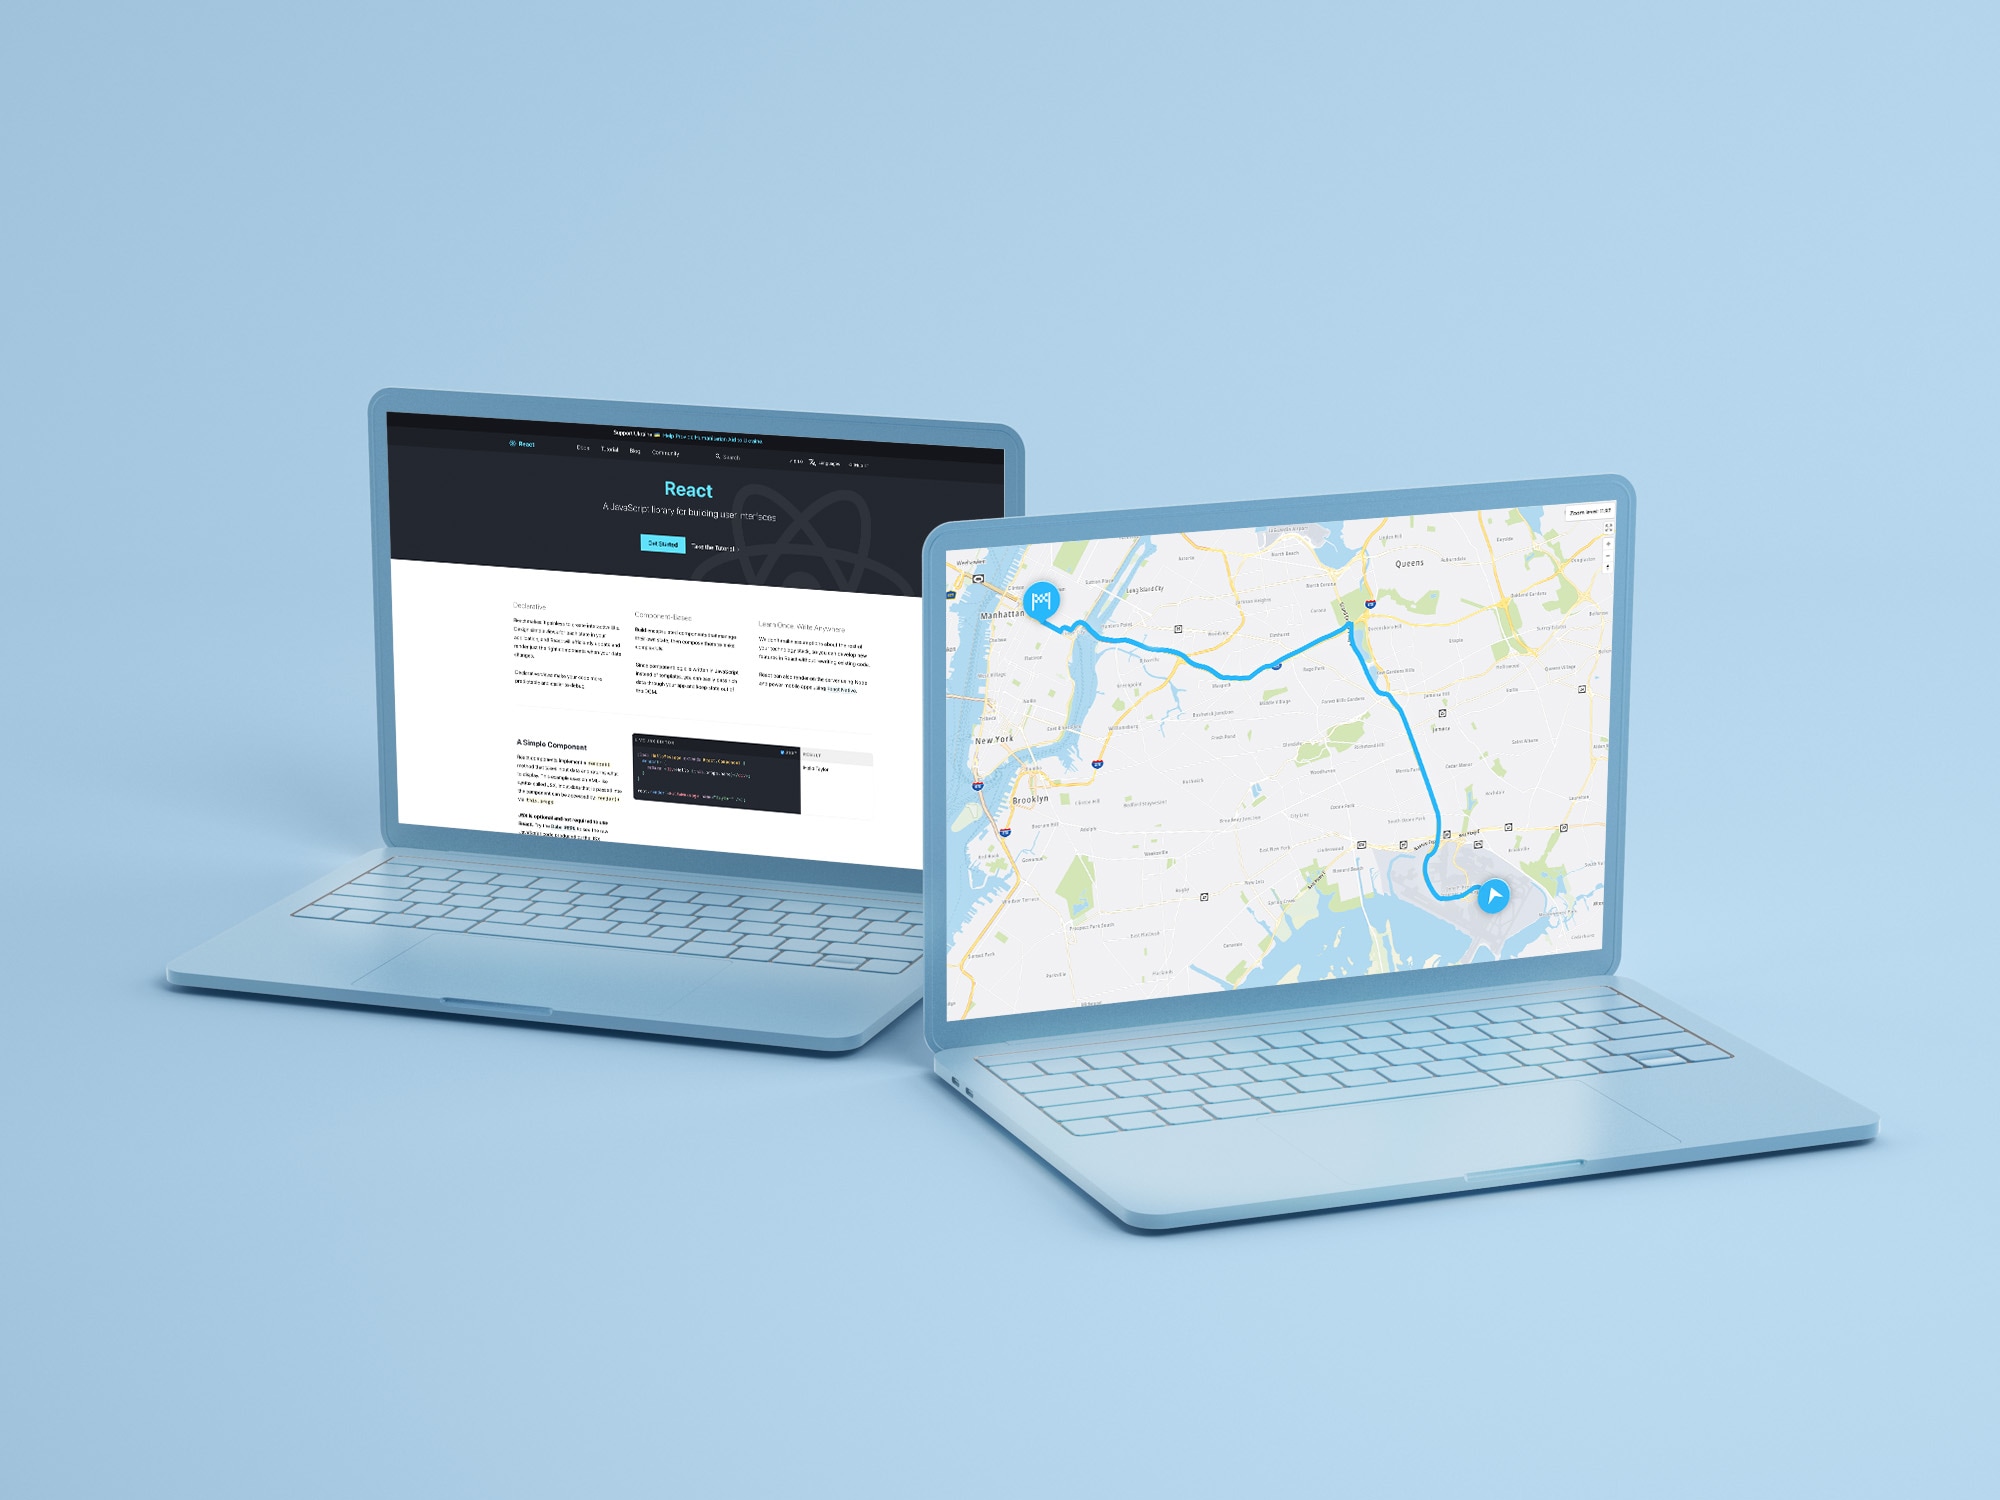
Using TomTom Maps with React Routing
)
With the help of React routing and the TomTom Maps API, we’ll display a different country in a React app by appending the country’s name to the URL in the address bar and searching for it.
Map integration is integral to products like vehicle fleet monitoring apps and ridesharing services. However, building a map from the start is challenging, and it can take a long time to develop a stable prototype. Instead of trying to find or create a map and integrate it on our own, we can save time (and a lot of trouble) by using the TomTom Map APIs, Maps SDK, and Map Styler. The Maps APIs include the Map Display API, the Map Routing API, and the Map Traffic API. The Map APIs enable us to integrate maps into our products easily and effectively.
The Map APIs communicate with TomTom’s Maps SDK, which provides all necessary methods for map manipulation. With the Maps SDK and Maps API combined, we can set markers on maps, search for places, use reverse geocoding, and much more.
This tutorial demonstrates how to use the TomTom Maps API, Maps SDK, and a React Router to dynamically update a map by connecting TomTom maps to React Routing.
Tutorial Overview
In this tutorial, we’ll integrate a map with a React application. The map shows different countries. With the help of React routing, we’ll display another country by appending the country’s name to the URL in the address bar and searching for it using the TomTom Search API.
Prerequisites
To follow this article, you need the following:
A basic understanding of React. To get a basic understanding of integrating a map in React, check out this article. You must have Node.js installed on your system since you use the Node package manager to install different tools. If you’re familiar with Yarn, you can use it, but we won’t cover it in this tutorial.
A TomTom developer account. After signing up for this account, you’ll get an API key that you use for your app.Getting Started We start by creating and running a React app. Do this by executing the following command in your terminal:
npx create-react-app tomtom-map
cd tomtom-map
npm start
After that, a new browser tab with the address localhost:3000 opens. Whenever you make changes to your code, the tab refreshes and renders appropriately.
The code also automatically creates a new directory with the name of the app. Change into the src directory under the app directory created by create-react-app. In the directory, open the App.css file, and add this cascading style sheet (CSS) styling for the map. The styling sets the map’s height to 100 percent of the viewport.
.mapDiv{
  height: 100vh;
}
In the next sections, we’ll modify the App.js file step by step. As a reminder, this file is in the src directory.
Installing and Adding the Dependencies
To avoid possible errors, remove the <header/> element so that a near-empty component remains resembling the one below. Also, note the removal of the logo image import.
import './App.css';

function App() {
  return (
    <div className="App">
    </div>
  );
}

export default App;
In this file, we need to add the Map’s SDK dependencies and react-router-dom for routing. Because these dependencies don’t come bundled with React, we must install them using the following command:
npm i @tomtom-international/web-sdk-maps @tomtom-international/web-sdk-services
 react-router-dom
Then, we add the dependencies using this snippet:
import './App.css';
import '@tomtom-international/web-sdk-maps/dist/maps.css'
import mapSDK from '@tomtom-international/web-sdk-maps';
import mapServices from '@tomtom-international/web-sdk-services';
import { React, useState, useEffect, useRef } from 'react'
import {
  BrowserRouter as Router,
  Routes,
  Route,
  useParams
} from 'react-router-dom';
Setting the Map
To begin, remove the line export default App since we won't be exporting the App component by default. Instead, we use the App component to get the coordinates and display the map.
To do so, begin by exporting a component called CountryNameHelper with the snippet below:
/*This maps a country name URL parameter in the search bar*/
export default function CountryNameHelper() {
  return (
    <Router>
      <div>


        <Routes>
          <Route exact path="/:countryName" element={<App />} />


        </Routes>


      </div>
    </Router>
  );
}
The snippet creates a route with a country name parameter (countryName) that you use in the App component.
Add the following code in the App functional component, which contains a constant to store your API key, gets the country name parameter using the useParams method, instantiates the map, and then uses state hooks to store initial state variables appropriately.
  //your API key
  const API_KEY = ''
  //getting the country's name from the URL
  let { countryName } = useParams();
  const mapContainer = useRef();
  //default coordinates
  const [countryLongitude, setCountryLongitude] = useState(-121.91599);
  const [countryLatitude, setCountryLatitude] = useState(37.36765);
  //use this to change the zoom level of the map
  const [zoomLevel, setZoomLevel] = useState(3);
  const [ourMap, setMap] = useState({});
After that, fetch the coordinates for the typed country’s capital city using the fuzzy search service, access the values, and appropriately set them. Pick the first value, position 0, since it returns the result with the highest score.
//fetching the coordinates for the typed country's administrative capital city
  mapServices.services.fuzzySearch({
    key: API_KEY,
    query: countryName
  }).then(getCoordinates);

  function getCoordinates(response) {
    console.log(response.results)
    let latitude = response.results[0]["position"]["lat"];

    let longitude = response.results[0]["position"]["lng"];

    setCountryLatitude(latitude)

    setCountryLongitude(longitude)
  }
Using the default coordinates when the page loads, use a useEffect hook to render the map. This hook passes in the API key, map container, the coordinates, and the zoom level to the SDK’s map object. Note that this tutorial uses a zoom level of three to give us a larger field of view of the country and its borders.
Now, render the map using the setMap method with the map object (ourMap) as the argument.
useEffect(() => {

    let ourMap = mapSDK.map({
      key: API_KEY,
      container: mapContainer.current,
      center: [countryLongitude, countryLatitude],
      zoom: zoomLevel
    });
    setMap(ourMap);
    /*values to listen to*/
  }, [countryLongitude, countryLatitude]);
Setting a location marker helps quickly identify the target location. After the setMap method, add this code:
let locationMarker = new mapSDK.Marker({
      draggable: false
    }).setLngLat([countryLongitude, countryLatitude]).addTo(ourMap);
We set the properties we need in the Marker constructor, set the coordinates to place the marker using the setLngLat method, and then add it to the map using the addTo method. Finally, we unmount the map component from the DOM to listen for other changes and refresh it using this method. It comes after the code for setting the marker.
return () => ourMap.remove();Note: This tutorial recreates the map each time a new country is selected, which works for demonstration purposes. In practice, it’s more efficient to create the map instance once and use an additional effect to update the view based on coordinate values.
We use the array (the second parameter for the useEffect hook) for setting the values to listen for changes. Doing this eliminates the need to use a button and method to update the map. This is the full useEffect hook’s code:
  useEffect(() => {

    let ourMap = mapSDK.map({
      key: API_KEY,
      container: mapContainer.current,
      center: [countryLongitude, countryLatitude],
      zoom: zoomLevel
    });
    setMap(ourMap);
    //setting the location marker to help easily identify the target*/
    let locationMarker = new mapSDK.Marker({
      draggable: false
    }).setLngLat([countryLongitude, countryLatitude]).addTo(ourMap);


    return () => ourMap.remove();
    /*values to listen to*/
  }, [countryLongitude, countryLatitude]);
In the return method, add a <div> inside the App <div> for displaying the map.
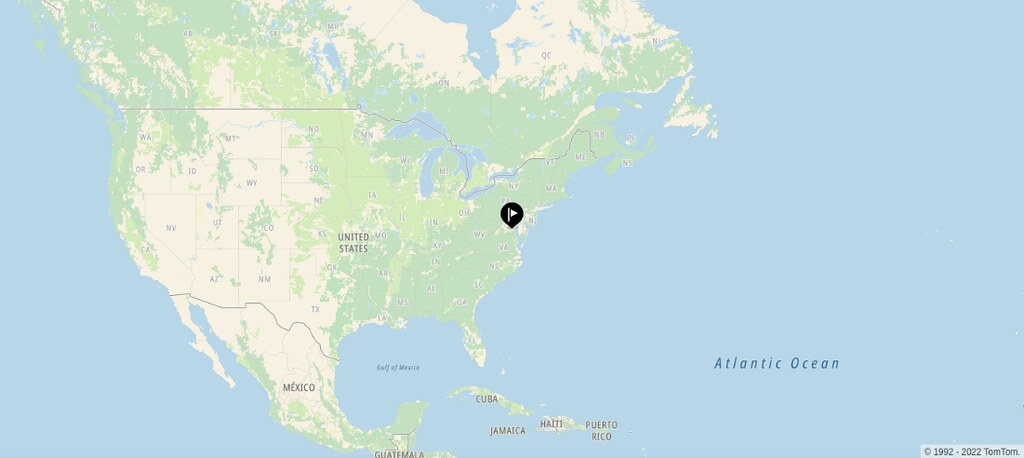
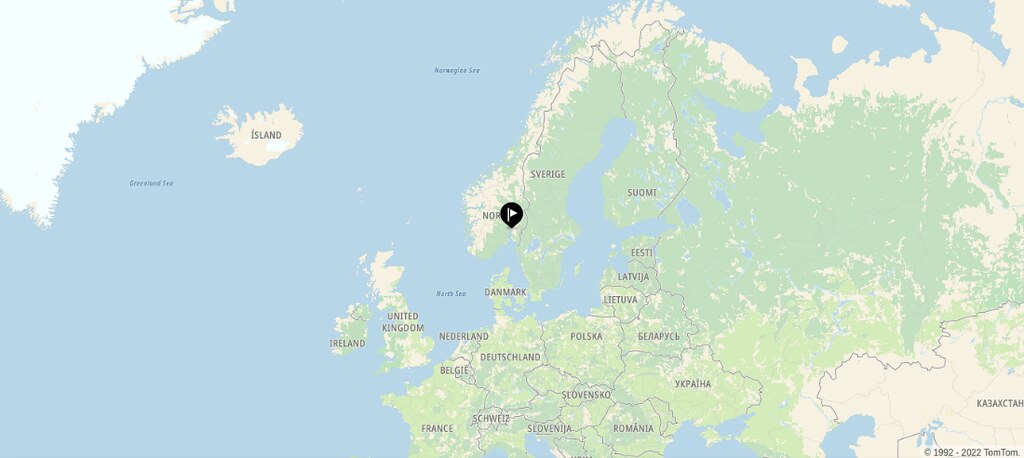
Here are screenshots of the app running routes for several countries: a USA route, a South Africa route, and a Norway route.

Conclusion
In this tutorial, we’ve seen how to get a country’s name from a URL, search for the country’s coordinates using the Search API, and display the map based on the coordinates retrieved. With TomTom maps, it’s effortless and painless to integrate a map in a React app and use the React Router for changing the location displays.
To learn more about TomTom’s map technology, sign up for a developer account and get started with TomTom today.