Putting the TomTom Location History and Geofencing APIs to Work
)
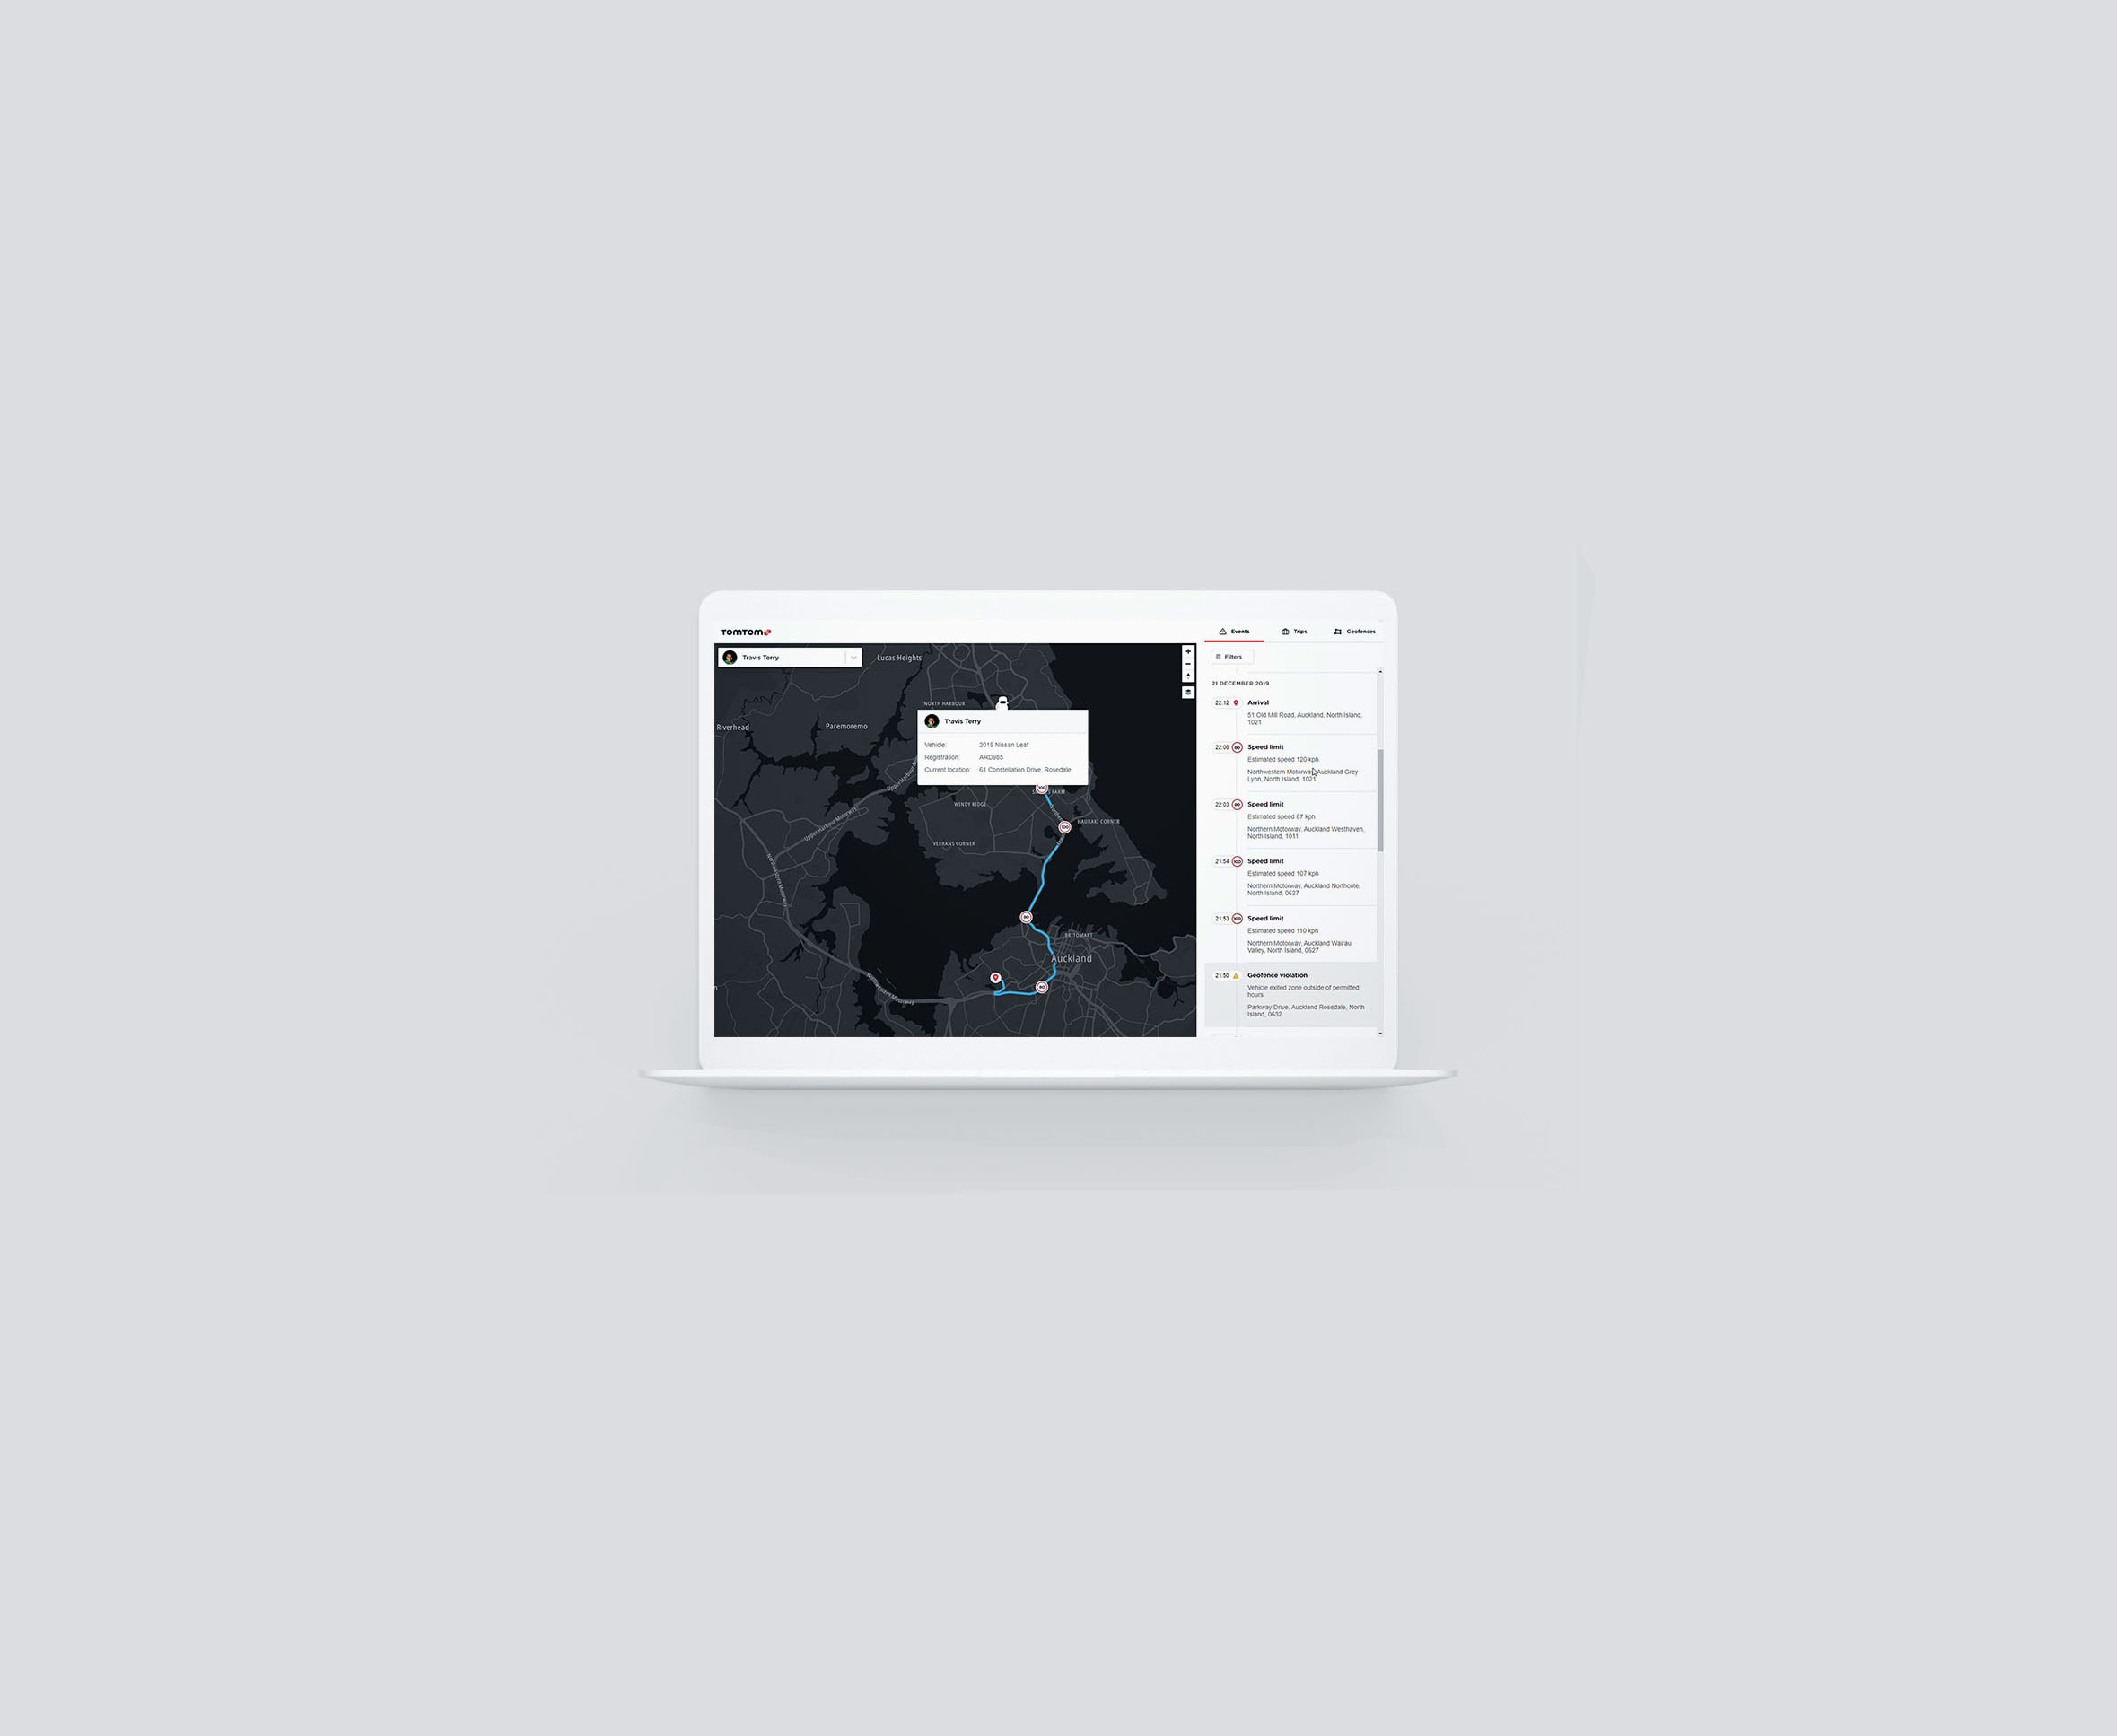
The TomTom Location History API provides a one-stop service for tracking objects over time. Combined with the Geofencing API, you can create sophisticated applications that turn location data points into actionable fleet intelligence. We'll show you how these APIs work together.
In a previous article, Location History API Service Basics, we delved into the TomTom Location History service. You learned about creating objects and setting them up to be tracked. You saw that, with the Geofencing API, you can create fences of different shapes and, using the Location History API, record the locations of objects over time. Using these two APIs, you can get notifications when items you’re tracking cross the boundary from inside the fence to outside and vice versa.
Today we’ll discuss how these features can be useful in a way you might not have expected. We’ll consider how tracking an item along a route defined by a corridor fence can tell us things about how the route can be improved. To do this, we’ll look at some real-world uses of the Location History API.
We also cover this topic on one of our live coding sessions on Twitch! If you want to watch us show you how, head over to twitch.tv/tomtomdevs!
Getting Ready to Use the APIs
Let’s review the basics of TomTom API communication. First, however, we'll assume you've already registered for a TomTom Developer account and can set up an application with TomTom to generate API access keys. We'll discuss these later.
Everything we do with an API is through a call to a specific URL called an endpoint. We call the endpoint and pass in the item we want it to use in JSON format. The verb used, POST, GET, PUT, or DELETE, determines what operation will take place.
Let’s imagine we’re an armored car company that picks up and delivers precious cargo between places on the route. Let’s utilize the pieces we’ve learned to get things set up.
The Location History API calls need some data to define objects and geofences. These are defined in a simple JSON format and passed with the API calls. So let's start by defining these items.
We’ll need an object to be tracked, in this case an armored car:
{
      "id": "67ef1b09-53bd-4618-9b49-6e17bb139f95",
      "name": "armored_car_10510",
      "defaultProject": "a5ef05a2-f1de-4eb0-b6bd-0470bb6e133c",
      "properties": {}
}
We'll also define a corridor in which it will travel:
{
      "id": "e37eb425-915e-45eb-93e9-bb4f9bd60bed",
      "name": "corridor_7",
      "type": "Feature",
      "geometry": {
      "type": "LineString",
      "coordinates": [
            [
                  -67.000000,
                  45.000000
            ],
            [
                  -68.000000,
                  46.000000
            ],
            [
                  -69.000000,
                  46.000000
            ],
            [
                  -69.000000,
                  47.000000
            ]
      ],
      "radius": 50.0,
      "shapeType": "Corridor"
      },
      "properties": {}
}
So, we’ve defined one armored car and one corridor. Of course, you can define a number of objects to be tracked and, as we mentioned in the previous article, you can have multiple fences in a project. In the next steps, we'll use these objects with the Location History API.
Using the Location History API
Now we’ll add in the Location History API and take a look at how it can share information with the Geofencing API. Once again, the method of communicating with any API is through the endpoint. The endpoint for the Location History API is:
https://api.tomtom.com/locationHistoryThe first step is to register our key with the API:
POST

https://api.tomtom.com/locationHistory/1/register?key=Your_API_Key

{
  “secret”: “your_secret”
}
Remember that Your_API_Key will be replaced with the actual value for your account and project. In the above call, we’re using the register method of the API. You need to have the API key to do that so you edit the key on the TomTom dashboard and add the Location History API:
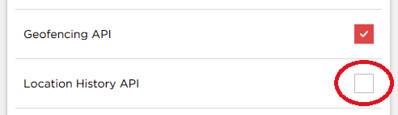
Then you can supply the key from the dashboard to the register method.

There are some other configuration items you may want to review that can be found on the Configuration service page of the Location History API documentation. When you call the register method with the same key as for the Geofencing, the two will share information— specifically, objects, and location reports.
Recording and Retrieving Positions
When we create an object using the Geofencing API, it’s available from the Location History API registered with the same key.
Next, we need to record the position of the object. This could be done by a device running an app that sends its location based either on a user action in the app or perhaps on a timer.
Next, to record the position of the object, we might assume that a time-dependent or user-initiated location tracking app requires us to report the location. While we won’t be setting up an example app in this article, you might report that location history in your project like this:
POST

https://api.tomtom.com/locationHistory/1/history/positions?key=Your_API_Key

{

  "type": "Feature",

  "geometry": {

    "type": "Point",

    "coordinates": [

      4.909934,

      52.377607,

      0

    ]

  },

  "object": "67ef1b09-53bd-4618-9b49-6e17bb139f95"

}
The value of the “object” key provides the ID of the object we specified when creating the object. It could also be the ID that was returned by the API when creating the object, if we didn’t provide one.
There are so many ways to do this and it depends on the device and type of application you’re writing. For more details on sending the position of an object, see the Send position page of the documentation.
Getting an Object's Location History
Now we need to get the location history of an object, meaning the collection of all its positions recorded over a specific time. We obtain the positions that were stored for a given object using the history/positions endpoint of the Location History API. Here’s an example of retrieving the positions for the object ID we’ve been using:
GET

https://api.tomtom.com/locationHistory/1/history/positions/67ef1b09-53bd-4618-9b49-6e17bb139f95?key=Your_API_Key&from=2019-08-27T12AM
This retrieves the list of positions for the object with ID 67ef1b09-53bd-4618-9b49-6e17bb139f95, starting at 12am on Aug 27th 2019, with no stop time. You can get more details on the Get objects position history page..
Let’s learn more about this by reviewing the result data:
{
 "summary": {
   "name": "armored_car_10510",
   "id": "67ef1b09-53bd-4618-9b49-6e17bb139f95",
   "from": "beginning_timestamp",
   "to": "end_timestamp"
 },
 "positions": {
   "type": "FeatureCollection",
   "features": [
     {
       "timestamp": "timestamp",
       "type": "Feature",
       "geometry": {
         "type": "Point",
         "coordinates": [
           longitude,
           latitude,
           altitude
         ]
       },
       "estimatedSpeed": speed_value,
       "estimatedDirection": azimuth
     }
   ]
 },
 "resultInfo": {
   "maxResults": max_number_of_results,
   "pageNumber": page_number,
   "itemsCount": number_of_results
 }
}
As with all calls to the TomTom API, it returns an object. This one has three main properties: summary, positions, and resultInfo.
The summary identifies the target object of the request and the time span you requested in the call.
The resultInfo gives you the maxResults and the itemsCount. The maxResults can be adjusted by including it in the optional parameters in the request. If the itemsCount matches the maxResults, you can use the pageNumber parameter to page through the results.
Finally, we’ll take a look at the positions. You might expect this to be just a collection of X,Y,Z values, but TomTom includes more info. It returns an array of Feature type items (also called a FeatureCollection):
{
  "timestamp": "2020-05-30T13:25:51+0000",
  "type": "Feature",
  "geometry": {
    "type": "Point",
    "coordinates": [
      19.448183,
      51.759135,
      0.00
    ]
  },
  "estimatedSpeed": 16.66,
  "estimatedDirection": 90.00
}
All the information you need about an object at a position is here. The “type” is currently always “Feature”. There’s also a timestamp value and the location information, plus estimatedSpeed and estimatedDirection. You don’t actually send these last two data points. TomTom figures them out for you based on the collection of positions it receives from your app (it might look something like the object position reporting API call mentioned earlier).
Location History and Geofences
Now how does this inform us with respect to the fence? We learned in that earlier article that the app can get a notification via the Notifications API when a device leaves the geofenced area. So, you could set up your app to report locations every five minutes while it’s in the fenced area, and then report every minute when it’s outside the area.
Once it returns to the fenced area, it can return to the every-five-minute reporting. Of course, the time values mentioned here are arbitrary—you could report positions every 15 seconds instead.
When a device is within the fenced area, it would typically mean it’s on its regular route. You’d want more detail when the object moves outside the defined area, so you’d have it report more often.
This capability could be handy in a rideshare service scenario. Suppose you have the area you manage divided into sections covered by different vehicles. If a call comes in for an area not covered, one of the vehicles will have to go outside its normal area. If you start getting frequent service calls in an area that’s underserved, you can redesign your sections, using the location history to figure out where the new section should be.
Archiving the History
The Location History API includes a service to archive data associated with locations. You can archive the structure to get the configuration of the objects and settings, and you can archive the position history.
Archiving is a two-step process. You call the structure method to get a token for downloading structure data:
https://baseURL/locationHistory/versionNumber/archive/structure?key=Your_API_Key&adminKey=Your_Admin_KeyYou can call the positions method to get the history of the position data:
https://baseURL/locationHistory/versionNumber/archive/positions?key=Your_API_Key&adminKey=Your_Admin_KeyThen you use the token returned by either of these to get the URL of the download:
https://baseURL/locationHistory/versionNumber/download/token?key=Your_API_Key&adminKey=Your_Admin_Key
response:
{
“url”: “[LINK TO DOWNLOAD FILE]”
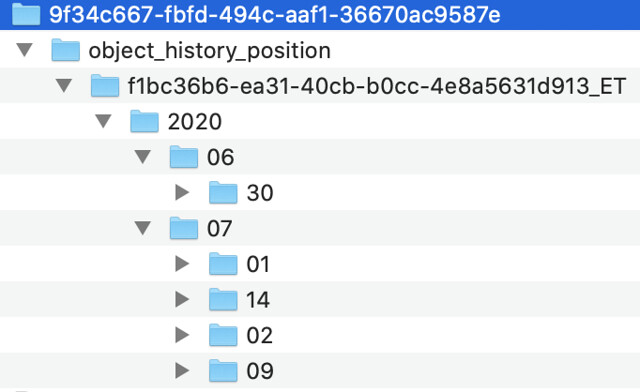
}The downloaded file is a ZIP file containing the historical locations in JSON format files, organized by folders representing year, month and days.
Next Steps
The ability to keep track of where objects have been over time, coupled with the ability to use geofencing to define areas of interest, is a powerful combination that can be useful in a variety of scenarios, such as for assessing coverage needs for, say, food delivery routes or rideshare pickup points. What makes this feature even more compelling is that your data is secure within the TomTom environment and won’t leak to other sites or advertisers.
To learn more about Location History, see Location History API Basics and the Location History API developer documentation. Also see Tracking for an overview of all TomTom services related to tracking objects, including Geofencing and Notification.