Quickstart
The Map Display module provides a set of tools that enable embedding the TomTom map in Android applications. It makes it easy to add visual components to the map, such as routes and markers. You can also control map interactions and the camera position. In this guide you will see how to set up the project to show a map on your emulator or device.
Project setup
Configure the project as described in the Project setup guide.
Then add the following dependencies to the build.gradle.kts file of your application module and synchronize the project.
implementation("com.tomtom.sdk.maps:map-display:1.26.4")
Adding a map
The Map Display module provides several classes and interfaces to operate with the map:
MapView- A view that wraps the map renderer and handles the application lifecycle. Each lifecycle method should be called when its parent lifecycle-aware component changes state.MapFragment- A fragment wrapper for MapView. It manages the lifecycle of the underlying MapView.TomTomMap- The entry point for all methods related to the map.MapOptions- Used for configuring map properties during initialization.MapReadyCallback- An interface that reports if the TomTomMap is ready to be used.
Init MapFragment
There are two ways of creating a MapFragment object: in the Kotlin class or in the layout XML file.
In code
- Add the container for the map to the layout file where you want to display it.
1<androidx.fragment.app.FragmentContainerView2 android:id="@+id/map_container"3 android:layout_width="match_parent"4 android:layout_height="match_parent"/>
- Create a
MapOptionsobject. You must pass your API key. Ensure that it supports Map Display API, Traffic Flow API and Traffic Incident API. See here how to get the TomTom API key. The other configuration options are optional. Read more about them in the Configuring a map guide. - Create an instance of
MapFragmentin theonCreate()method of the activity. If you want to initialize it in a fragment do it in theonCreateView()method.val mapOptions = MapOptions(mapKey = "YOUR_TOMTOM_API_KEY")val mapFragment = MapFragment.newInstance(mapOptions) - Set the created
MapFragmentto the container using theFragmentManager.1supportFragmentManager.beginTransaction()2 .replace(R.id.map_container, mapFragment)3 .commit()
In XML
- Add a fragment container for the map.
- Declare the TomTom namespace
xmlns:tomtom="http://schemas.android.com/apk/res-auto". - Provide the
android:name="com.tomtom.sdk.map.display.ui.MapFragment"property to the fragment. - Provide your API key with
tomtom:mapKey="YOUR_TOMTOM_API_KEY".1<androidx.fragment.app.FragmentContainerView2 xmlns:tomtom="http://schemas.android.com/apk/res-auto"3 android:id="@+id/map_fragment"4 android:name="com.tomtom.sdk.map.display.ui.MapFragment"5 android:layout_width="match_parent"6 android:layout_height="match_parent"7 tomtom:mapKey="YOUR_TOMTOM_API_KEY" /> - The map can be configured using attributes. Read more about this in the Configuring a map guide.
- At this point, you can obtain the
MapFragmentobject by usingFragmentManager. It is recommended to do this in theonCreate()method of an activity or in theonCreateView()method of a fragment.val mapFragment = supportFragmentManager.findFragmentById(R.id.map_fragment) as? MapFragment
Accessing the TomTomMap
When the map instance is ready to be used, you can access the TomTomMap object asynchronously by setting a callback. Implement the MapReadyCallback interface and provide it to the getMapAsync method. This means that onMapReady is called when the map is fully initialized. From this point the TomTomMap object can be used to access map functionalities like adding a marker or manipulating the camera position.
1mapFragment.getMapAsync { tomtomMap: TomTomMap ->2 // Your code goes here3}
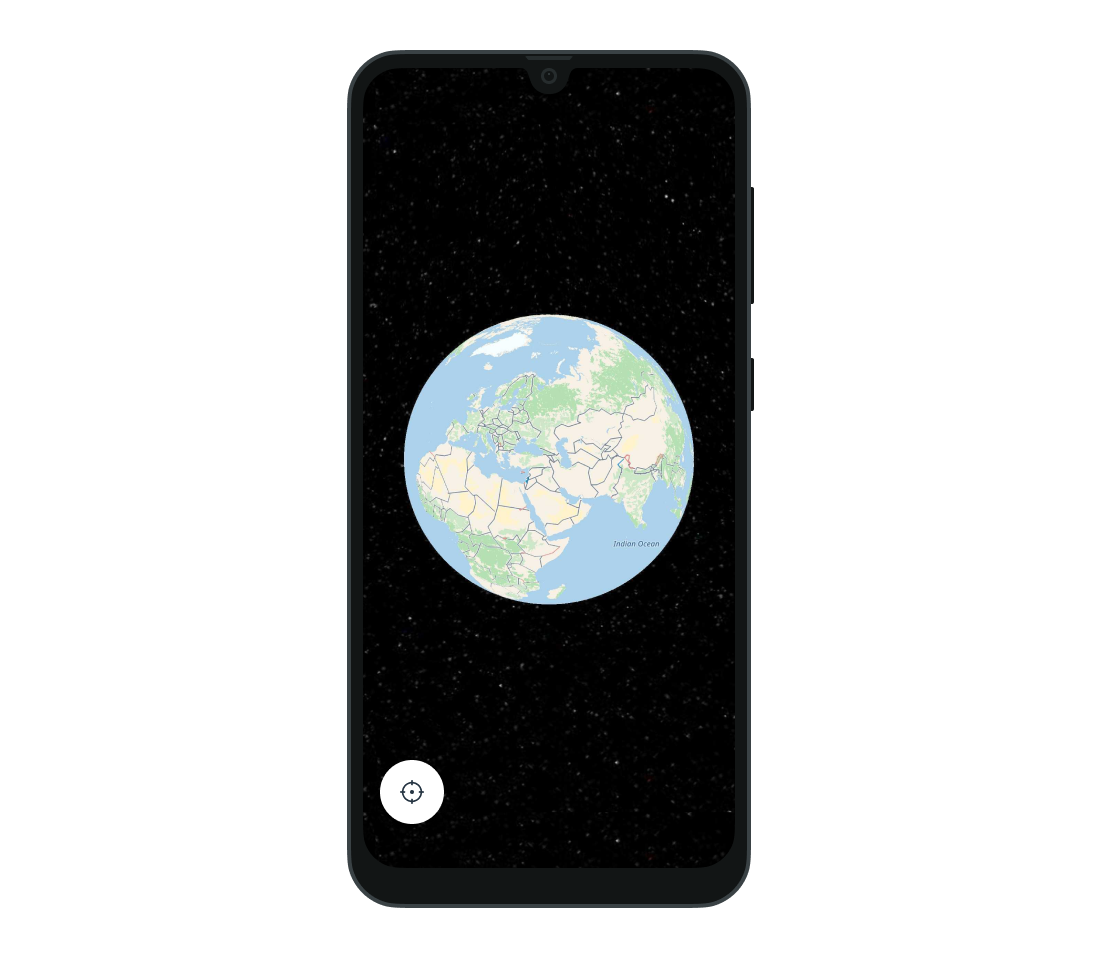
Now, deploy the application to your device or emulator. You should see the map in form of a globe. Use gestures to change the camera position and zoom in to the location you want to browse.
Next steps
Since you have learned how to do some of the basics, here are recommendations for the next steps: