Markers
Markers are used to indicate specific locations on the map. Markers are added to the fully initialized TomTomMap object. You can see how to add a map to your app here.
The first step is to create a MarkerOptions object that describes the properties of the marker. The required properties are:
coordinate-GeoPointwhere the marker should be added.pinImage-Imageused as aMarkerpin.
1val amsterdam = GeoPoint(52.379189, 4.899431)2val markerOptions =3 MarkerOptions(4 coordinate = amsterdam,5 pinImage = ImageFactory.fromResource(R.drawable.ic_marker_pin),6 )
Add a marker to the map with defined MarkerOptions.
1override fun onMapReady(map: TomTomMap) {2 this.tomTomMap = map3 val amsterdam = GeoPoint(52.379189, 4.899431)4 val markerOptions =5 MarkerOptions(6 coordinate = amsterdam,7 pinImage = ImageFactory.fromResource(R.drawable.ic_marker_pin),8 )9 this.tomTomMap.addMarker(markerOptions)10}
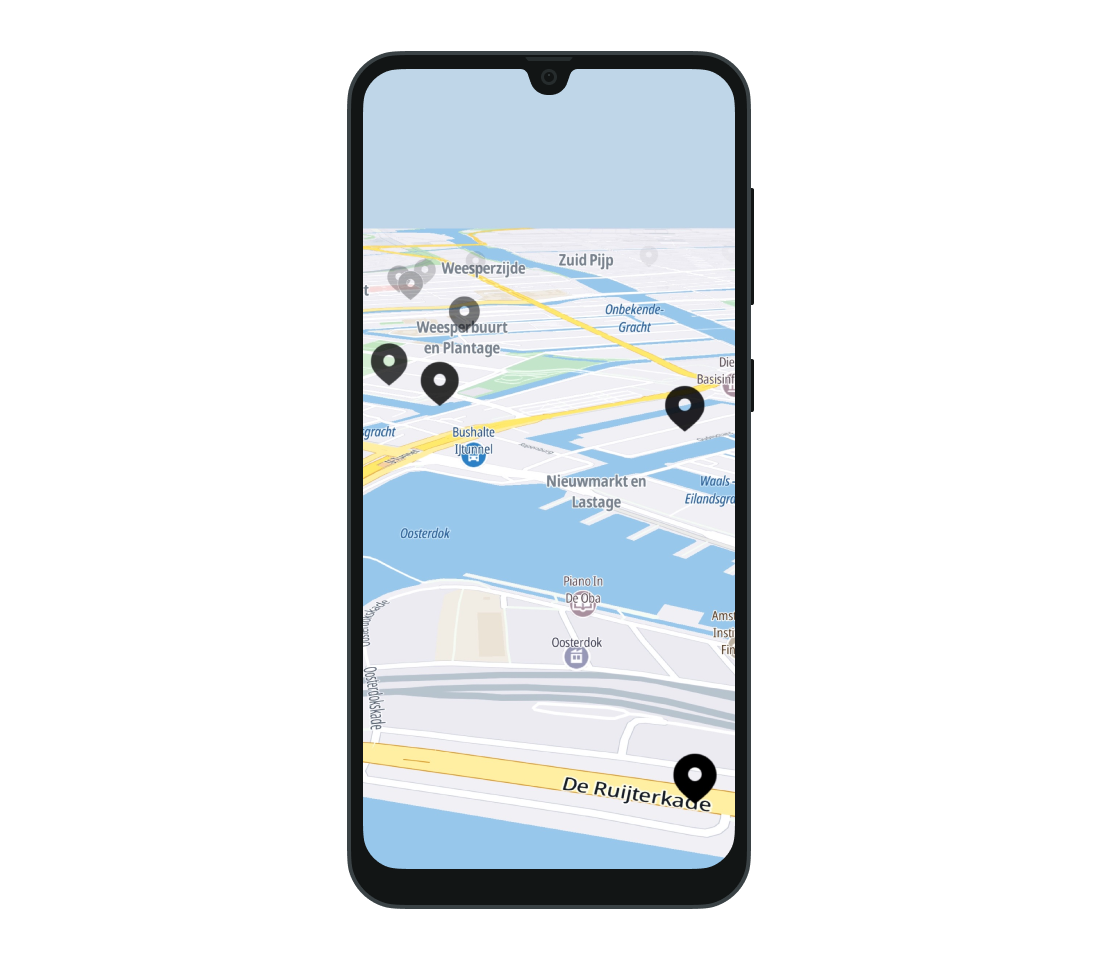
The marker will be displayed at the provided coordinates. The instance of the added marker is returned from the TomTomMap.addMarker(MarkerOptions) method. Marker configuration and position are preserved during screen rotation. The Map SDK does not impose a limit on the number of markers added to the map. In order to reduce memory usage, the images used for markers are cached. Note that the user’s device can have limited resources, which can reduce performance of the application.
Customizing a marker image
A custom image for the marker must be defined using the ImageFactory object. ImageFactory allows you to create images from a variety of sources:
- Bitmap
- Drawable from resources
- Assets
- URI
Then when you create the MarkerOptions object you can specify its pinImage property which is the bottom layer of the marker and defines its boundaries. The background of the marker can be customized with the shieldImage property of MarkerOptions. The pinIconImage defines a layer used to display an icon on the pin. It will be placed over the background. Note that shieldImage and pinIconImage will be rendered only within the boundaries of pinImage.
1val amsterdam = GeoPoint(52.379189, 4.899431)2val markerOptions =3 MarkerOptions(4 coordinate = amsterdam,5 pinImage = ImageFactory.fromResource(R.drawable.ic_marker_pin),6 pinIconImage = ImageFactory.fromResource(R.drawable.ic_marker_icon),7 )8tomTomMap.addMarker(markerOptions)
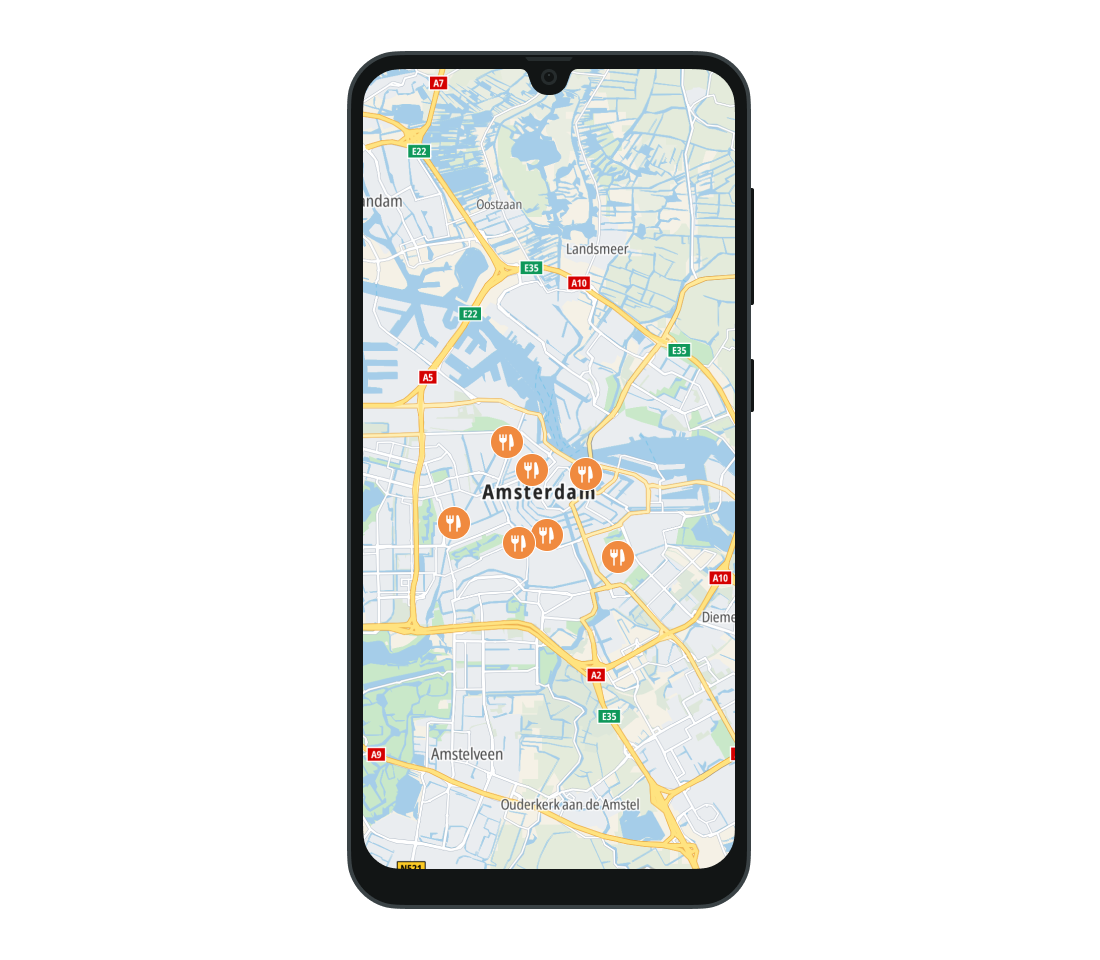
Example: the pinImage property is set to the orange marker pin, which is a background for the fork and knife icon set as pinIconImage.
Removing a marker
The Map Display module contains the removeMarkers(String) method, which removes all the markers in the specific instance of TomTomMap that match the provided tag. You can also remove a single marker by calling the remove method on the Marker object. Even if you keep a reference to the removed marker, any interaction with it won’t have any effect.
Marker events
You can observe click and long click events performed on markers. To register these actions, set the appropriate listeners to the TomTomMap object. The clicked Marker becomes a parameter of the corresponding callback.
tomTomMap.addMarkerClickListener { marker: Marker -> /* Your code goes here */ }
tomTomMap.addMarkerLongClickListener { marker: Marker -> /* Your code goes here */ }
The listeners can be removed when they are not needed anymore by calling the
removeMarkerClickListenerorremoveMarkerLongClickListenermethods.
Zooming to markers
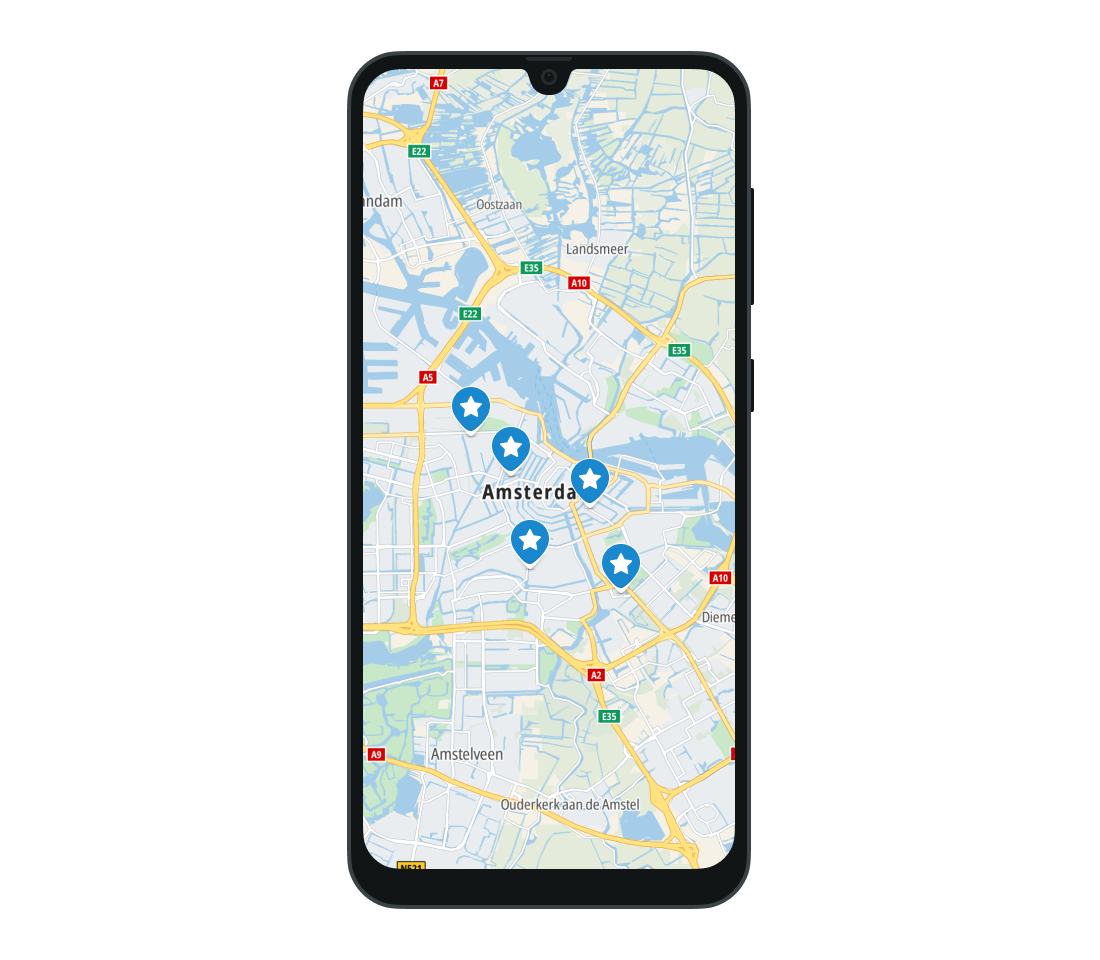
The Map Display module provides simple methods for zooming a camera to markers. You can zoom to all the markers in the TomTomMap by calling zoomToMarkers. You can also zoom to specific points or groups of points by providing a list of Marker objects to the zoomToMarkers method.`
Showing and hiding balloons
Balloons are popup views that appear on top of the map when the user taps a marker. They do not appear by default. To enable balloons to be shown, set MarkerClickListener to the map, then use its select method on the Marker object.
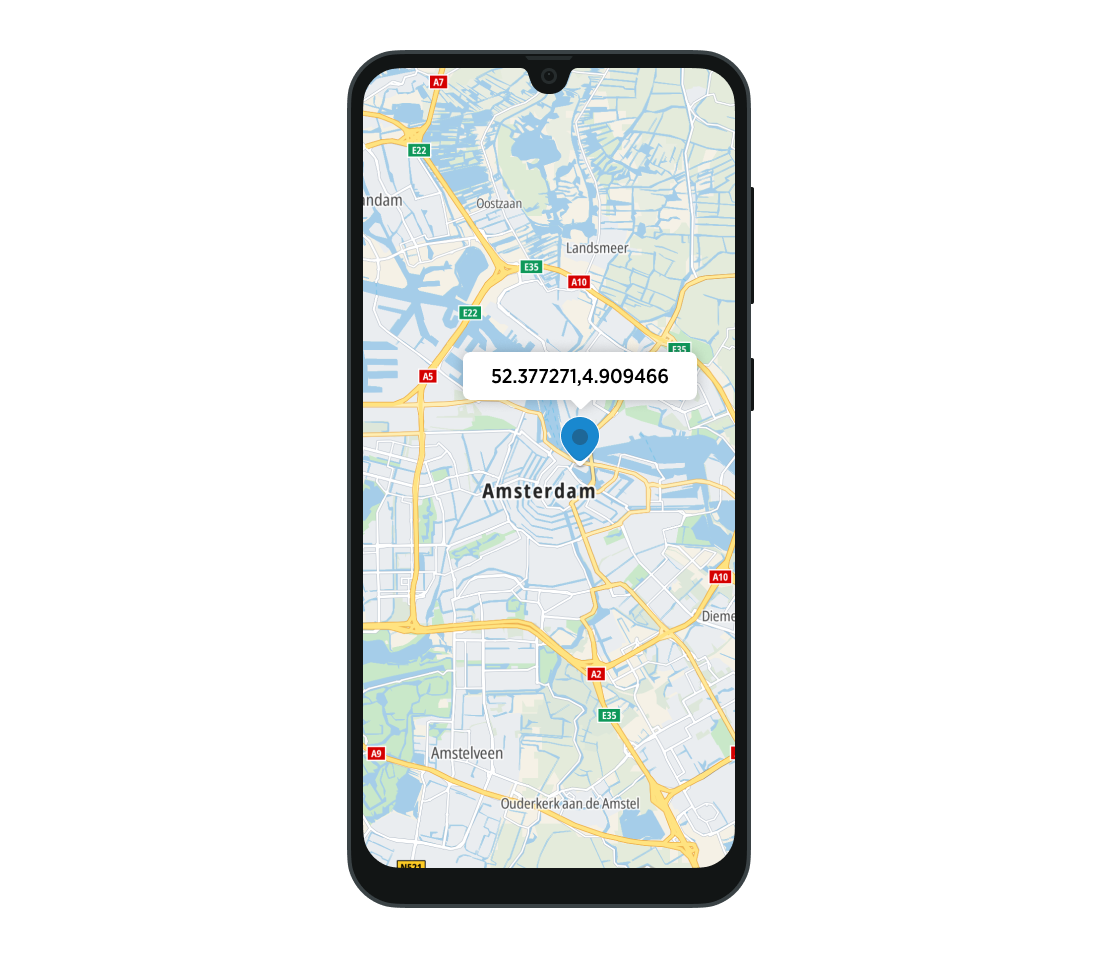
You can also show balloons with just the text from the balloonText property of the MarkerOptions objects. To do this, use the built-in BalloonViewAdapter.
1val amsterdam = GeoPoint(52.379189, 4.899431)2val markerOptions =3 MarkerOptions(4 coordinate = amsterdam,5 pinImage = ImageFactory.fromResource(R.drawable.ic_marker_pin),6 balloonText = "Amsterdam",7 )8tomTomMap.addMarker(markerOptions)910tomTomMap.addMarkerClickListener { marker: Marker ->11 if (!marker.isSelected()) {12 marker.select()13 }14}
To hide a balloon, call deselect.
To check if a balloon is already visible, use the isSelected method.
Custom balloon views
You can also create your own balloon view.
- Prepare your layout in an XML file. For example:
1<LinearLayout xmlns:android="http://schemas.android.com/apk/res/android"2 android:layout_width="wrap_content"3 android:layout_height="wrap_content"4 android:background="@color/maps_light_gray"5 android:gravity="center"6 android:orientation="horizontal">78 <ImageView9 android:layout_width="wrap_content"10 android:layout_height="wrap_content"11 android:padding="@dimen/offset_triple_dot"12 android:src="@drawable/ic_custom_balloon_icon" />1314 <LinearLayout15 android:id="@+id/linearLayout"16 android:layout_width="wrap_content"17 android:layout_height="wrap_content"18 android:orientation="vertical">1920 <TextView21 android:layout_width="wrap_content"22 android:layout_height="wrap_content"23 android:paddingTop="@dimen/offset_triple_dot"24 android:text="@string/balloon_tomtom_hq"25 android:textStyle="bold" />2627 <TextView28 android:id="@+id/balloon_text_tv"29 android:layout_width="wrap_content"30 android:layout_height="wrap_content"31 android:padding="@dimen/offset_triple_dot"32 android:text="@string/balloon_default_text" />33 </LinearLayout>34</LinearLayout>
- Create a view adapter to implement the
BalloonViewAdapterinterface. You need to implement anonCreateBalloonViewmethod. Its parameter is theMarkerthat will be clicked. - Set the content of the balloon view using
Markerproperties.1@Suppress("unused")2class CustomBalloonViewAdapter(private val context: Context) : BalloonViewAdapter {3 override fun onCreateBalloonView(marker: Marker): View {4 val view = LayoutInflater.from(context).inflate(R.layout.custom_balloon_view, null)5 val balloonTextTv = view.findViewById<TextView>(R.id.balloon_text_tv)6 balloonTextTv.text = marker.balloonText7 return view8 }9} - Set the created
CustomBalloonViewAdapterto theMapVieworMapFragment1mapView.markerBalloonViewAdapter = CustomBalloonViewAdapter(context = this)2// or3mapFragment.markerBalloonViewAdapter = CustomBalloonViewAdapter(context = this) - When the custom balloon has been set, a call to the
selectmethod on the selectedMarkerwill show the provided view above theMarker.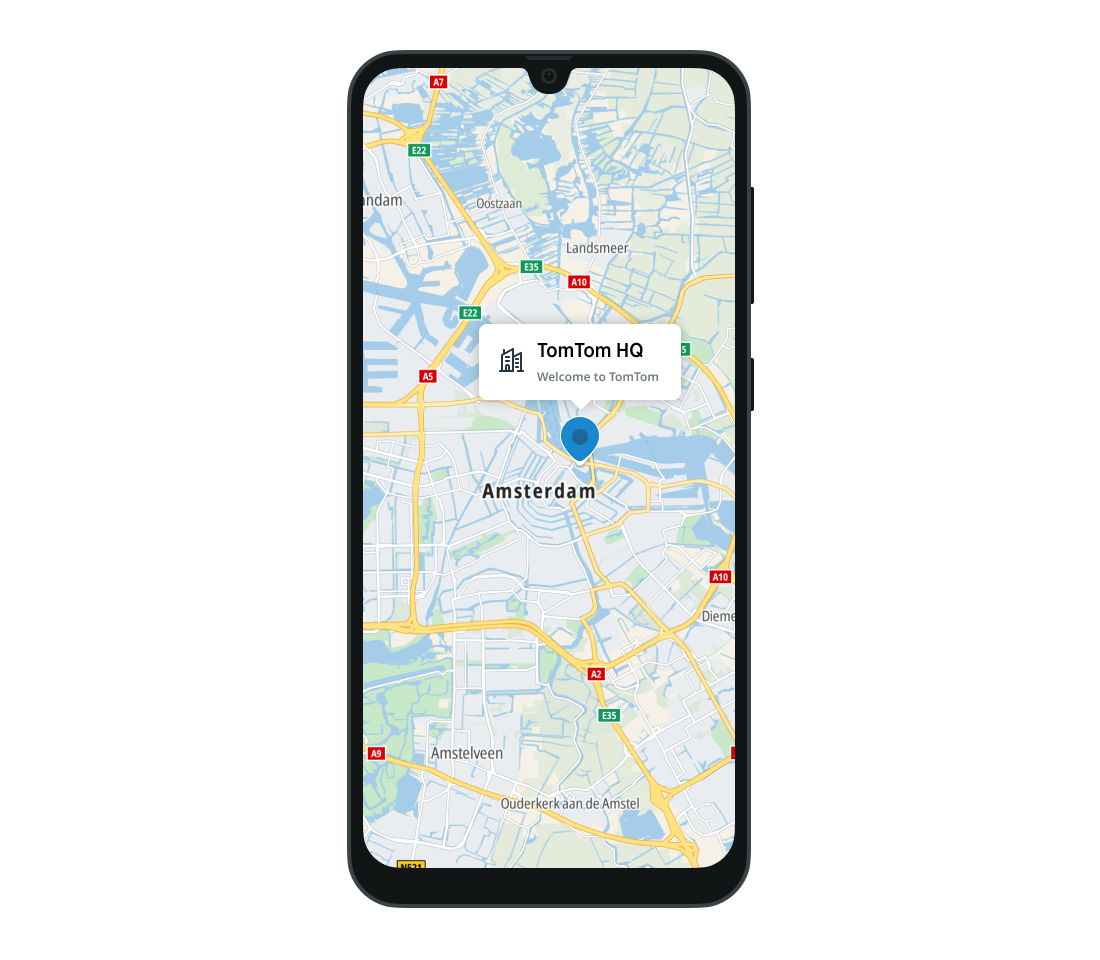
Marker fading and shrinking
To prevent the map becoming overloaded with markers, you can set custom fading and shrinking ranges. Set the markersFadingRange and markersShrinkingRange properties of the TomTomMap instance. For example:
tomTomMap.markersFadingRange = IntRange(200, 500)tomTomMap.markersShrinkingRange = IntRange(200, 500)
You can also completely disable marker fading and shrinking by setting isMarkersFadingEnabled and isMarkersShrinkingEnabled to false.
tomTomMap.isMarkersFadingEnabled = falsetomTomMap.isMarkersShrinkingEnabled = false
Next steps
Since you have learned how to work with markers, here are recommendations for the next steps: