Managing access with single sign-on (SSO)

To learn more about what SSO is and how it benefits your organization, see Single sign-on (SSO) login overview.
In this guide
How to request access using SSO
What happens if an approver doesn't act
How to approve and manage user access (for approvers only)
1. How to request access using SSO
Go to Access packages. An access package is a collection of resources (such as apps or portals) that TomTom has made available to your organization for SSO-based access.
Enter your company email address. You’ll be redirected to your company’s login page, where you can enter your password to continue.
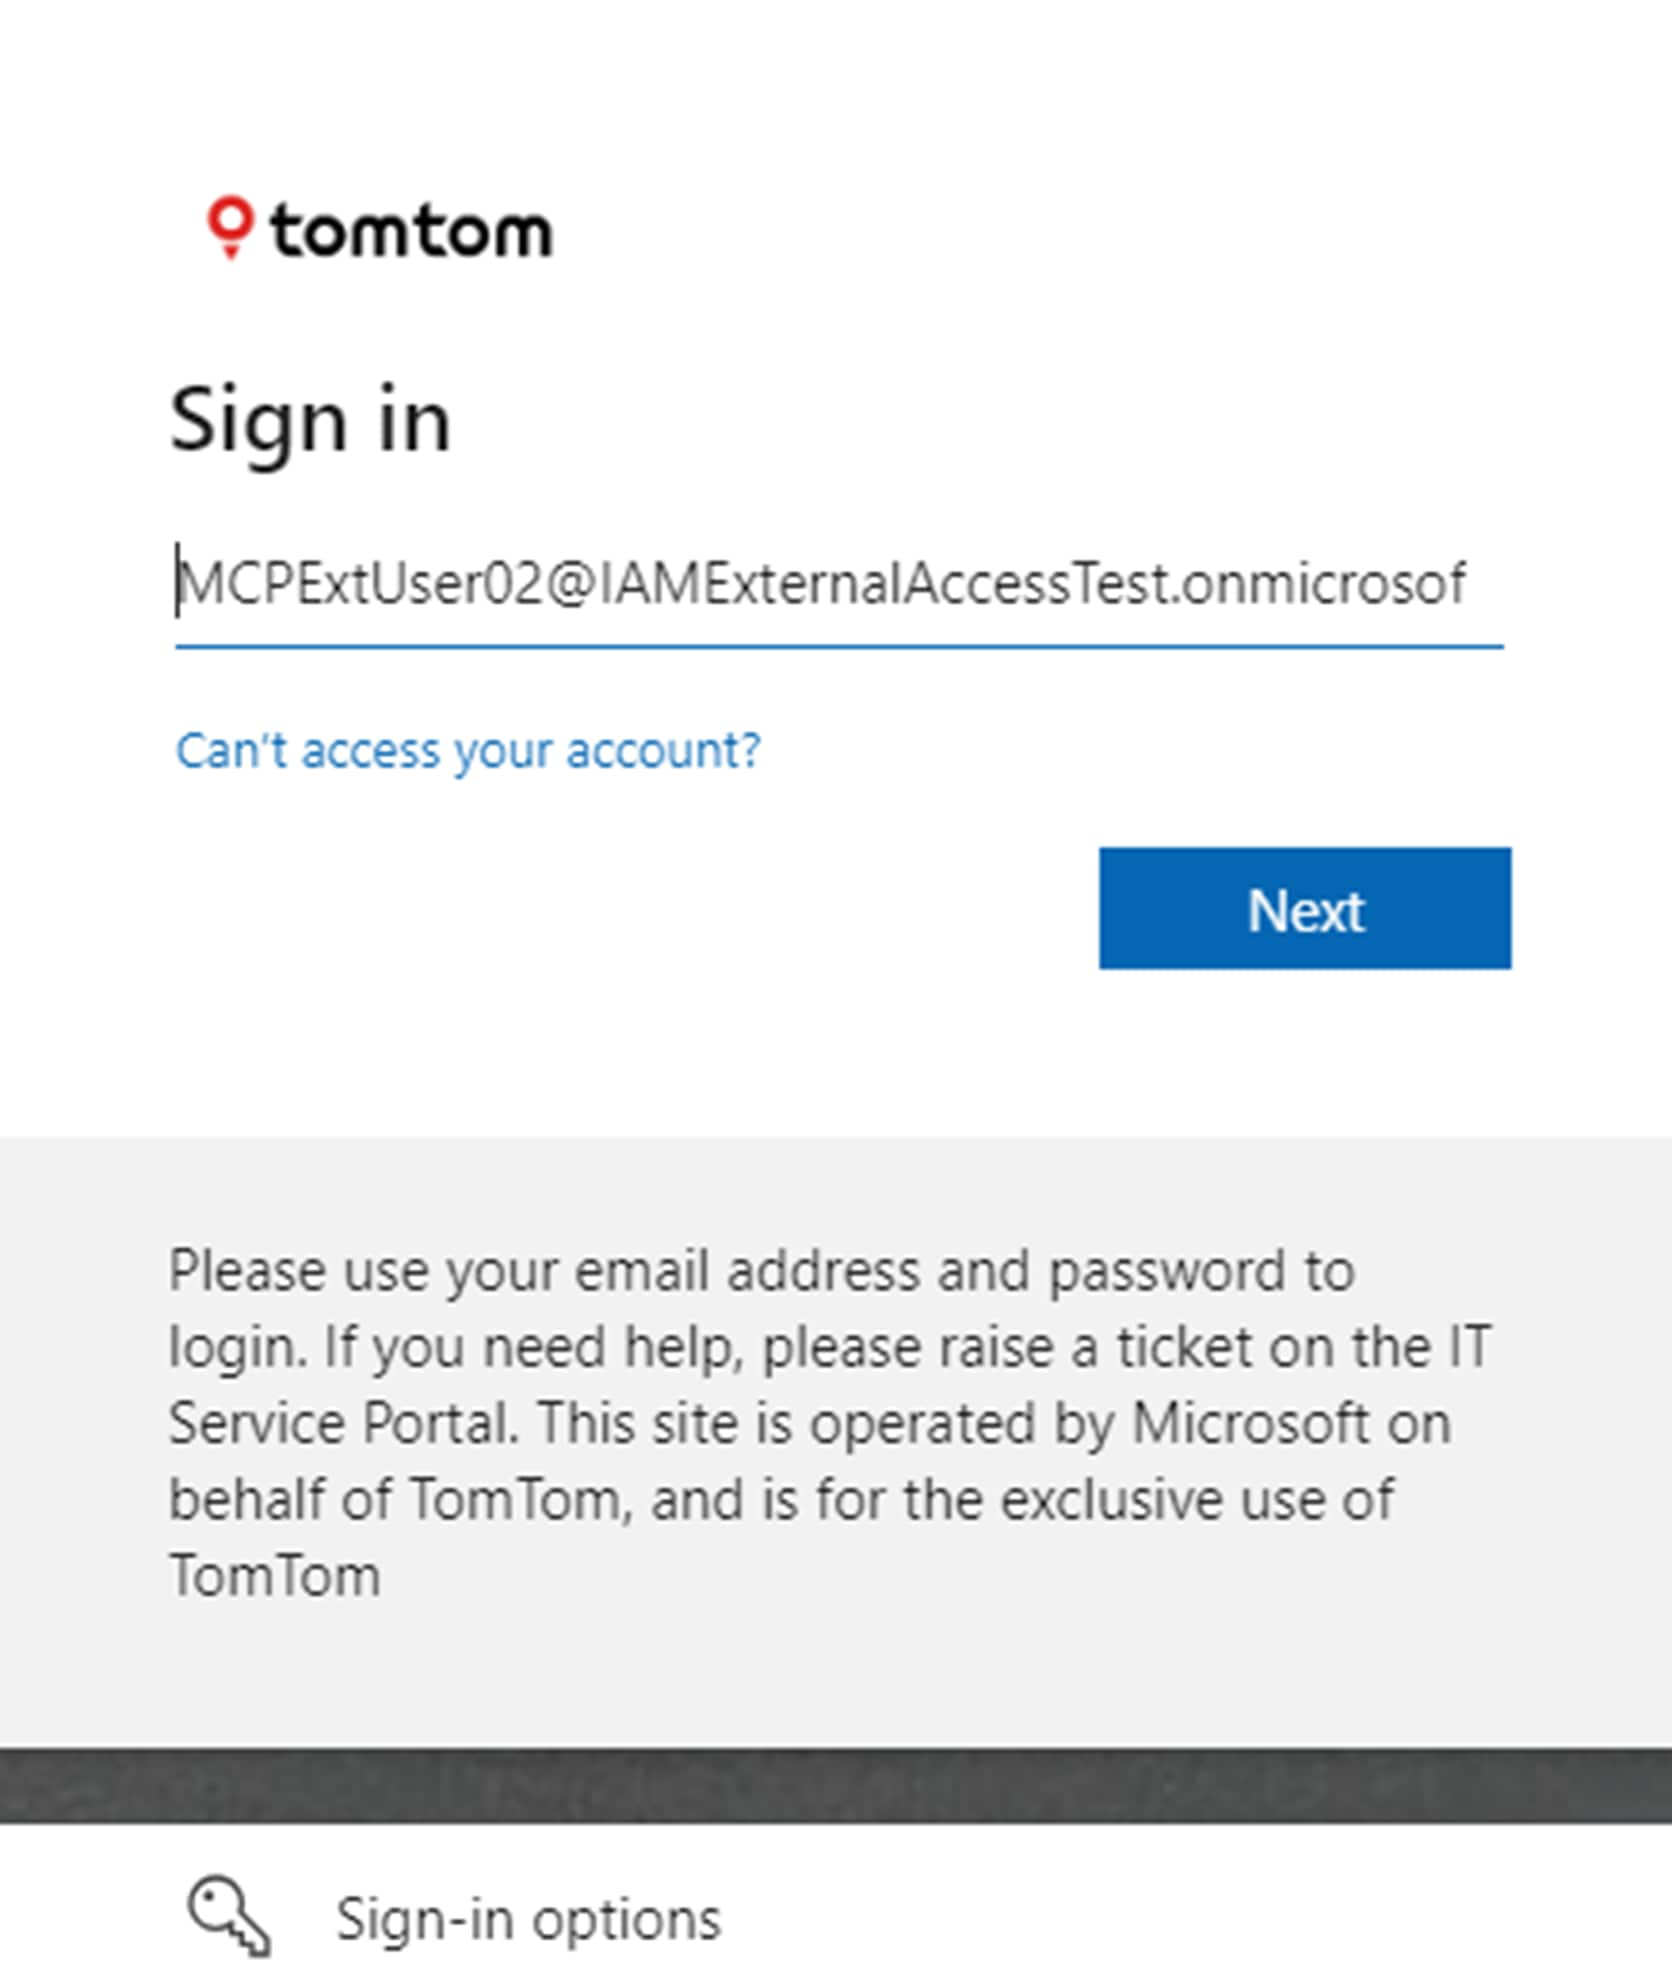 SSO login
After logging in, you'll be redirected to the My Access portal, where you’ll see all access packages available to your organization. Request the package you need.
 Access packagesHere are some of the access packages you may see in My Access:
 Map Content Portal – <Company Name>
→ Grants access to the Map Content Portal, where you can browse and download uncompiled maps.TomTom Dashboard & Help Center – <Company Name>
→ Grants access to the TomTom Dashboard and Help Center, where you can manage your TomTom products and services.
Click Continue.
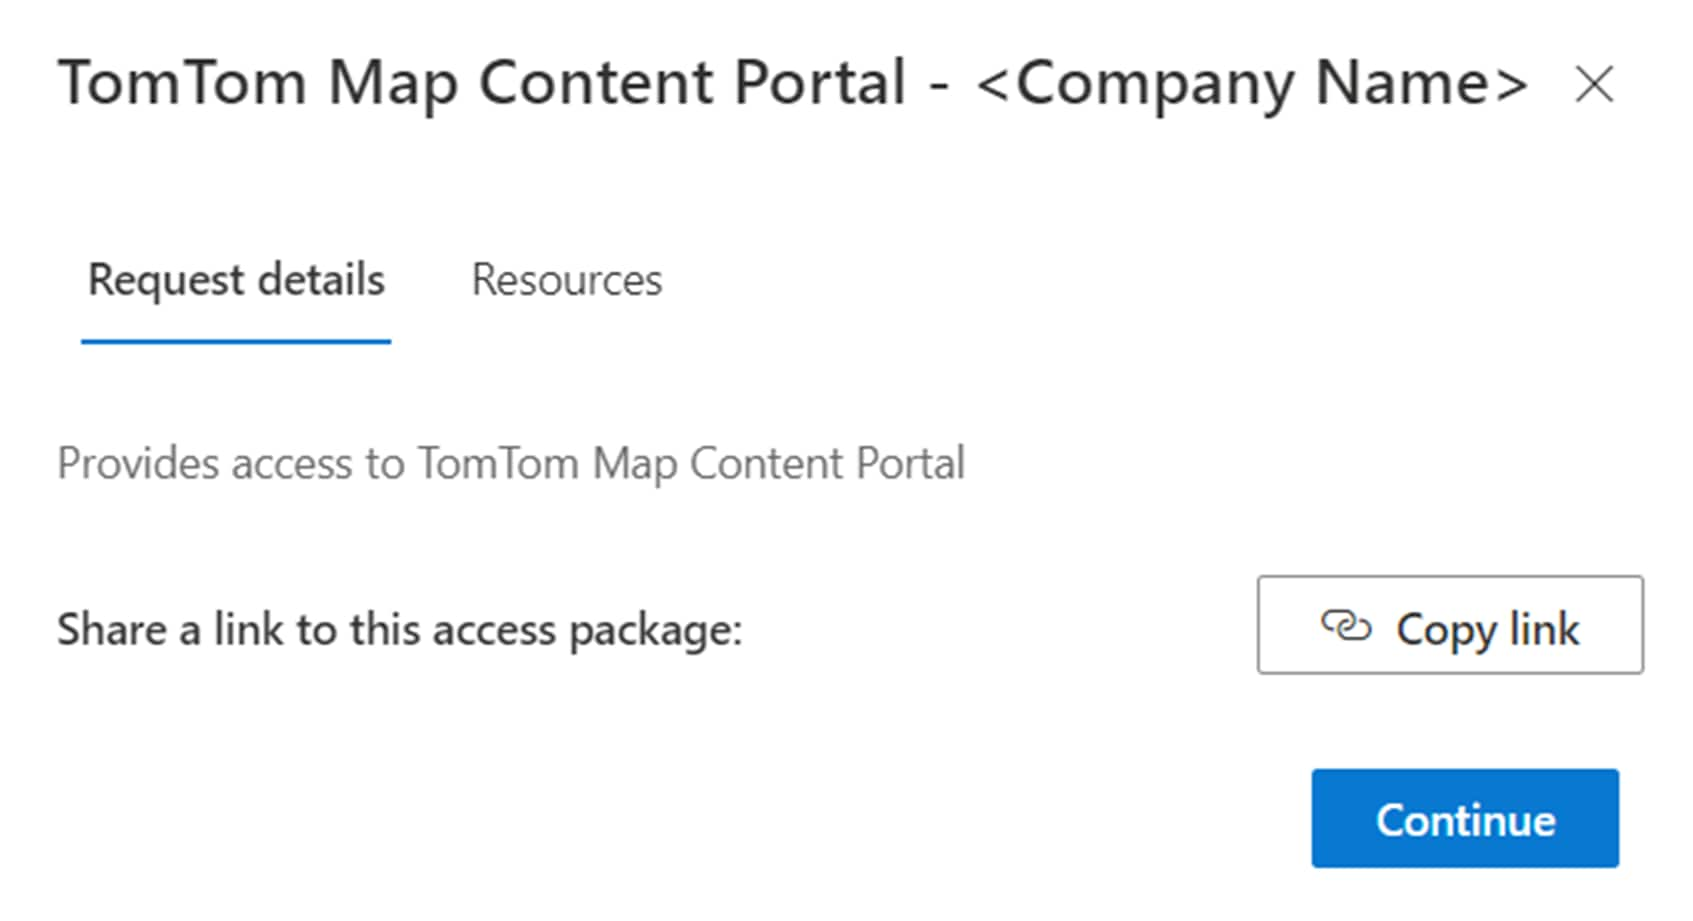 Click continue
Enter your business justification and click Continue. This justification is reviewed by your organization’s designated approver—not by TomTom—and helps them assess why access is needed.

Review and accept the consent form to share your name, email, and organization with TomTom.
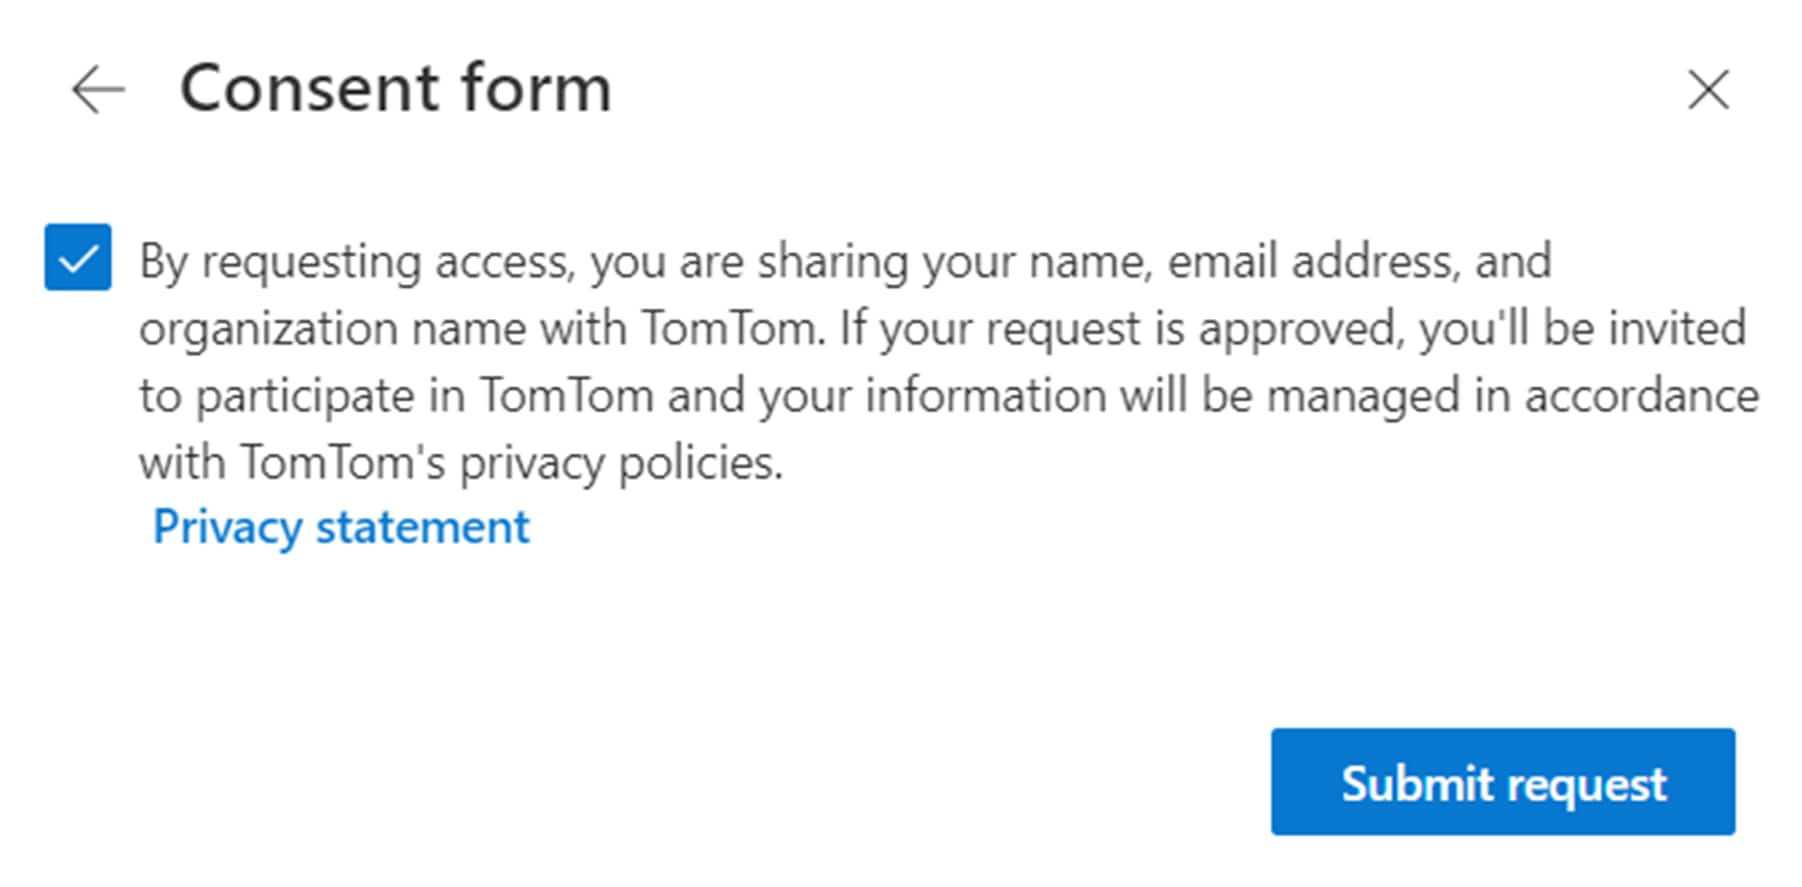 Consent form
Your request is now submitted and routed to your organization’s designated access approver. Once the request is approved or denied, you receive a confirmation email.
To log in after approval, go to the app URL or visit My Apps (microsoft.com) and click:
- the Organizations icon (top-right corner)

TomTom from the list
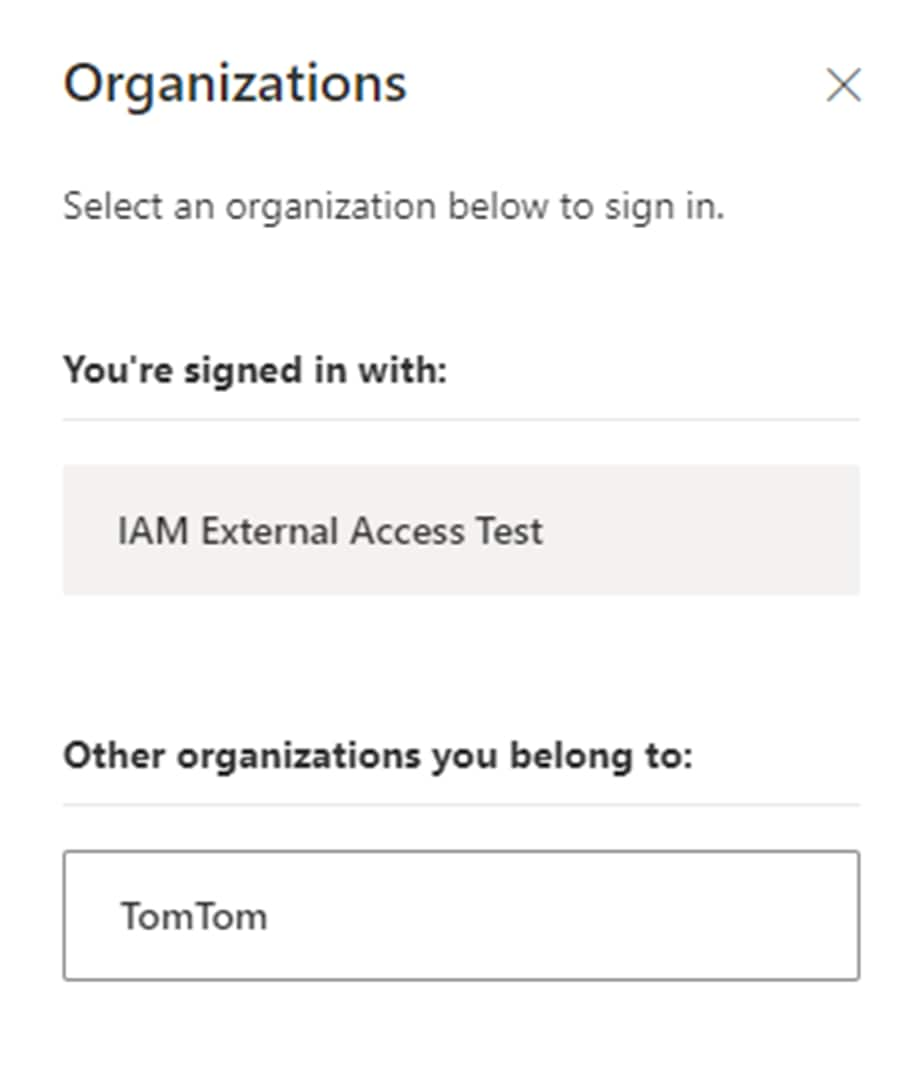 Organizations screen
- the Organizations icon (top-right corner)
- On your first login, you’ll be prompted to:
Enroll your user profile
Accept sharing of profile data with TomTom e and download uncompiled maps
Agree to TomTom's data collection policy
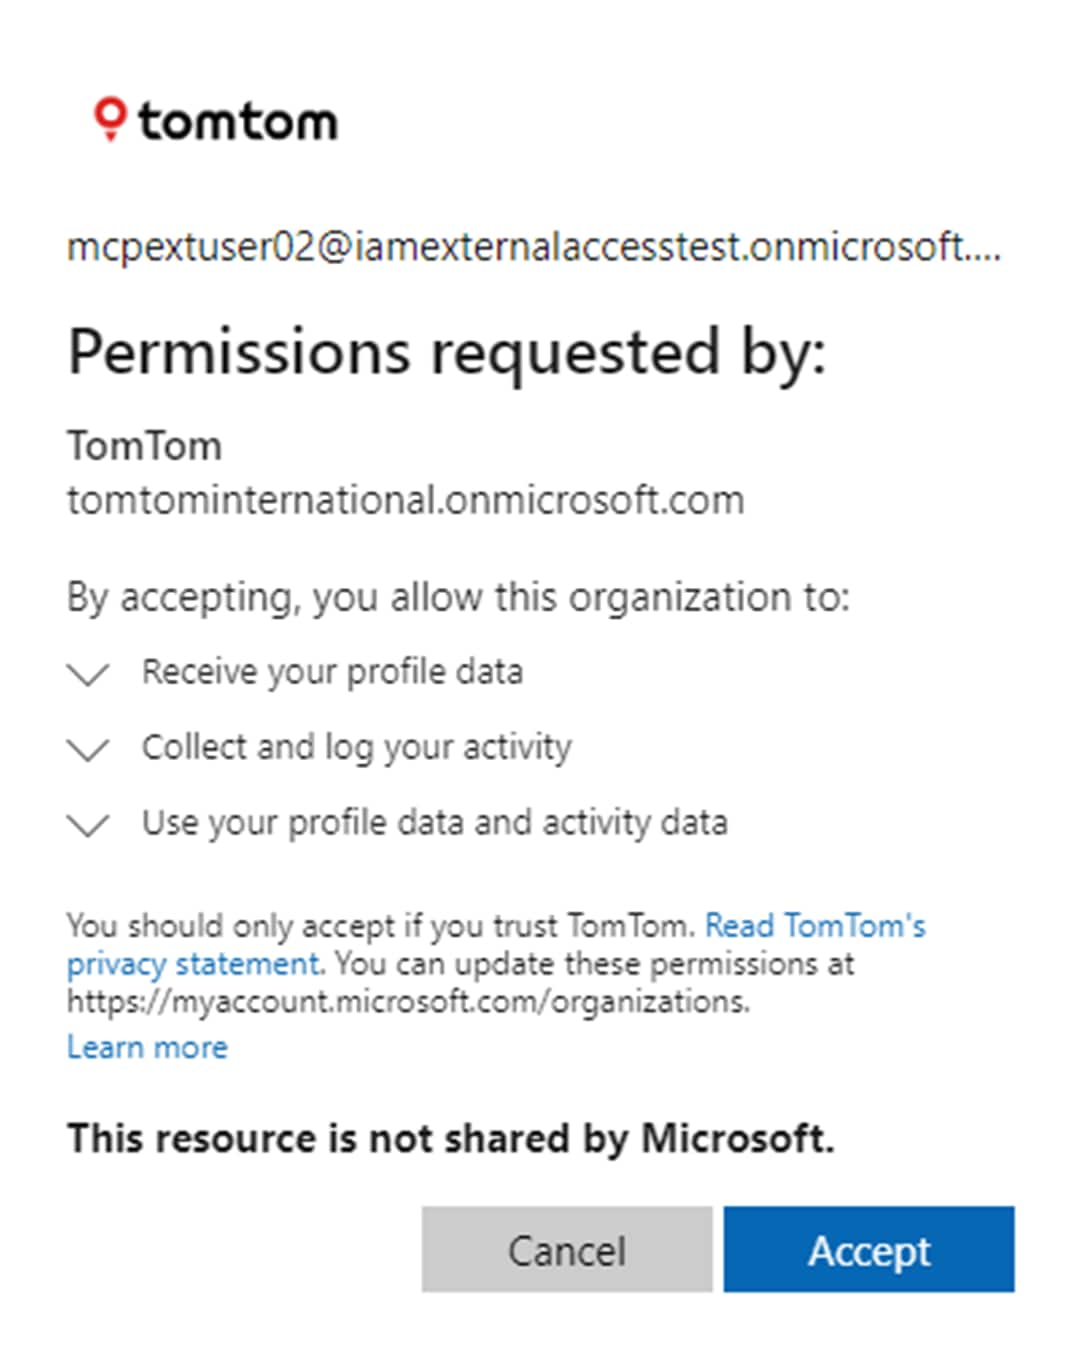 Permissions requested by user
 If your company doesn’t enforce multi-factor authentication (MFA), you’ll be asked to enroll.
Supported MFA methods:Microsoft Authenticator app
SMS authentication
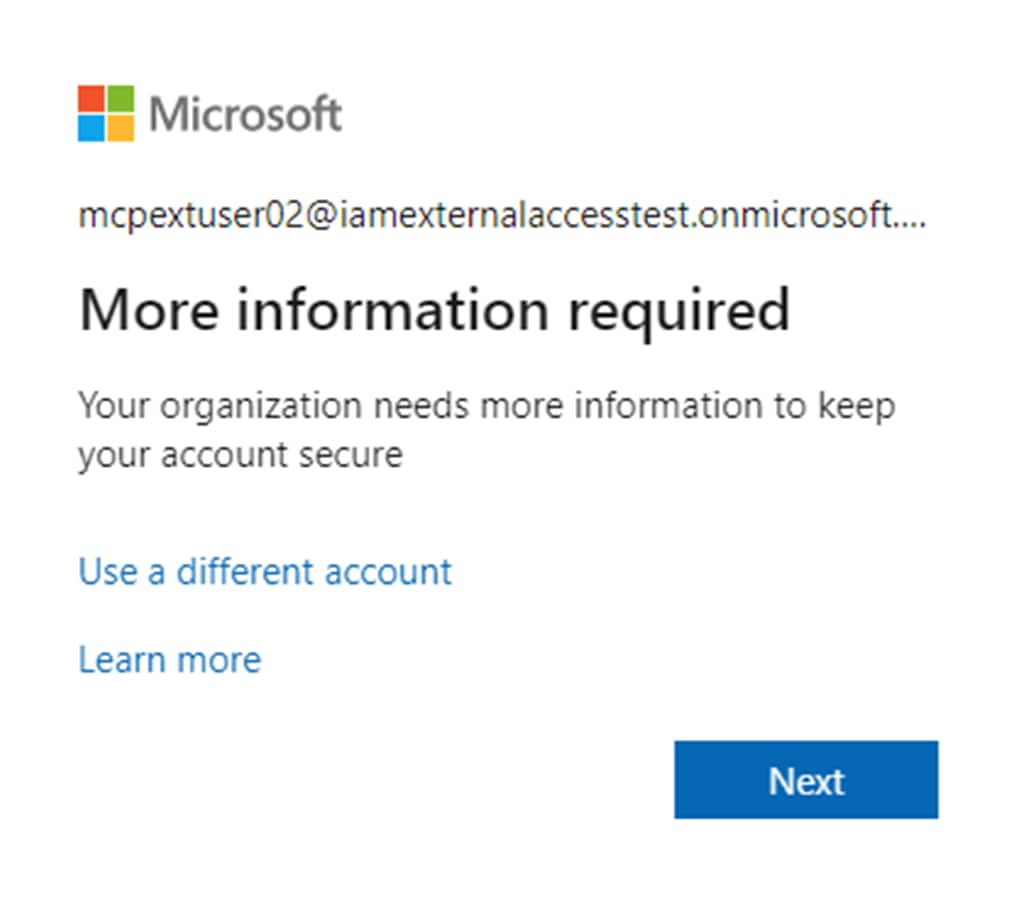 More information required
After completing setup, you'll see a dashboard listing all apps available to you.
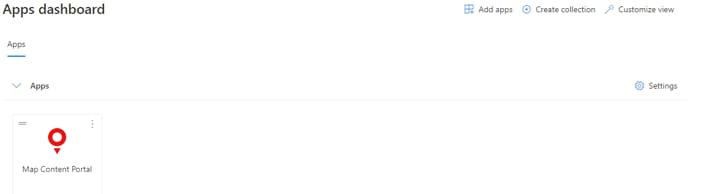 Apps dashboard
When you open an app for the first time, you must accept the app’s terms of use.
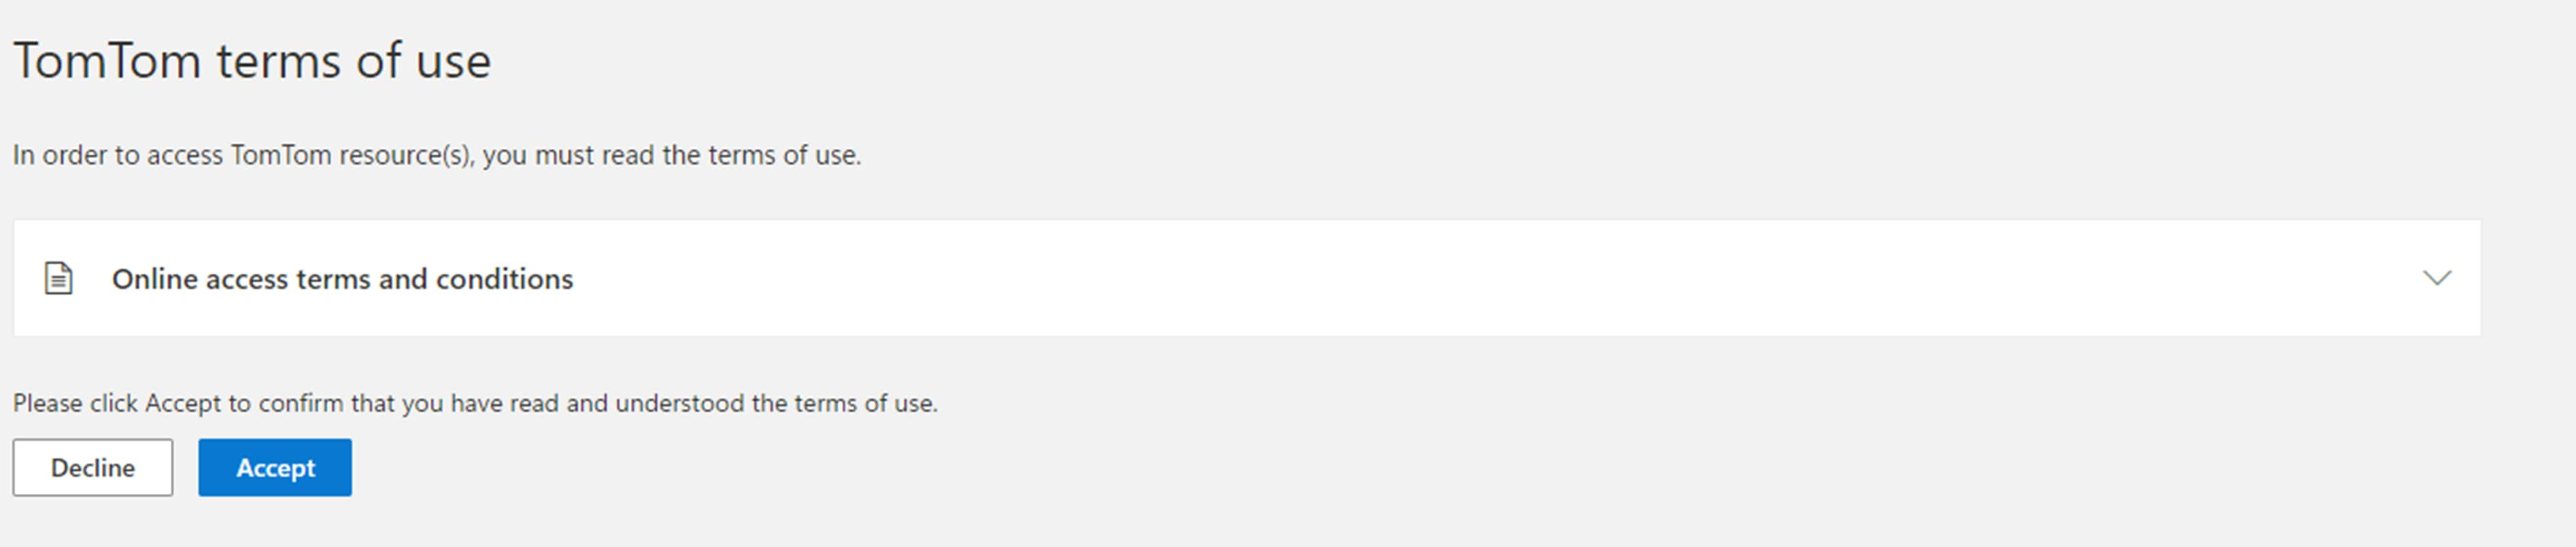 Accept terms of use
After accepting, you’re redirected to the selected app. You can now log in to all approved TomTom services using your company credentials.
2. What happens if an approver doesn’t act
If no action is taken, the requestor will receive an email stating that the access request has expired and must be resubmitted.
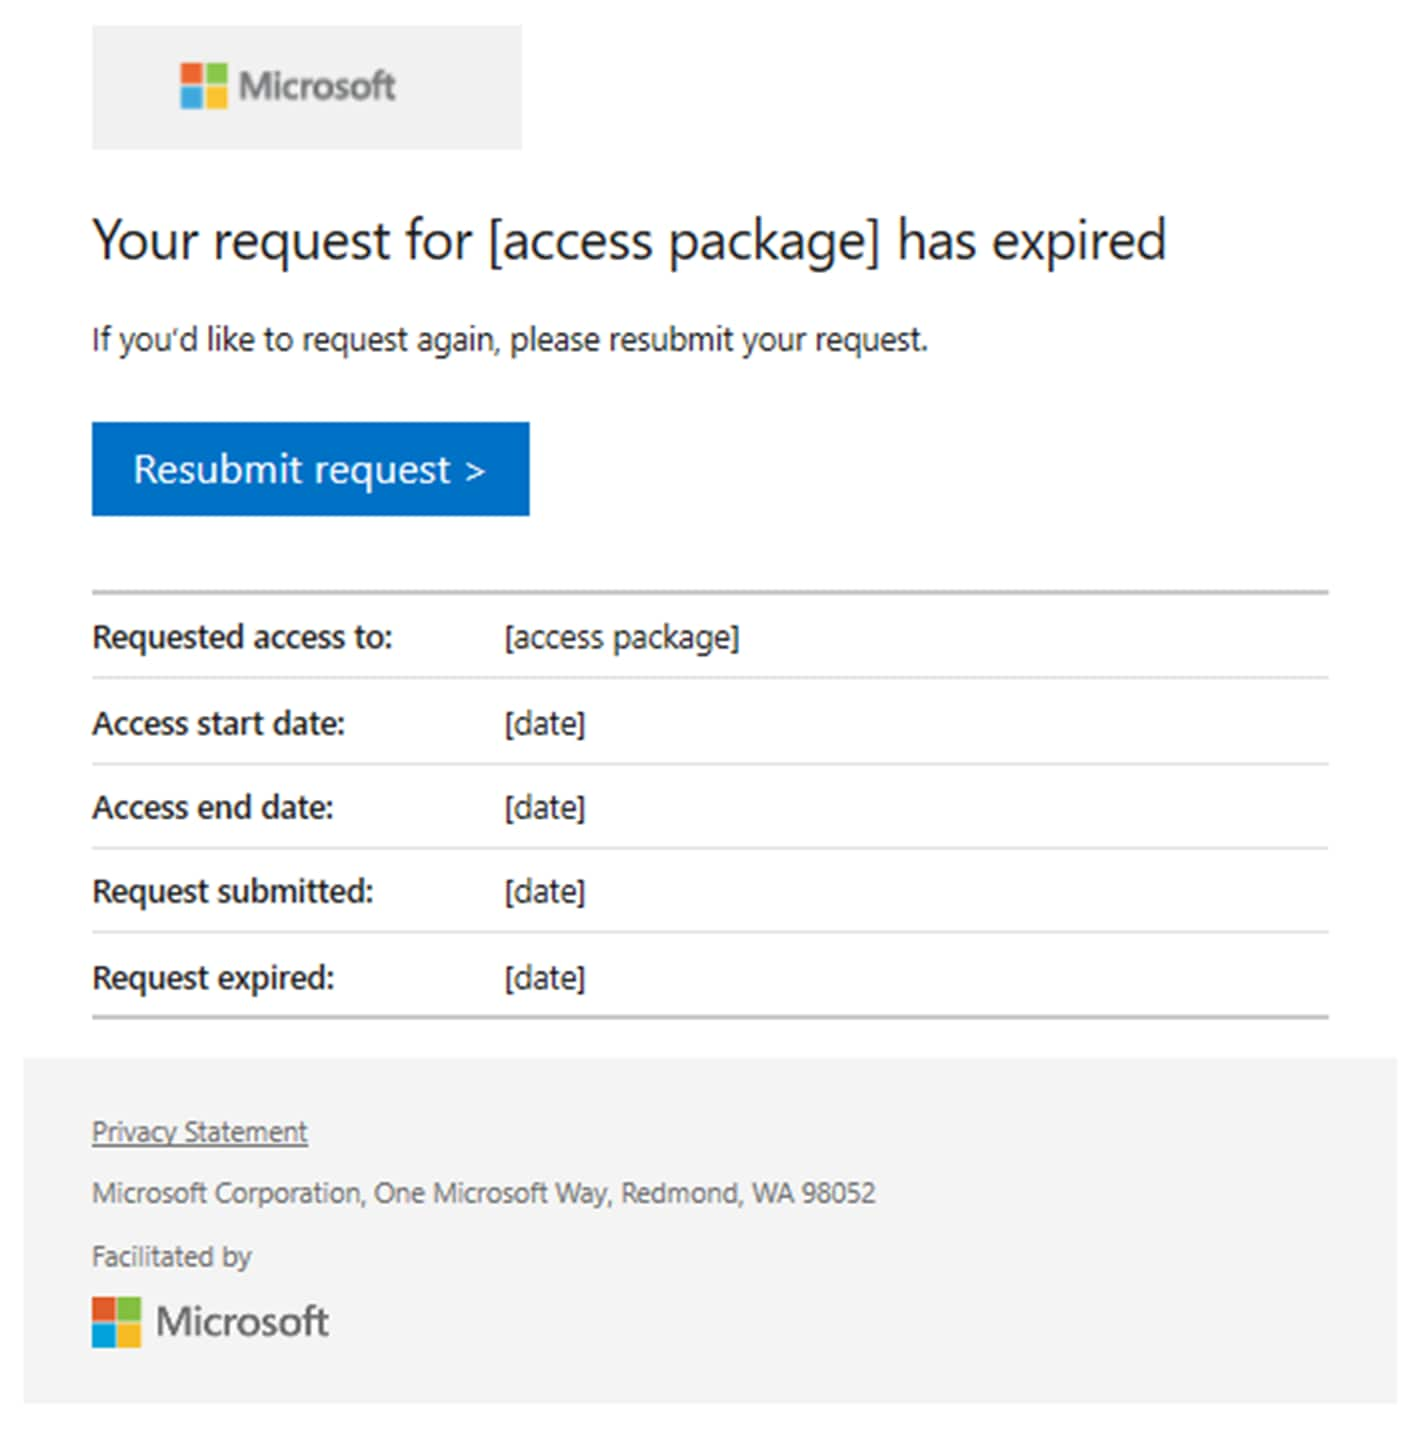 Access request has expired
3. How to approve and manage user access (for approvers only)
Approvers receive an email with a link to approve or deny the access request. The request is valid for 14 days. When the approver clicks Approve or deny in the email notification, they are redirected to the Approvals page, where all their pending requests are listed. The approver can also access this page directly using this link.
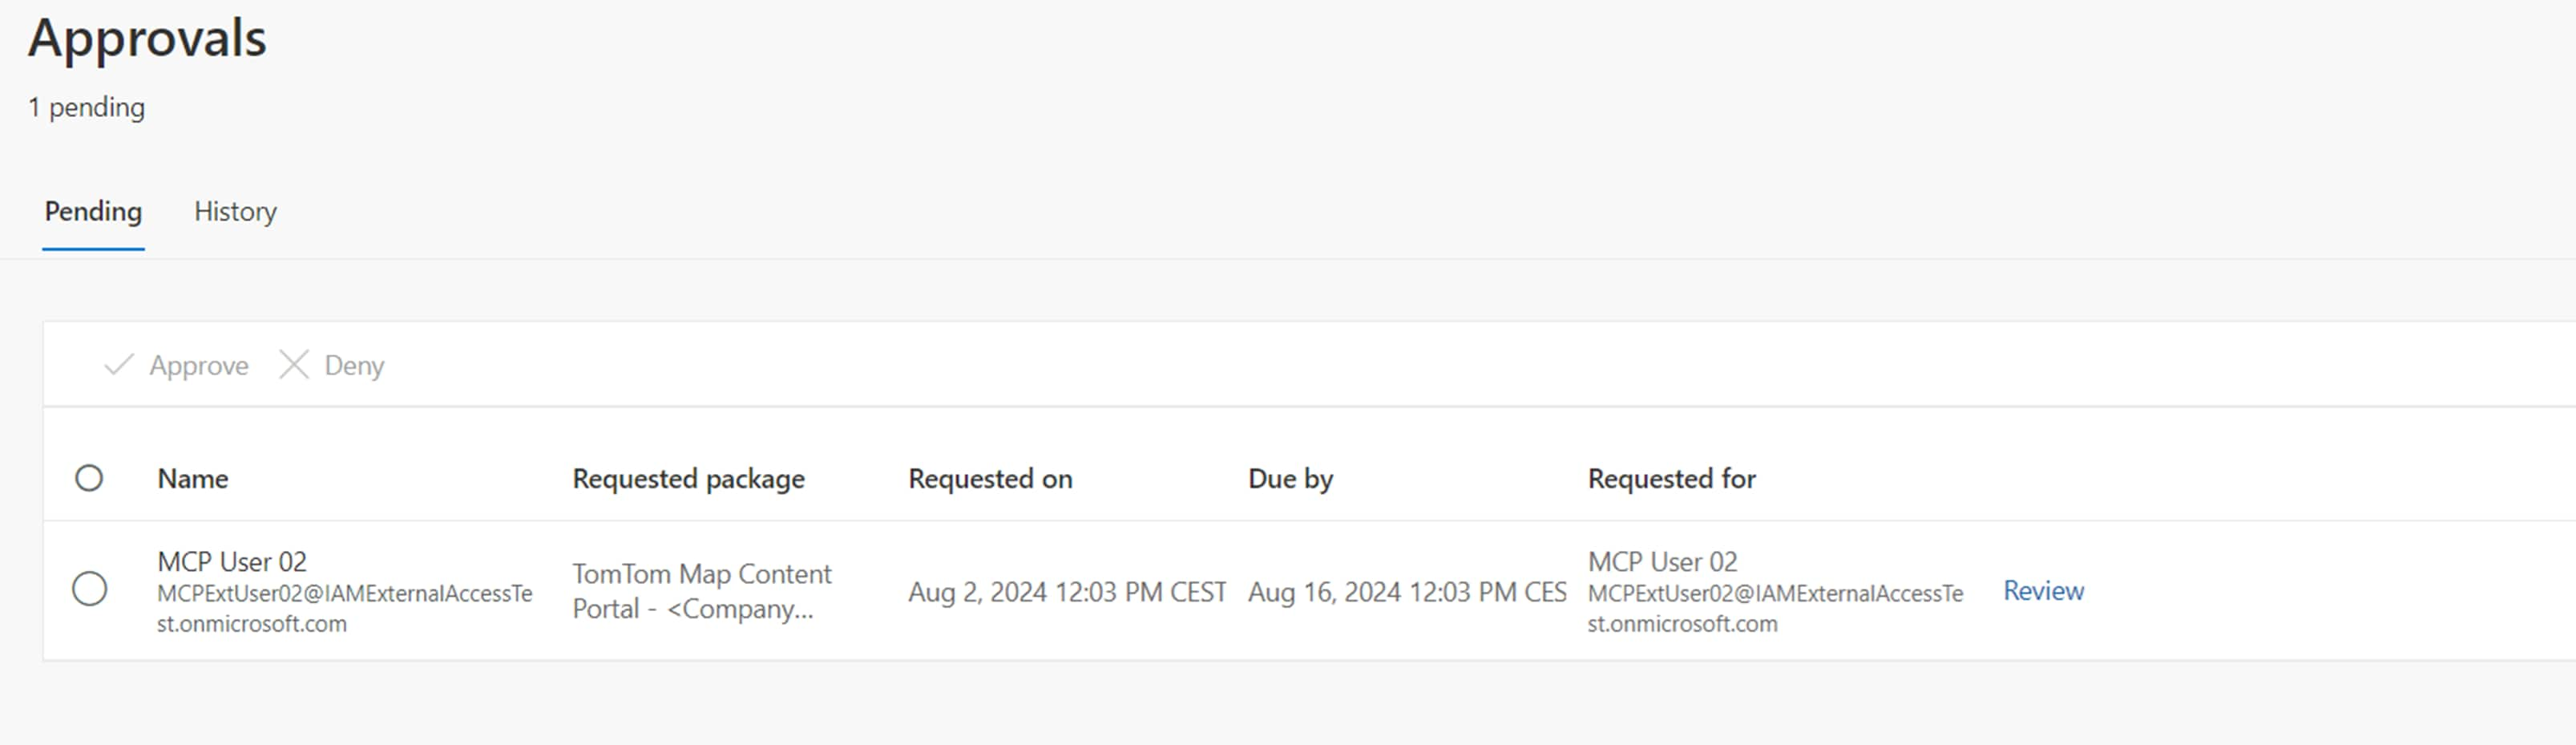 Pending approvals screen
Approvers can select one or more requests and either approve or deny them.
 Approve or deny requests
- To complete the process, the approver must provide a reason and submit their decision. Once the decision is submitted, all approvers receive a notification with the outcome.