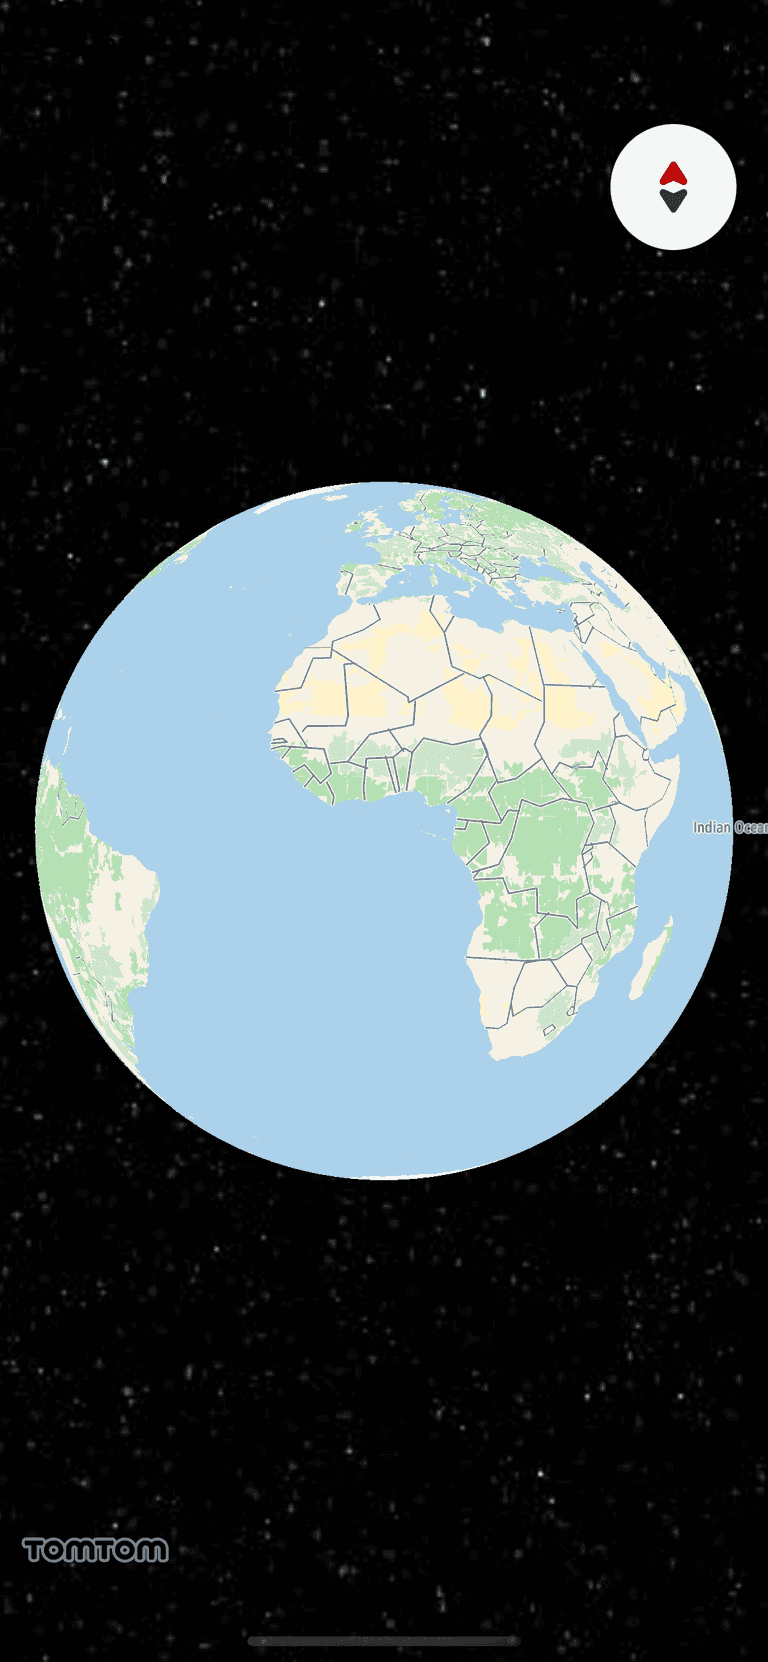
Quickstart
The Map Display module provides tools to use the TomTom map in iOS applications, and lets you add visual components to the map, such as routes and markers.
You can also control map interactions and the camera position.
Project setup
Configure the project according to the project setup guide and import the necessary frameworks using the following instructions, based on your preferred package manager:
Swift Package Manager
- Open your App’s target and navigate to General > Frameworks, Libraries, and Embedded Content.
- Add the following TomTomSDK libraries from the provided code snippet. Once the project is set up, import the mentioned frameworks into your code.
import TomTomSDKMapDisplay
CocoaPods
- Add the
TomTomSDKMapDisplaymodule to your project’sPodfile1TOMTOM_SDK_VERSION = '0.71.1'23target 'YourAppTarget' do4 use_frameworks!5 pod 'TomTomSDKMapDisplay', TOMTOM_SDK_VERSION6end - Install the dependencies by executing the following commands in the project directory:
pod repo update tomtom-sdk-cocoapodspod install --repo-update
- Import the
TomTomSDKMapDisplayframework:import TomTomSDKMapDisplay
Adding a map
The Map Display module provides several classes and protocols to work with the map:
MapView- A class used to display the map in the view hierarchy. Use it to interact with the map UI components and adjust the camera.TomTomMap- The entry point for methods related to the map.MapViewDelegate- A delegate that reports when theTomTomMapis ready to be used.MapOptions- A class used to set the initial configuration of the map.
Initializing MapView
Before initializing
MapViewyou must assign your API key using theMapsDisplayService. You can do it inside the application(_:didFinishLaunchingWithOptions:) method of yourAppDelegate.MapsDisplayService.apiKey = "YOUR_TOMTOM_API_KEY"
Storing API keys directly in the codebase, as currently done, poses significant security risks and vulnerabilities; we strongly recommend adopting a more secure method for API key storage.
Interacting with the map does not require providing your location. The CurrentLocationButton is hidden by default. If you wish to display it and enable the feature to show your current location on the map, follow the Showing the user’s location guide.
- Add proper import of map display framework.
import TomTomSDKMapDisplay
- There are several ways to create a
MapViewobject. One of them is to use the initializer without parameters. If you don’t need to customize the map, you can use the initializer with an auto layout. For a non-autolayout setup and additional customization, see the other initializers.let mapView = MapView() - Add the created
MapViewto theUIViewControllerview and setup constraints.1view.addSubview(mapView)23mapView.translatesAutoresizingMaskIntoConstraints = false4NSLayoutConstraint.activate([5 view.leftAnchor.constraint(equalTo: mapView.leftAnchor),6 view.rightAnchor.constraint(equalTo: mapView.rightAnchor),7 view.topAnchor.constraint(equalTo: mapView.topAnchor),8 view.bottomAnchor.constraint(equalTo: mapView.bottomAnchor),9]) - Run the app. You should see the initialized map.
Getting the Map
When the map is fully initialized you can use the TomTomMap object to interact with it. There are three ways to check whether the map is ready to be used.
- Using the
MapViewDelegateprotocol. An object conforming to the protocol receives a call from theMapViewDelegate.mapView(_:onMapReady:)method with the map as a parameter. To use the delegate, do the following:- Declare the
TomTomMapvariable in the class.var map: TomTomMap? - Adopt the
MapViewDelegatein the class.1extension ViewController: MapViewDelegate {2 func mapView(_: MapView, onMapReady map: TomTomMap) {3 // Store the `Map` object if later map adjustments are necessary4 self.map = map5 }678 func mapView(_ mapView: MapView, onStyleLoad result: Result<StyleContainer, Error>) {9 // Based on `result` you can find out if default or style that you are trying to load succeed or failed.10 }11} - Set the delegate implementation to the
MapView.delegateview.mapView.delegate = self
- Declare the
- Assign a
((Map) → Void)closure to theMapView.onMapReadyCallbackproperty.1mapView.onMapReadyCallback = { (_: TomTomMap) in2 /* YOUR CODE GOES HERE */3}
Next steps
Since you have learned how to do some of the basics, here are recommendations for the next steps:
