)
In this article, we’ll explore the vehicleHeading parameter at a high level. We’ll discuss what this parameter does and how it impacts our routes using the TomTom Routing API using a quick React app to demonstrate.
Routing and Extended Routing APIs are services TomTom offers that enable developers to integrate and manage performant routes on their mapping applications.
The Routing API calculates and displays the most accurate routes between two locations — the origin and the destination — based on configurable parameters you set, such as the type of vehicle, the load it’s carrying, its departure time, and the driver’s ETA.
The same applies to the Extended Routing API. The difference between the Routing API and the Extended Routing API is that the vehicle to route using the latter must have an electric engine, as the route constructed by the service automatically has charging stops added to it based on the vehicle's consumption and charging model.
Both Routing and Extended Routing APIs accept certain parameters, such as the current traffic, avoidance conditions, departure, and arrival time, to construct the routes best suited for the vehicle’s condition. One of these parameters is vehicleHeading.
This article discusses the vehicleHeading parameter. It explores what it is, how it works, and how its value can affect the routes displayed by the Routing API.
What Is the vehicleHeading Parameter?
We can use the Routing API to calculate a route between two locations — for example, a delivery route from a restaurant to a customer's home address.
To calculate the route, we use the vehicleHeading parameter to represent the cardinal direction the vehicle is heading in to reach that location. The vehicleHeading parameter accepts a numerical value between 0 and 359 that represents the angle the vehicle is heading in degrees. Using vehicleHeading enables the TomTom Routing API to construct a route that’s most suitable for the location’s geographical position.
How Does the vehicleHeading Parameter Work?
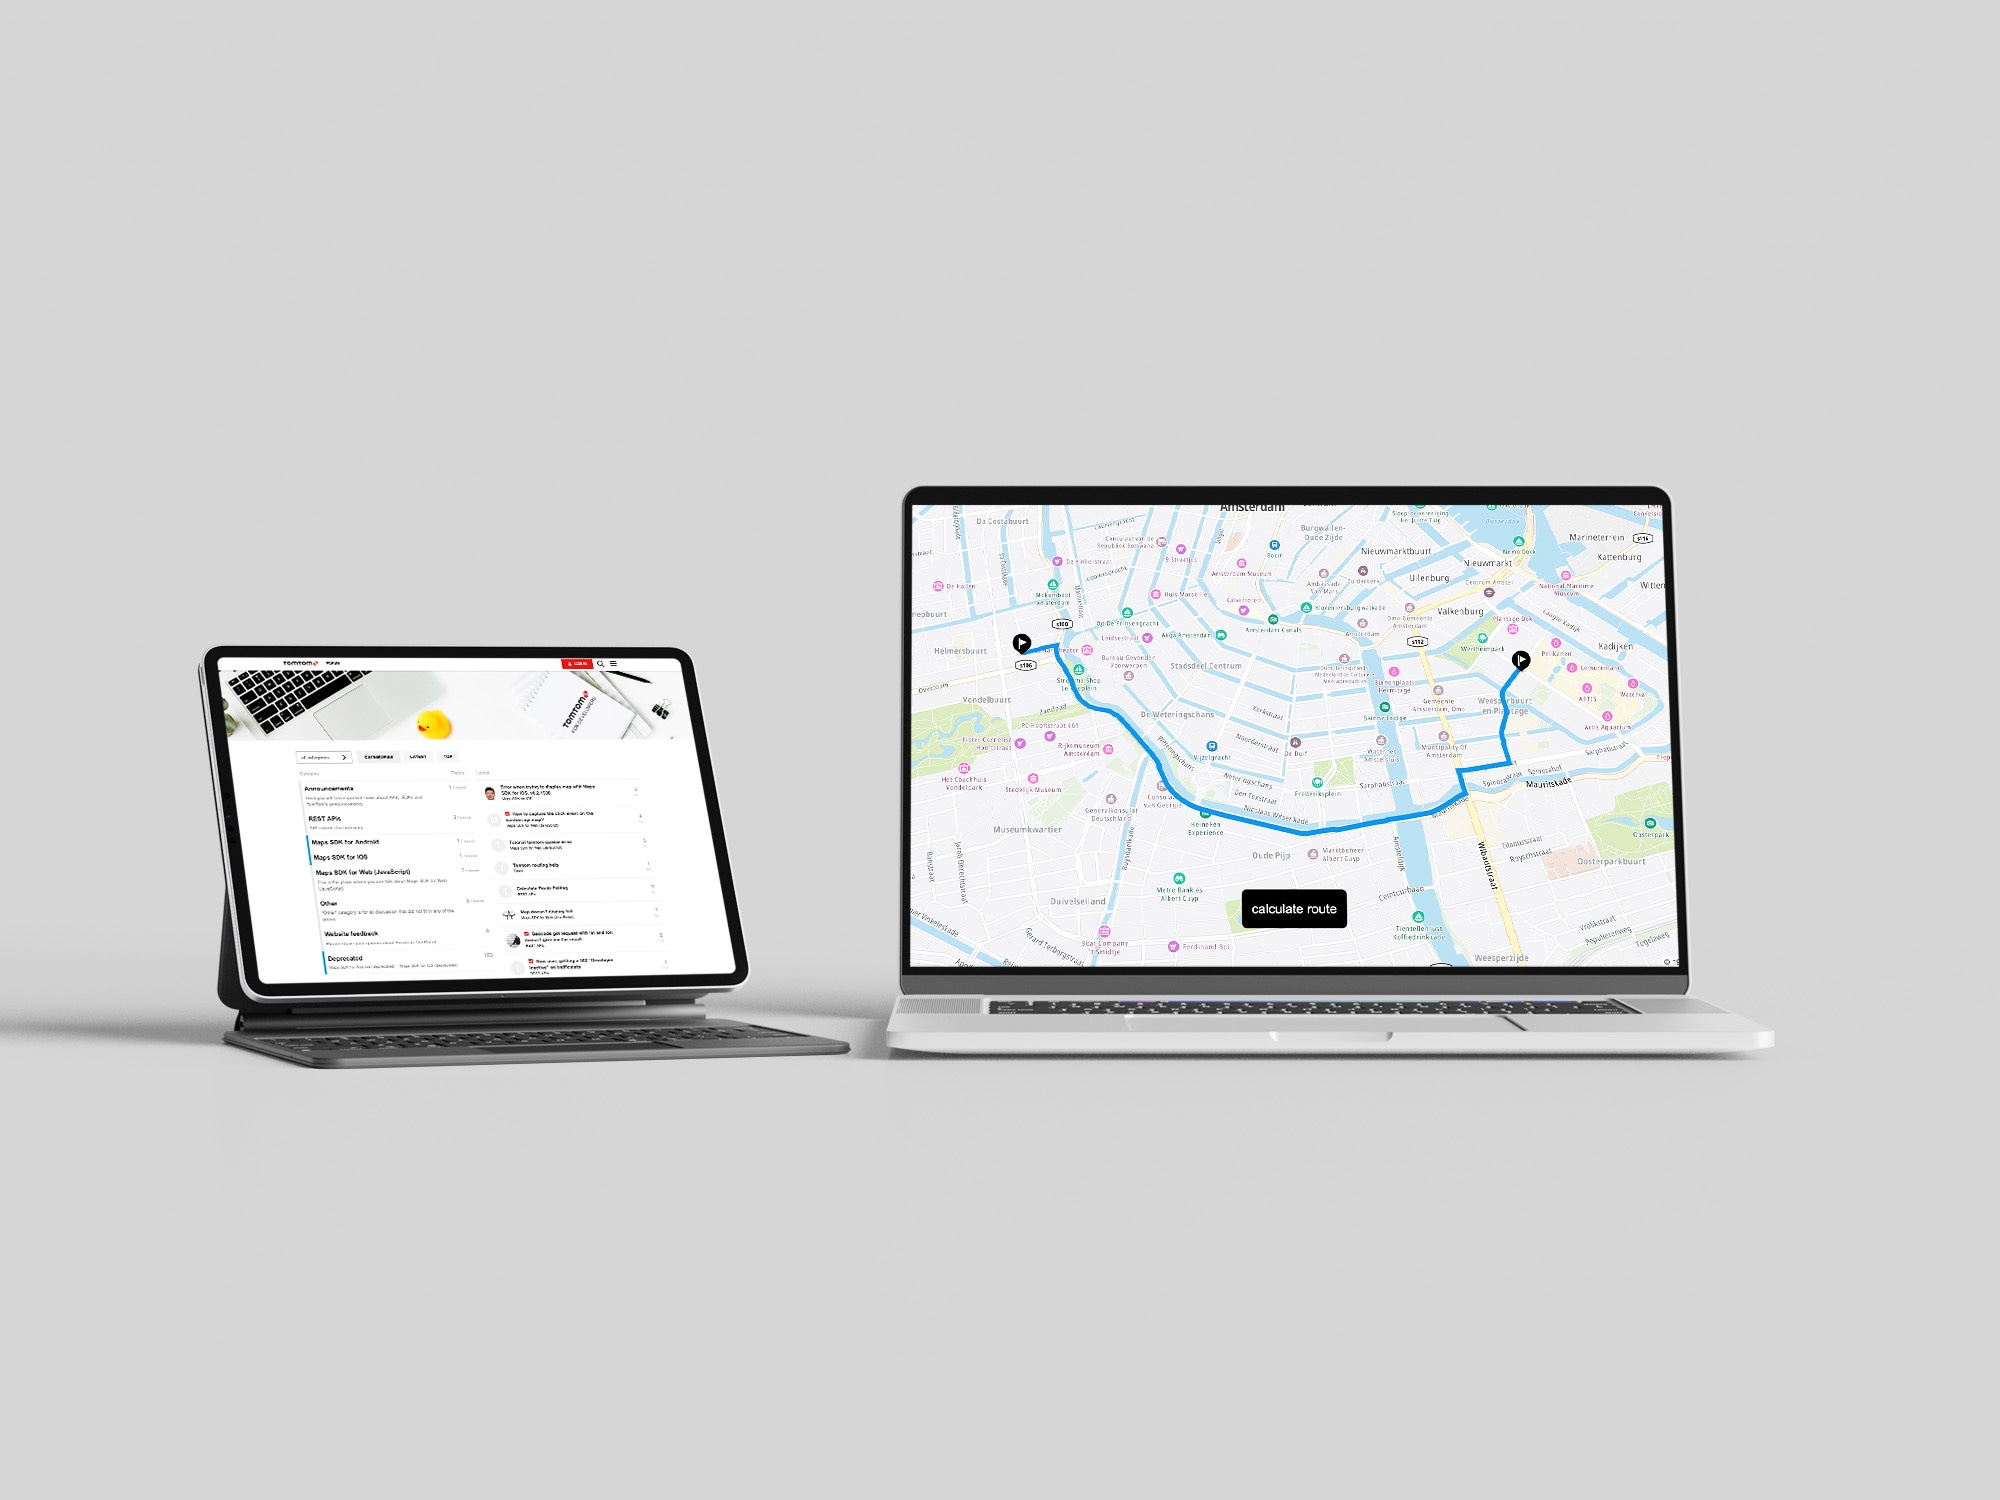
To demonstrate how the vehicleHeading parameter works and how it can affect the routes displayed by the Routing API, let’s set up a React application to see vehicleHeading in action. The app displays a TomTom map and can calculate a route between two locations using the Routing API.
You can find the complete code for the demo used in this article on CodeSandbox.
First, open a terminal on your machine and run the following command, replacing {your_app_name_here} with what you’d want to name the app:
npx create-react-app {your_app_name_here}Next, within the terminal, navigate into the directory created by CRA and run the command below to install the TomTom Maps Web SDK and the Services SDK. These enable you to display a TomTom map and call the Routing API on your app:
npm install @tomtom-international/web-sdk-maps @tomtom-international/web-sdk-services Then, open the App.js file within the /src folder of your React app. Clear all the code within it and populate it with the following code:
import * as React from "react";
import {useEffect, useRef} from "react";

// CSS styles
import "./index.css";

// TomTom SDK
import * as tt from "@tomtom-international/web-sdk-maps";
import * as tts from "@tomtom-international/web-sdk-services";
import "@tomtom-international/web-sdk-maps/dist/maps.css";

export default function Home () {
  const API_KEY = "YOUR_API_KEY";
  const AMSTERDAM = {lon: 4.896029, lat: 52.371807};

  const map = useRef();
  const mapContainer = useRef();

  function createRoute () {
    const routeOptions = {
      key: API_KEY,
      locations: [
        [4.91191, 52.36619],
        [4.87631, 52.36366],
      ],
      travelMode: "truck",
      vehicleCommercial: true,
      vehicleHeading: 0,
    };

    tts.services.calculateRoute(routeOptions).then((response) => {
      routeOptions?.locations.map((store) =>
         new tt.Marker().setLngLat(store).addTo(map.current)
      );

      var geojson = response.toGeoJson();
      map.current.addLayer({
        id: "route" + Math.random(100000),
        type: "line",
        source: {
          type: "geojson",
          data: geojson,
        },
        paint: {
          "line-color": "#0f8ae2",
          "line-width": 8,
        },
      });

      var bounds = new tt.LngLatBounds();
      geojson.features[0].geometry.coordinates.forEach(function (point) {
        bounds.extend(tt.LngLat.convert(point)); // creates a bounding area
      });
      map.current.fitBounds(bounds, {
        duration: 300,
        padding: 50,
        maxZoom: 14,
      }); // zooms the map to the searched route
    });
  }

  useEffect(() => {
    map.current = tt.map({
      key: API_KEY,
      container: mapContainer.current.id,
      center: AMSTERDAM,
      zoom: 10,
      language: "en-GB",
    });

    map.current.addControl(new tt.FullscreenControl());
    map.current.addControl(new tt.NavigationControl());

    return () => {
      map.current.remove();
    };
    //eslint-disable-next-line
  }, []);

  return (
    <div className="">
      <div className="container">
        <div ref={mapContainer} className="map" id="map" />
        <button
          className="btn"
          onClick={(e) => {
            e.preventDefault();
            createRoute();
          }}
        >
          calculate route
        </button>
      </div>
    </div>
  );
}
The code above displays a TomTom map on our React application and allows it to call the Routing API.
Remember to replace the “YOUR_API_KEY” placeholder with the API key from your TomTom developer account.
Finally, add some CSS styles to the app.
Open the index.css file within the /src folder, delete all the styles in it, and populate it with the CSS styles below:
* {
  padding: 0;
  margin: 0;
  box-sizing: border-box;
}
.container {
  width: 100vw;
  height: 100vh;
  display: flex;
  flex-direction: column;
  justify-content: space-around;
  align-items: center;
  position: relative;
}
.map {
  width: 100%;
  height: 100%;
}
.btn {
  position: fixed;
  bottom: 4rem;
  left: 50%;
  border-radius: 0.5rem;
  transform: translate(-50%, 0);
  border: none;
  padding: 1.2rem 1rem;
  background: #000;
  color: #fff;
  font-size: 1.3rem;
  cursor: pointer;
}
Now, when viewed in a web browser, the app should look like the image below:
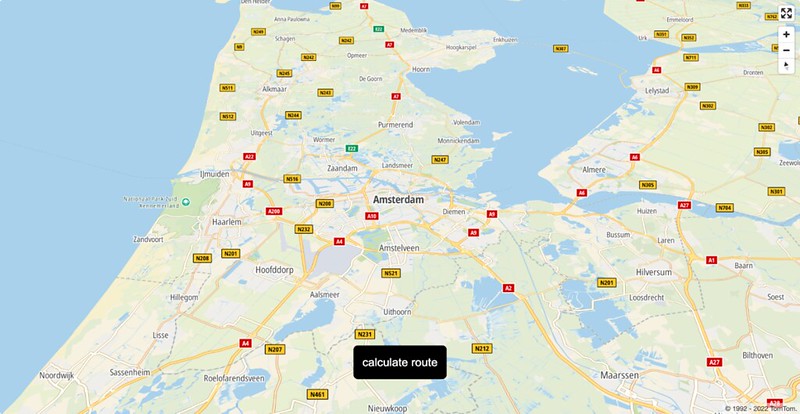
With our app up and running, let’s see how the routes displayed by the Routing API change based on the value of the vehicleHeading parameter.
In the App.js file, we defined a function — createRoute, which defines the object routeOptions that holds the properties it passes to the Routing API Calculate Route service. This allows the service to determine the possible routes between two locations.
Within the routeOptions object, the vehicleHeading parameter is as follows:
vehicleHeading: 0 The value 0 signifies that the vehicle to route is heading due north to get to its destination.
Clicking calculate route calls the Calculate Route service of the Routing API to construct the route most suited for the vehicle's path.
Here’s the result:

Now, change the value of the vehicleHeading parameter to 90. This signifies that the vehicle is heading due east.
vehicleHeading: 90 Next, click calculate route again. The Routing API takes note of the new value of the vehicleHeading parameter and constructs a route to match its path, different from when the vehicle was heading north.
Here’s the result:

As you keep changing the value of the vehicleHeading parameter (set to 180 in the image below), the Routing API keeps constructing different routes most suited to the vehicle’s path.

Summary
When using the TomTom Routing API, we can define the direction a vehicle is heading to reach a specific destination using the vehicleHeading parameter. The vehicleHeading parameter enables the Routing API to construct the route most appropriate for the path the vehicle is traveling in. By doing this, we eliminate late arrivals and excessive fuel and battery consumption, ensuring that both drivers and customers who use our maps have a positive delivery experience.
Curious about what other features are available in TomTom maps? Sign up for a free developer account and try out TomTom’s wide range of APIs and developer resources, including the TomTom Routing API, today. And as you start integrating TomTom maps into your modern React applications, check out this useful tutorial on how to integrate it seamlessly.
Happy mapping!