How to Protect your API Key Using Domain Whitelisting
)

Learn not only about how to designate which websites are allowed to use your key to access your API, but also tips and tricks on keeping your code organized when using more than one mapping component – utilizing multiple keys for multiple platforms, uses, and situations that help you stay on track!
One of the main risks that comes with having an API key tied to a specific number and/or purpose of uses, such as with your TomTom API Key, is if your key is leaked and overused by a malicious party.
Luckily, our developer portal allows you to toggle a feature called Domain Whitelisting. This allows you indicate on your account directly which domains are permitted to query a specific TomTom API key. This is a very simple tool that you can toggle on and off; you can also edit the permitted domains at any time.
I’ll walk you through a quick tutorial on how to use this new feature. This can be used on any and all API keys you might have on your developer account.

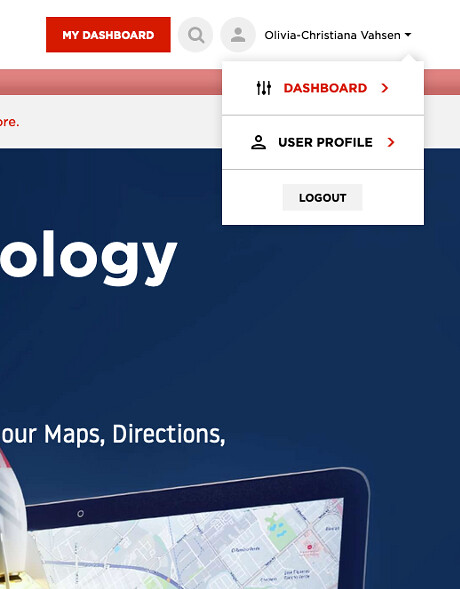
After logging in to your developer portal account, in the top right corner of your screen you should be able to toggle your user profile. From here, use the drop-down menu to click on your dashboard, which will take you here:

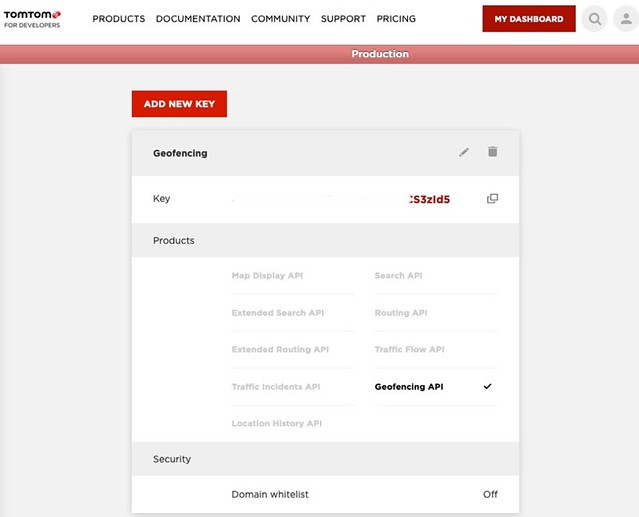
You’ll see that Domain whitelist feature is off. I’ve blurred most of this API key used as an example.
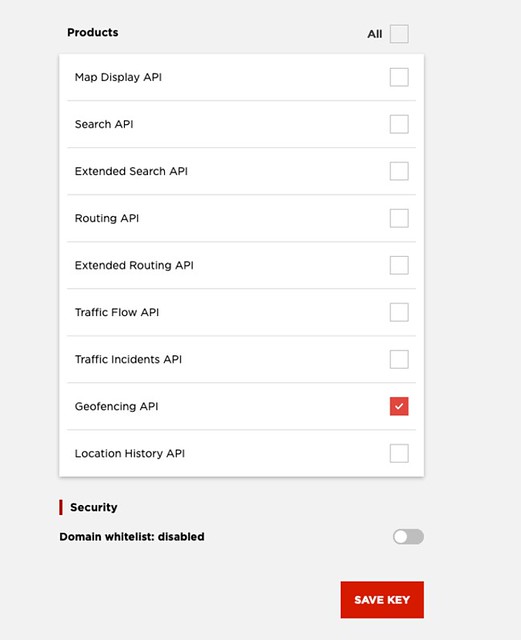
If we take a closer look, we’ll see that the pencil icon above will let us edit the settings for the key. The editing page will look like this:

This is a key I created specifically for geofencing, as we can see by the tick marks indicating to which TomTom product the key applies to. Some developers might want separate keys for separate actions.
Below, we can see that I’ve added a domain, in this case bit.ly, which is permitted by me to query the API with my key – say if I’m using bit.ly to host a demo I’m creating for an upcoming workshop.

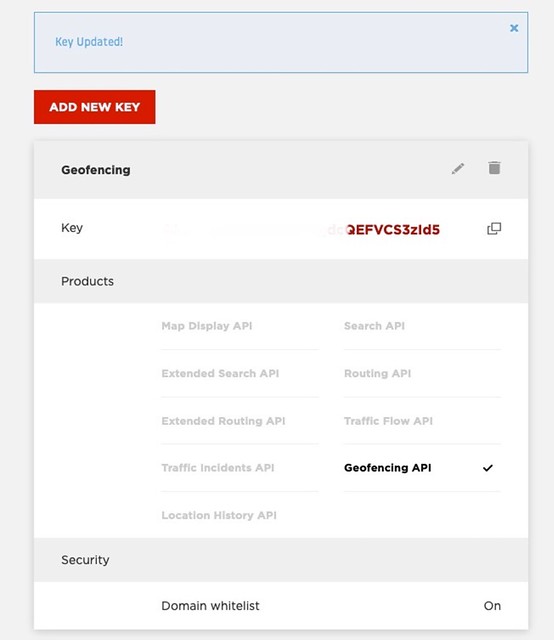
After I’ve added the domain, clicked save, and navigated away from the editing page, we can see that the original page now shows that I’ve added the domain or updated another key setting. Domain whitelisting is now set to “on”.

Finally, if I click to edit my key again, I see the first domain I added, with an option to add any more domains below if I wish to. Any domain you add is permitted to use your key, while a strange domain will not be.

Now that we’ve specified what domain is allowed to use this specific API key, if a query is performed with the key which you protected, you will see something like the following error in your browser, if you run HTTP GET on https://api.tomtom.com/map/1/copyrights/caption.json?key=API_KEY:

Error 403 (Forbidden)
You can change the domains and settings around all of your keys in this fashion, so no matter how your account keys are organized, you have complete control over the domain security of each and every one.
Ways to customize your developer dashboard
Now that you’ve been introduced to how to protect your key, I’ll touch on a few ways you can use API-specific keys, as well as domain whitelisted and non-domain whitelisted keys, to your advantage.
1. You can designate functions of different keys to keep yourself organized.
This is useful if you’re going to be making some applications without most of the APIs. If you’re making an application that only used our Geofencing, you can have a key specifically for that project, and have your other projects, use cases, and keys separated accordingly. This will help your project security as well as keep your code in components for different mapping uses.
2. Demo your project securely.
As a speaker who gives workshops, both domain whitelisting and creating multiple keys means I can designate which website is able to access the API on demo day, making sure that my participants follow along with my talk, and prevent the use of the keys I utilize in my own works.
3. Control website requests for multiple online presences.
If you use our APIs on more than one website or other web use case, you can (similar to number 2) designate your websites as separate domains whitelisted to a specific key or keys. This ensures that someone looking into your website code cannot make erroneous requests on their own.
There are plenty of ways to organize API keys and use them to your advantage. There is always a risk of having your key exposed and having your daily requests used up, so don’t be afraid to take advantage of an easy, step-free method to keep track of not only queries but also what keys you’re using for which projects.
How is it going?
Since this is a new feature, we want to hear from our developers! Head on over to our developer forum, find me on Quora, or @ me on Twitter. We want to know how you end up using this feature, if it makes a difference in your creation of programs and projects, and what else you would like to see!
We also always want to know what other tutorials and articles you’d like to see. We try to split between perspectives pieces, deep dives, and practical how-to’s like this one. Are we missing something you need? We’re always happy to take a look!
Curious for Something to build?
With over 80% of mobile devices using LBS (location-based services), geospatial projects can be diverse and exciting. You can build anything from collaborative map-making platforms to independent apps on your iPhone and Android to solve everyday issues for you, your commute, and your community.
All that said, starting out can be difficult, so we give you lots of places to start from!
Check out a few of the links below, and happy mapping!
Web SDK download – Have a basic TomTom map set up for web in just a few minutes.
Functional Examples – Learn about layers, vector and raster maps, markers, and other features to make the map your own
Map Styler – Get inspired by playing with colorizations at different zoom levels to highlight the world around us.
Geofences creator – See how our geofencing works and what visuals you can integrate.
Learn how to migrate from Google to the superior mapping service. ;)