Taking Raster Map Snapshots with Python
)
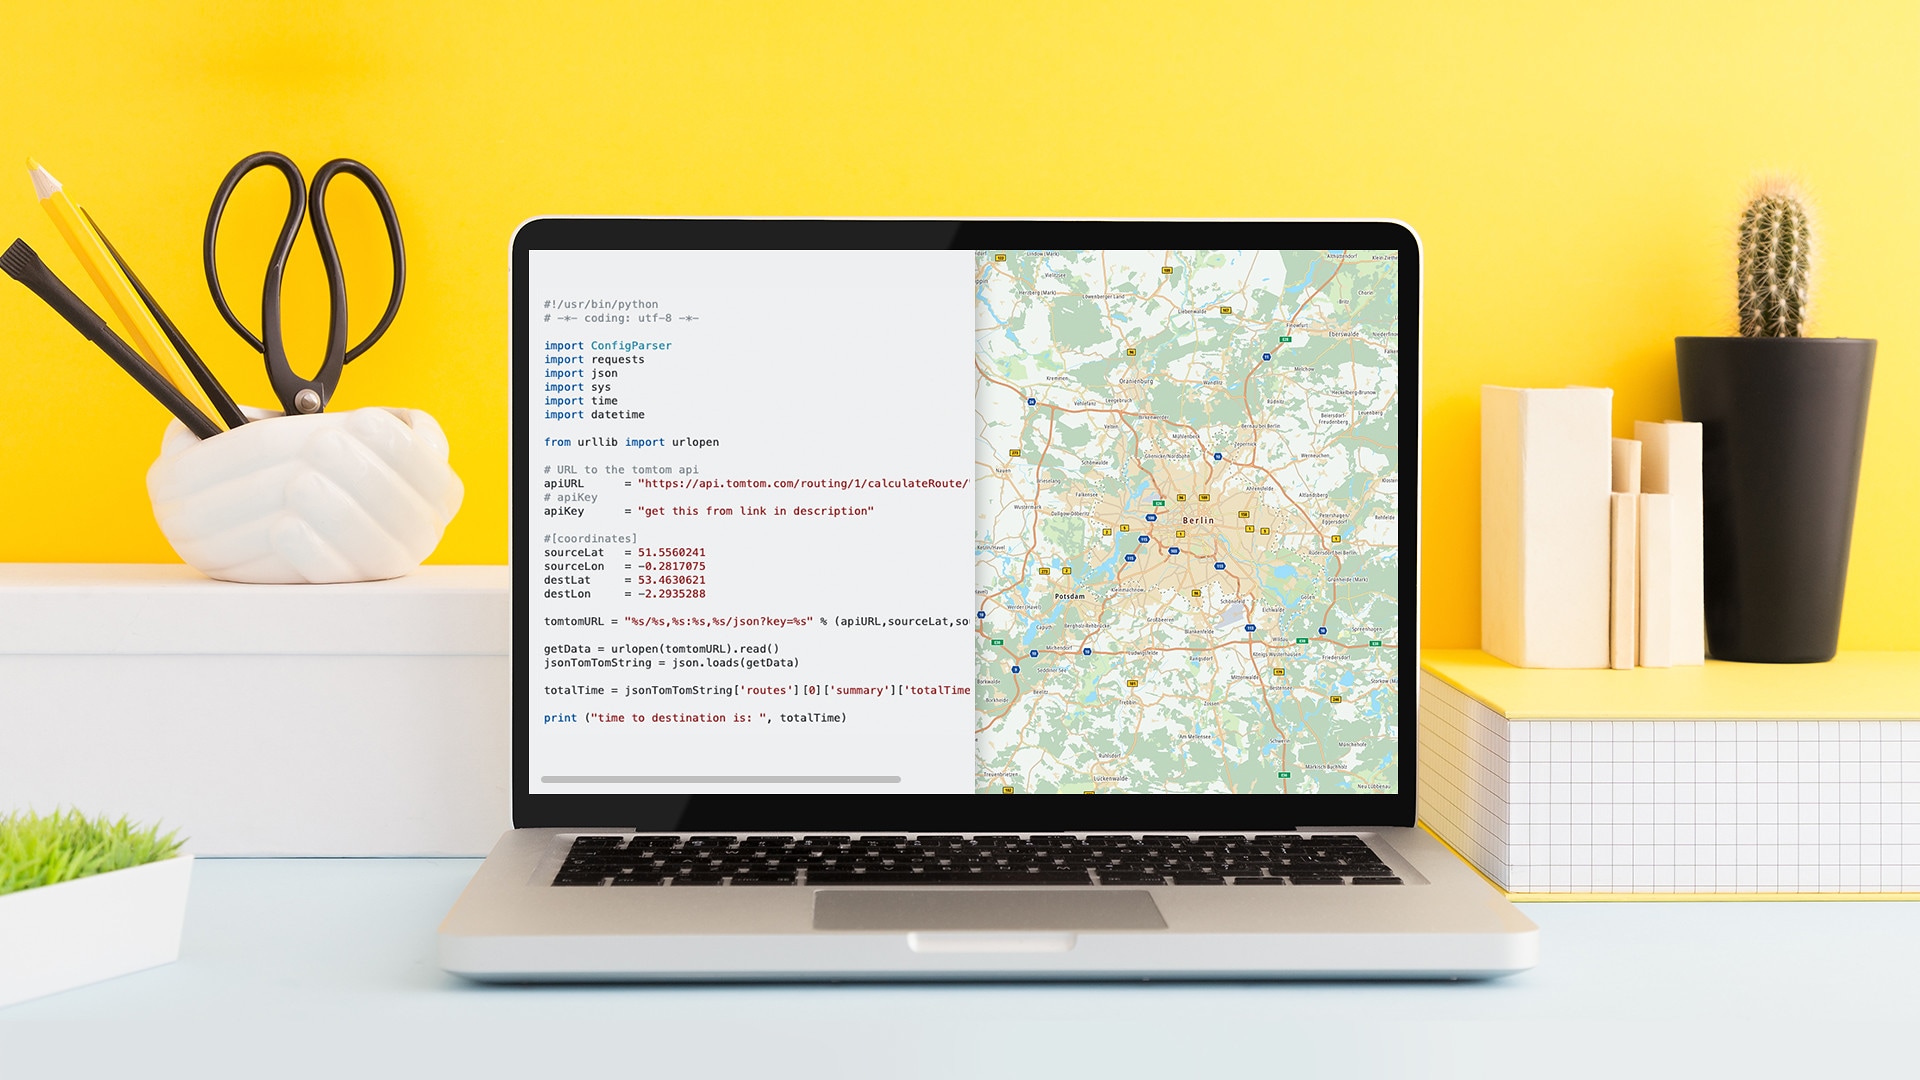
In this tutorial, we’ll make it easy for you to write a brief code project which allows you to specify the size, zoom, and city focus of a map image you wish to generate. Using a simple API call, you can generate a static map image of the location of your choosing straight from the command line, and save the image file for future use.
Using a simple API call, you can generate a static map image of the location of your choosing straight from the command line, and save the image file for future use. If you want to interact with our maps APIs but don’t write a lot of web development code, or if you just need to generate map snapshots of certain cities, this is for you!
In this tutorial, we’ll make it easy for you to write a brief code project which allows you to specify the size, zoom, and city focus of a map image you wish to generate. This takes about 60 lines of actual code, and about 10 more for comments so you can come back to the project and easily add on later.
How to Get Started
Before typing out the first steps, you’ll want to first:
Install Python 3. Here, we use Python 3.7. You can check your version of python at the command line by using python3 –version. On a Mac, which we use in this tutorial, the easiest way to install python is by first installing Homebrew, then running brew install python3. For Windows, head to python.org and follow instructions for installing Python version 3.
Set up an editor. Make sure your terminal view is on and that your python interpreter is configured correctly. If you’ve never run Python before, consider doing this with VS Code (which we use) or PyCharm.
Create a developer account at developer.tomtom.com, because as always, you’ll need a free API key for this exercise!
We’ll be working through concepts including fetching command line arguments, formatting API requests and what we want returned, switch cases using a dictionary, and accessing list positions. If you’re not familiar with these concepts from python (or arrays/maps from Java and other languages), you might find some of the syntax strange. If you have questions about how or why we wrote this project the way that we did, ping us on Twitter at @ovahsen and @JJ_R_Ealo!
Setting Up the Command Line
When we enter a command from the terminal, we want to establish how many arguments will need to be in the command, and what they are.
Below our necessary import statements for future commands, notable urllib.request and json so we can process requests and information properly, we establish that we need 4 parameters. We need to include the size of the image (which we’ll specify as exact dimensions equating small, medium, and large, later on), the city we want to capture, the zoom level (an int) and the API Key you have from your account.
Even though it seems counter-intuitive, we can’t set 0 as the first parameter, because our first entry will be the name of the program to be run.
import sys
import urllib.request
import json

# Fetch parameters from the command line
# Make sure there are only 4 parameters!
# 5 because position 0 == the application name
if (len(sys.argv) != 5):
  print ('I need 4 args!')
  quit()

#print ('Argument List:', str(sys.argv))

# Read the API KEY from the file somewhere
#starting at 1
apiKey = sys.argv[4]
zoom = sys.argv[3]
city = sys.argv[2]
size = sys.argv[1]
We also include some basic error checking to make sure the user has entered the minimum number of parameters. (More about this at the end!)
Centering on the City
Next, we want to retrieve the actual mapping information from the TomTom Search API by passing in our city as a parameter to search with. This ensures that the city is at the center of the image we want to receive back. Since we are making a call to our first API, we include the API Key as well. This is the first of two API calls we will make during this tutorial – if you want to read up more on our Search API and how it helps us create a good center for our map, you can read up on the Search API Documentation.
# Get the center location of the city.
url = 'https://api.tomtom.com/search/2/search/'+city+'.json?idxSet=Geo&key='+apiKey
print ( url )

req = urllib.request.urlopen(url)
data = req.read().decode('utf-8')
#print(data)
JSON and Python
# Convert data into JSON
obj = json.loads(data)

if (len(obj["results"]) == 0):
  print ('City not found')
  quit()

print('Found city center of '+city+' at '+ str(obj["results"][0]["position"]))
lat = obj["results"][0]["position"]["lat"]
lon = obj["results"][0]["position"]["lon"]
This part may be less intuitive for those who haven’t interacted with extensive Python development for web, but this section essentially just works to convert that data that we receive back into a JSON object. We store the correct returns into lat and long so that we can format our later call to the static image API correctly.
Setting Image Size Using a Dictionary
#switch case dictionary indicates the sizes for each image specification

switcher = {
    'small': '&width=256&height=256',
   'medium': '&width=512&height=512',
    'large' :'&width=1024&height=1024',
}
In order to successfully use the correct size formats for our API call but still use the advantage of organizing the sizes with dictionary, we create something like a “switch” case in python so that we can use the sizes later on.
Calling the Static Image API
# Create API CALL to 'static image'
#switcher is called passing in size to let command arg input choose size
# https://api.tomtom.com/map/1/staticimage?layer=basic&style=main&format=png&zoom=13¢er=4.899886%2C%2052.379031&width=2048&height=2048&view=Unified&key=*****
urlStaticImage = "https://api.tomtom.com/map/1/staticimage?" \r
"layer=basic&style=main&format=png&zoom="+zoom+"&" \r
"center="+str(lon)+","+str(lat)+switcher.get(size)+"&key="+apiKey
#print(urlStaticImage)
# Save image to a file ..
imageRequest = urllib.request.urlopen(urlStaticImage)
imageBinary = imageRequest.read()
sys.stdout.buffer.write(imageBinary)Finally, we call the Static Image API passing in the string version of our established lat and long, pass in the size entered in the command line, and our API key. Because zoom is a simple int parameter, we can refer to it directly.
This is our second request in the tutorial, and if you’re new to mapping concepts, it’s important to know that unlike our Search API request from before, there are multiple map types open for developers to use from TomTom. Here, we use a Raster map image, which is a prerendered section of a map without dynamic zoom or the ability to pan around – it’s just a snapshot created to our desired dimensions. You can read more about this in the Map Display API Documentation, where I specifically link to resources around static images.
Using an additional command, we can save the file to the directory we are working in and open it as well!
Let’s see how it looks:

Above the command, we see what the output looks like without adding > Olivia3.png at the end, or whatever file name you prefer. We receive a lot of data back, so we get the impression that our command was successful, but we can’t see the actual image result. Correcting this saves the image to the workspace we’re currently in, and looks as such when opened.
Extra Notes & Go Start Coding!
It’s important to remember that this is just a very small sample to get you started. The main recommendation we’d challenge you to implement on your own is to add further validation for the arguments you pass in to the command line; namely, verifying that all information is of the right type to match up to the parameters that are necessary to successfully create a map snapshot.
Now that we’ve shown you how to create a basic program to help you generate snapshots with a few simple API calls and command-line argument work in python, we hope you will use this to help with any image-based projects you may have. This can be used to help you take clean, easily-sized map captures for websites and other applications without using screenshots, and have control over the zoom level and other factors. You can also add to the list of parameters to make this program your own.
Again, tag us on Twitter at @ovahsen and @JJ_Ealo with any questions you have or to show off your work – we’d love to hear from you! Happy Mapping!