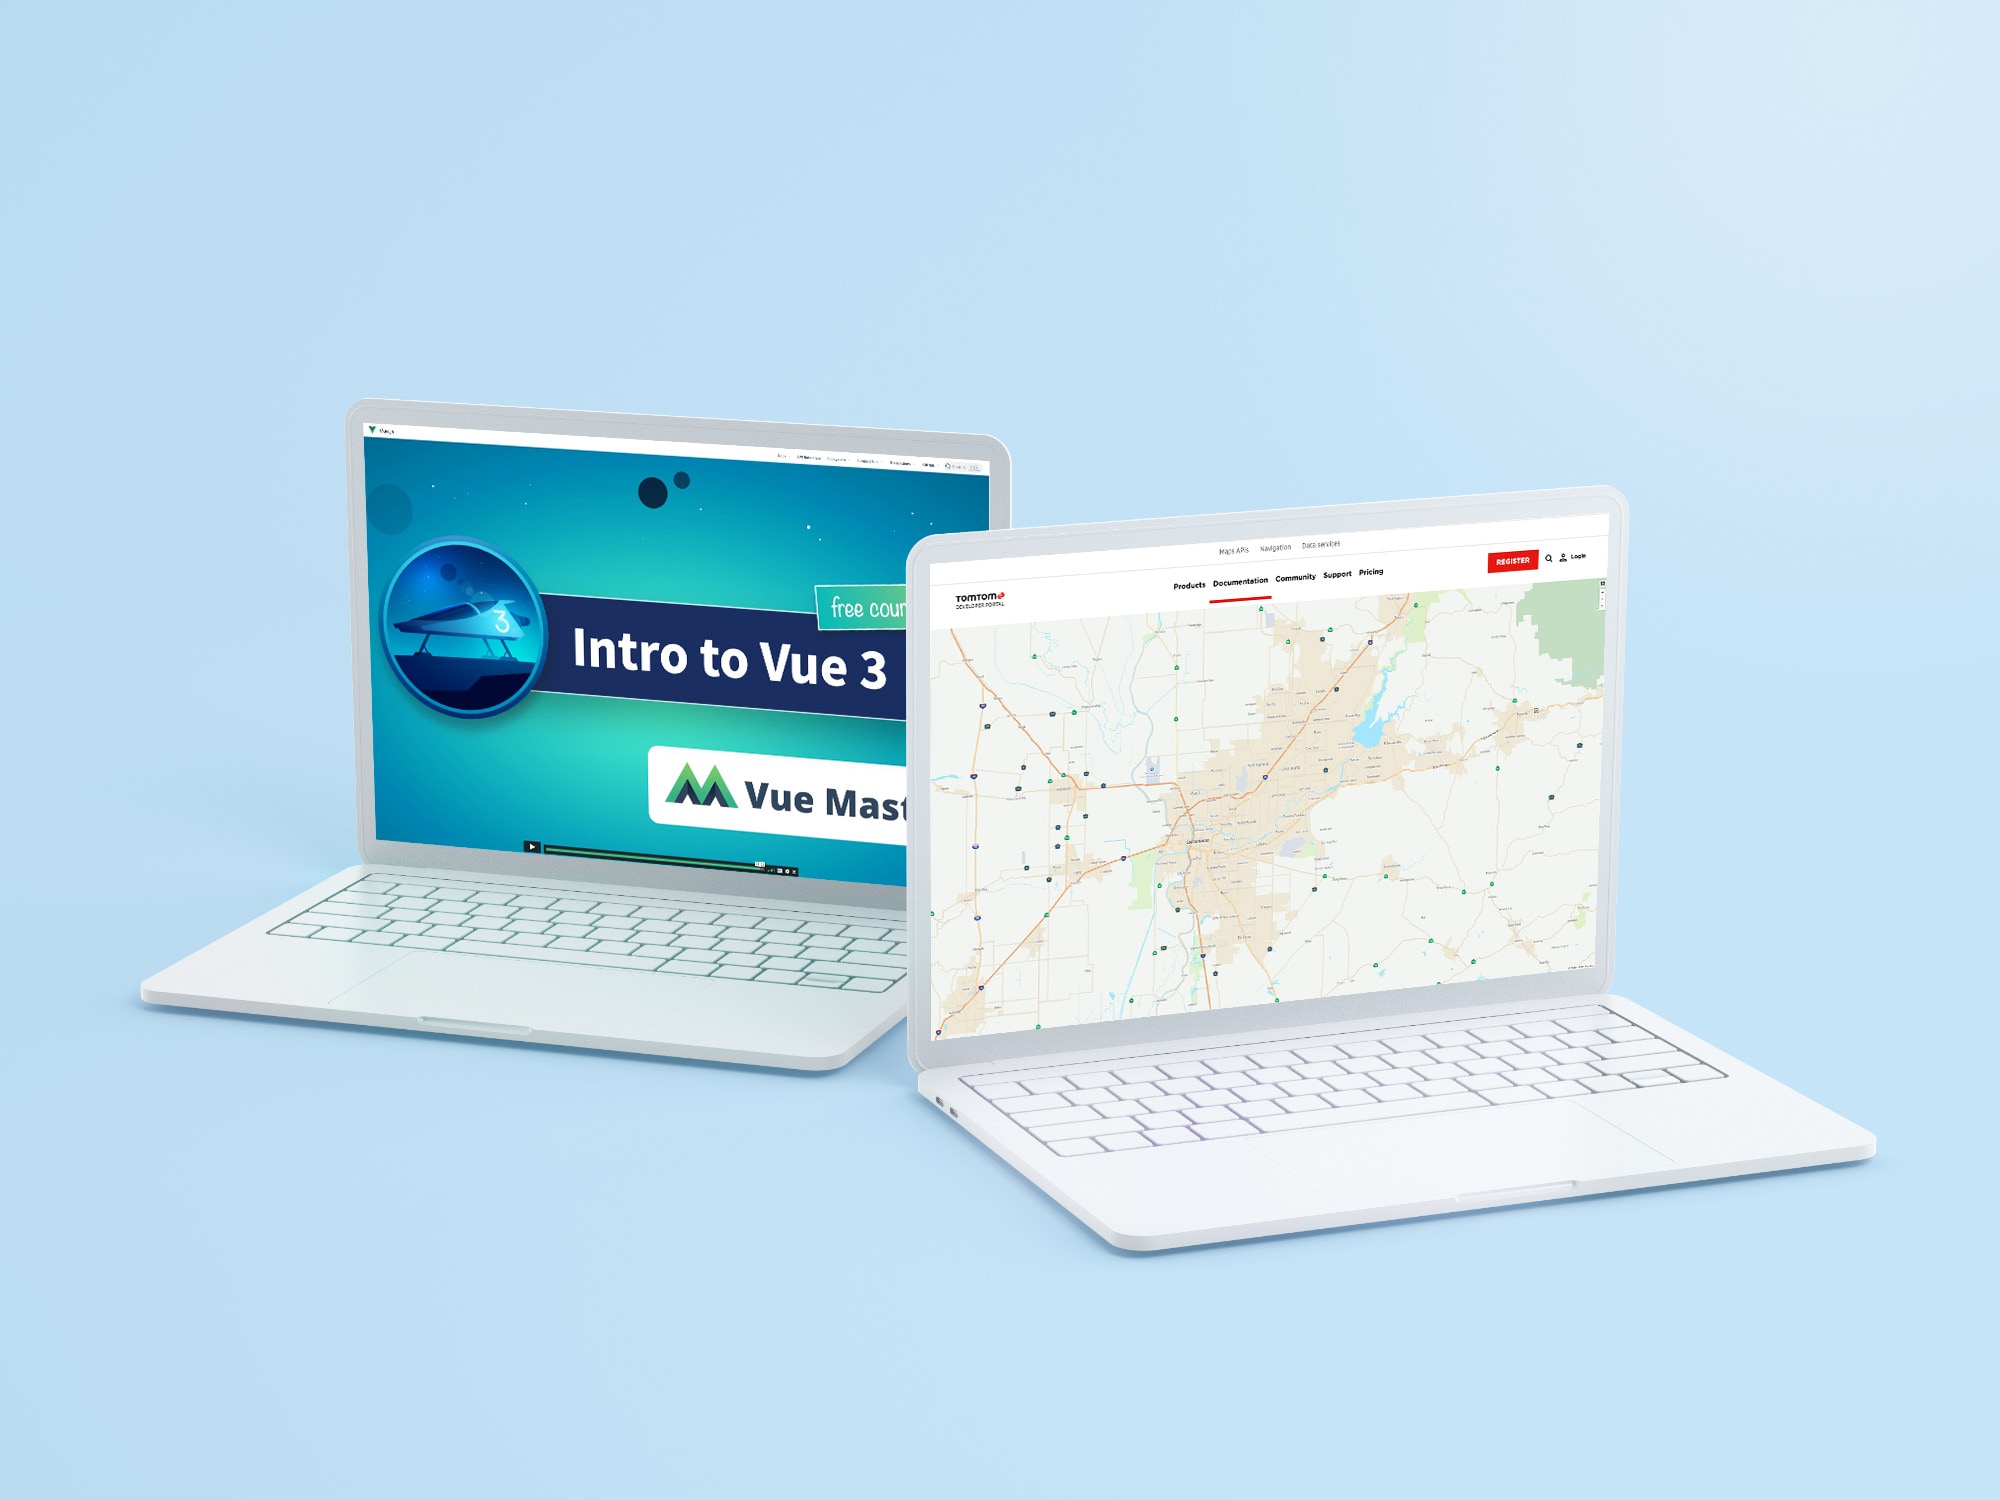
Using TomTom Maps with Vue 3
)
As a front-end or full-stack developer, you may be interested in trying out the TomTom Maps SDK for Web. Throughout this article, we’ll demonstrate how to integrate TomTom Maps into a Vue 3 application, opening up a host of mapping options to take your app to the next level.
Introduction
As a front-end or full-stack developer, you may be interested in trying out the TomTom Maps SDK for Web. Throughout this article, we’ll demonstrate how to integrate TomTom Maps into a Vue 3 application, opening up a host of mapping options to take your app to the next level.
Vue 3 is the newest version of Vue.js, one of the most popular JavaScript libraries — alongside React and Angular —for building user interfaces. After working with Angular.js for Google, Evan You created the original Vue JavaScript framework in 2013, releasing it in 2014. Then, after two years of development, his team released version 3 on September 18, 2020.
Vue 3’s new features and changes include:
Composition API: A set of additive, function-based APIs (application programming interfaces) allowing flexible component logic composition.
A new createApp() method for creating a Vue application instead of new Vue({}).
Vue 3 reactivity system is now built on top of ECMAScript 6 Proxies.
Complete TypeScript support: Vue 3 is written in TypeScript, so you don’t need any additional tooling to use TypeScript with Vue.
Teleport: A new feature allowing you to render a component in a different location in your document object module (DOM), making it easy to create modals, pop-ups, and more.
Each day, Vue.js grows in popularity among developers. Also, big companies have already started using Vue.js, including Alibaba, Grammarly, and Laracasts.
TomTom’s maps integrate well with the popular Vue.js library. You can easily incorporate TomTom’s real-time maps and traffic data, with global coverage and advanced functions, into your Vue 3 application using the TomTom Maps SDK for Web. This software development kit hides the complexity of bare RESTful service calls from developers and boosts productivity with fully-styleable and easily-customizable components.
In the next section, we’ll learn how to create a new Vue 3 app using the Vue CLI (command line interface), then we’ll integrate the TomTom Maps SDK from the CDN (content delivery network).
Setting Up
Before creating our project, let’s start by installing Vue CLI, which is the official tool for initializing Vue projects.
As a prerequisite, you must have Node.js and npm (Node package manager) installed on your system to install and use Vue CLI. If that’s not the case, you can install Node.js using one of these methods:
Head to the official website and grab the installers for your operating system.
Use the official package manager for your system.
Use a Node version manager like NVM which will allow you to manage multiple versions of Node on your development machine. It also avoids requiring sudo on Linux and macOS or a prompt with administrator access to install packages globally on your system.
Now, head over to a new command-line interface and execute the following command:
$ npm install -g @vue/cli
Note: If your system requires you to add sudo to your command in macOS or Debian-based systems, or use a CMD prompt with administrator rights in Windows to install the package, you need to fix your permissions. You can refer to the npm website for instructions, or simply use a version manager like NVM which takes care of all of the necessary configurations.
The previous command will install vue/cli v4.5.8 (current version at the time of writing).
Next, let’s generate a new Vue 3 project using the following command:
$ vue create vue3tomtomdemo
You’ll be prompted to select a preset. Select Default (Vue 3 Preview) ([Vue 3] babel, eslint).
Wait for the CLI to create your project’s files and install the dependencies from npm, then go to the project’s folder and run a development server using the following commands:
$ cd vue3tomtomdemo $ npm run serve
Open your web browser and visit http://localhost:8080/ to see your Vue 3 app up and running.
Adding a Map
Now, let’s create a Vue 3 component and add a TomTom Map. We’ll be using the Composition API, new in Vue 3.
We’ll be learning how to initialize a TomTom map and attach it to a DOM element in our component when it loads, using the ref function to get a reference to the raw DOM element where we need it for inserting the map.
First, you need to register an API key. See How do I get a TomTom API key? for more information.
The latest TomTom Maps SDK for Web is available through three distribution channels: CDN, npm package, or downloaded ZIP file. Pick the one that suits you best. For the example in this blog post, we’ll use the CDN distribution. (At the time of writing, the latest public release is version 5.)
Open the public/index.html file and include the CSS and JavaScript files for the SDK as follows:
<html  lang="en">
<head>
<!-- [...] -->
<link  rel='stylesheet'  type='text/css'  href='https://api.tomtom.com/maps-sdk-for-web/cdn/5.x/5.64.0/maps/maps.css'>
</head>
<body>
<!-- [...] -->
<div  id="app"></div>
<script  src="https://api.tomtom.com/maps-sdk-for-web/cdn/5.x/5.64.0/maps/maps-web.min.js"></script>
<script  src="https://api.tomtom.com/maps-sdk-for-web/cdn/5.x/5.64.0/services/services-web.min.js"></script>
</body>
</html>
Note that linking to the CDN version incorporates both the maps-web.min.js file for the SDK and the maps.css file for styling.
Next, inside the src/components/ folder of our project, create a Map.js file, and add the following code to create a Vue 3 component:
<template>
    <h1>Vue 3 TomTom Maps Demo</h1>
    <div id='map' ref="mapRef"></div>
</template>

<script>
export default {
  name: 'Map',
}
</script>
We simply created a component, named Map, that renders a title and a <div> element where it should insert our map. We also added a reference named mapRef and ID named map to the map container so we can reference it later from our component’s style and script sections.
Next, add the following imports:
<script>
import { onMounted, ref } from 'vue'

export default {
  name: 'Map',
  // [...]
Then, add the setup() method to the component with the following code to initialize and insert the map into the DOM:
export default {
  name: 'Map',
  setup() {
    const mapRef = ref(null);
    onMounted(() => {

            const tt = window.tt;
            var map = tt.map({
            key: '<INSERT API KEY HERE>',
            container: mapRef.value,
            style: 'tomtom://vector/1/basic-main',
        });
        map.addControl(new tt.FullscreenControl());
        map.addControl(new tt.NavigationControl());
    })

    return {
      mapRef,
    };
  }
}
Inside the setup() method, we used the ref function to create a reference variable called mapRef which will allow us to access the DOM element where we want to insert the map.
Next, we called the onMounted() life-cycle method to run the code when our component is mounted into the DOM. This will create a map object and add two controls, allowing the user to switch to full-screen mode and navigate the map. Finally, we returned the mapRef variable from the setup() method to make it accessible from the component’s template.
Next, add the following CSS styles below the <style></style> section:
<style>
#map {
    height: 50vh;
    width: 50vw;
}
</style>
This sets the map’s height and width to half the viewport.
Adding Map Features
Now, let’s add a method to our Map component which adds a marker to the map.
Below the onMounted() method of the component, define the following function:
function addMarker(map) {
    const tt = window.tt;
    var location = [-121.91595, 37.36729];
    var popupOffset = 25;

    var marker = new tt.Marker().setLngLat(location).addTo(map);
    var popup = new tt.Popup({ offset: popupOffset }).setHTML("Your address!");
            marker.setPopup(popup).togglePopup();
}
According to the documentation of the Popup class, the offset attribute takes a pixel offset that gets applied to the popup's location and can be specified as:
a single number specifying a distance from the popup's location
a Maps.PointLike object specifying a constant offset as an array or coordinates in pixels
an object of Points specifying an offset for each anchor position. Negative offsets indicate left and up.
The previous offset will enable us to display a popup on top of the marker. We use a single number specifying the distance from the popup’s location.
Next, call the method inside the onMounted() method and pass the map object as follows:
 onMounted(() => {
     // [...]
     addMarker(map);
 })
For more details, see How to add and customize a location marker.
Getting the Address with Reverse Geocoding
With our marker added in the map, let’s see how we can retrieve the address that corresponds to our coordinates and display it in the popup by using the Reverse Geocoding API.
Let’s create a new function to do that by adding the following code below the addMarker function:
function reverseGeocoding(marker, popup) {
    const tt = window.tt;
    tt.services.reverseGeocode({
        key: 'iTF86GRA2V5iGjM6LMMV54lrK8v6zC1w',
        position: marker.getLngLat()
    }).go().then( function( result ){
        console.log(result.addresses[0].address.freeformAddress);
        popup.setHTML(result.addresses[0].address.freeformAddress);
    })
}
We call the reverseGeocode() method with our API key and the position of the marker that we can get by calling the getLngLat() of the marker. Next, on the then() method of the returned promise, we retrieve the address from the result object and call the setHTML() method of the popup to set the address that will be displayed.
Next, we need to update the addMarker function to invoke the reverseGeocoding function before we set the address as follows:
function addMarker(map) {
    const tt = window.tt;
    var location = [-121.91595, 37.36729];
    var popupOffset = 25;

    var marker = new tt.Marker().setLngLat(location).addTo(map);
    var popup = new tt.Popup({ offset: popupOffset });
    reverseGeocoding(marker, popup);
    marker.setPopup(popup).togglePopup();
}
Using the Map
Now that we’ve created a map component, it’s time to use it!
Open the src/App.vue file and update it as follows:
<template>
  <Map />
</template>

<script>
import Map from './components/Map.vue'

export default {
  name: 'App',
  components: {
    Map
  }
}
</script>
<style>
</style>
We first removed the existing boilerplate code and imported the Map component into our App component using the import statement. Next, we included the component inside the components object and finally added the component via its <Map /> tag in the template.
You can find the full source code from this GitHub repository.
This is a screenshot of our finished map:

Next Steps
Throughout this article, we’ve seen how easy it is to add a TomTom map to our Vue 3 application using the Maps SDK for Web. But, why stop here? Displaying a map is just the beginning. Now that you can render a map, add more features, like route planning, and fuzzy search. These features will help take your app to the next level with an even better user experience. Register a TomTom developer account now to start integrating the TomTom Maps SDK for Web into your next amazing app.
