Planning a Route for Trucks with Waypoint Optimization
)
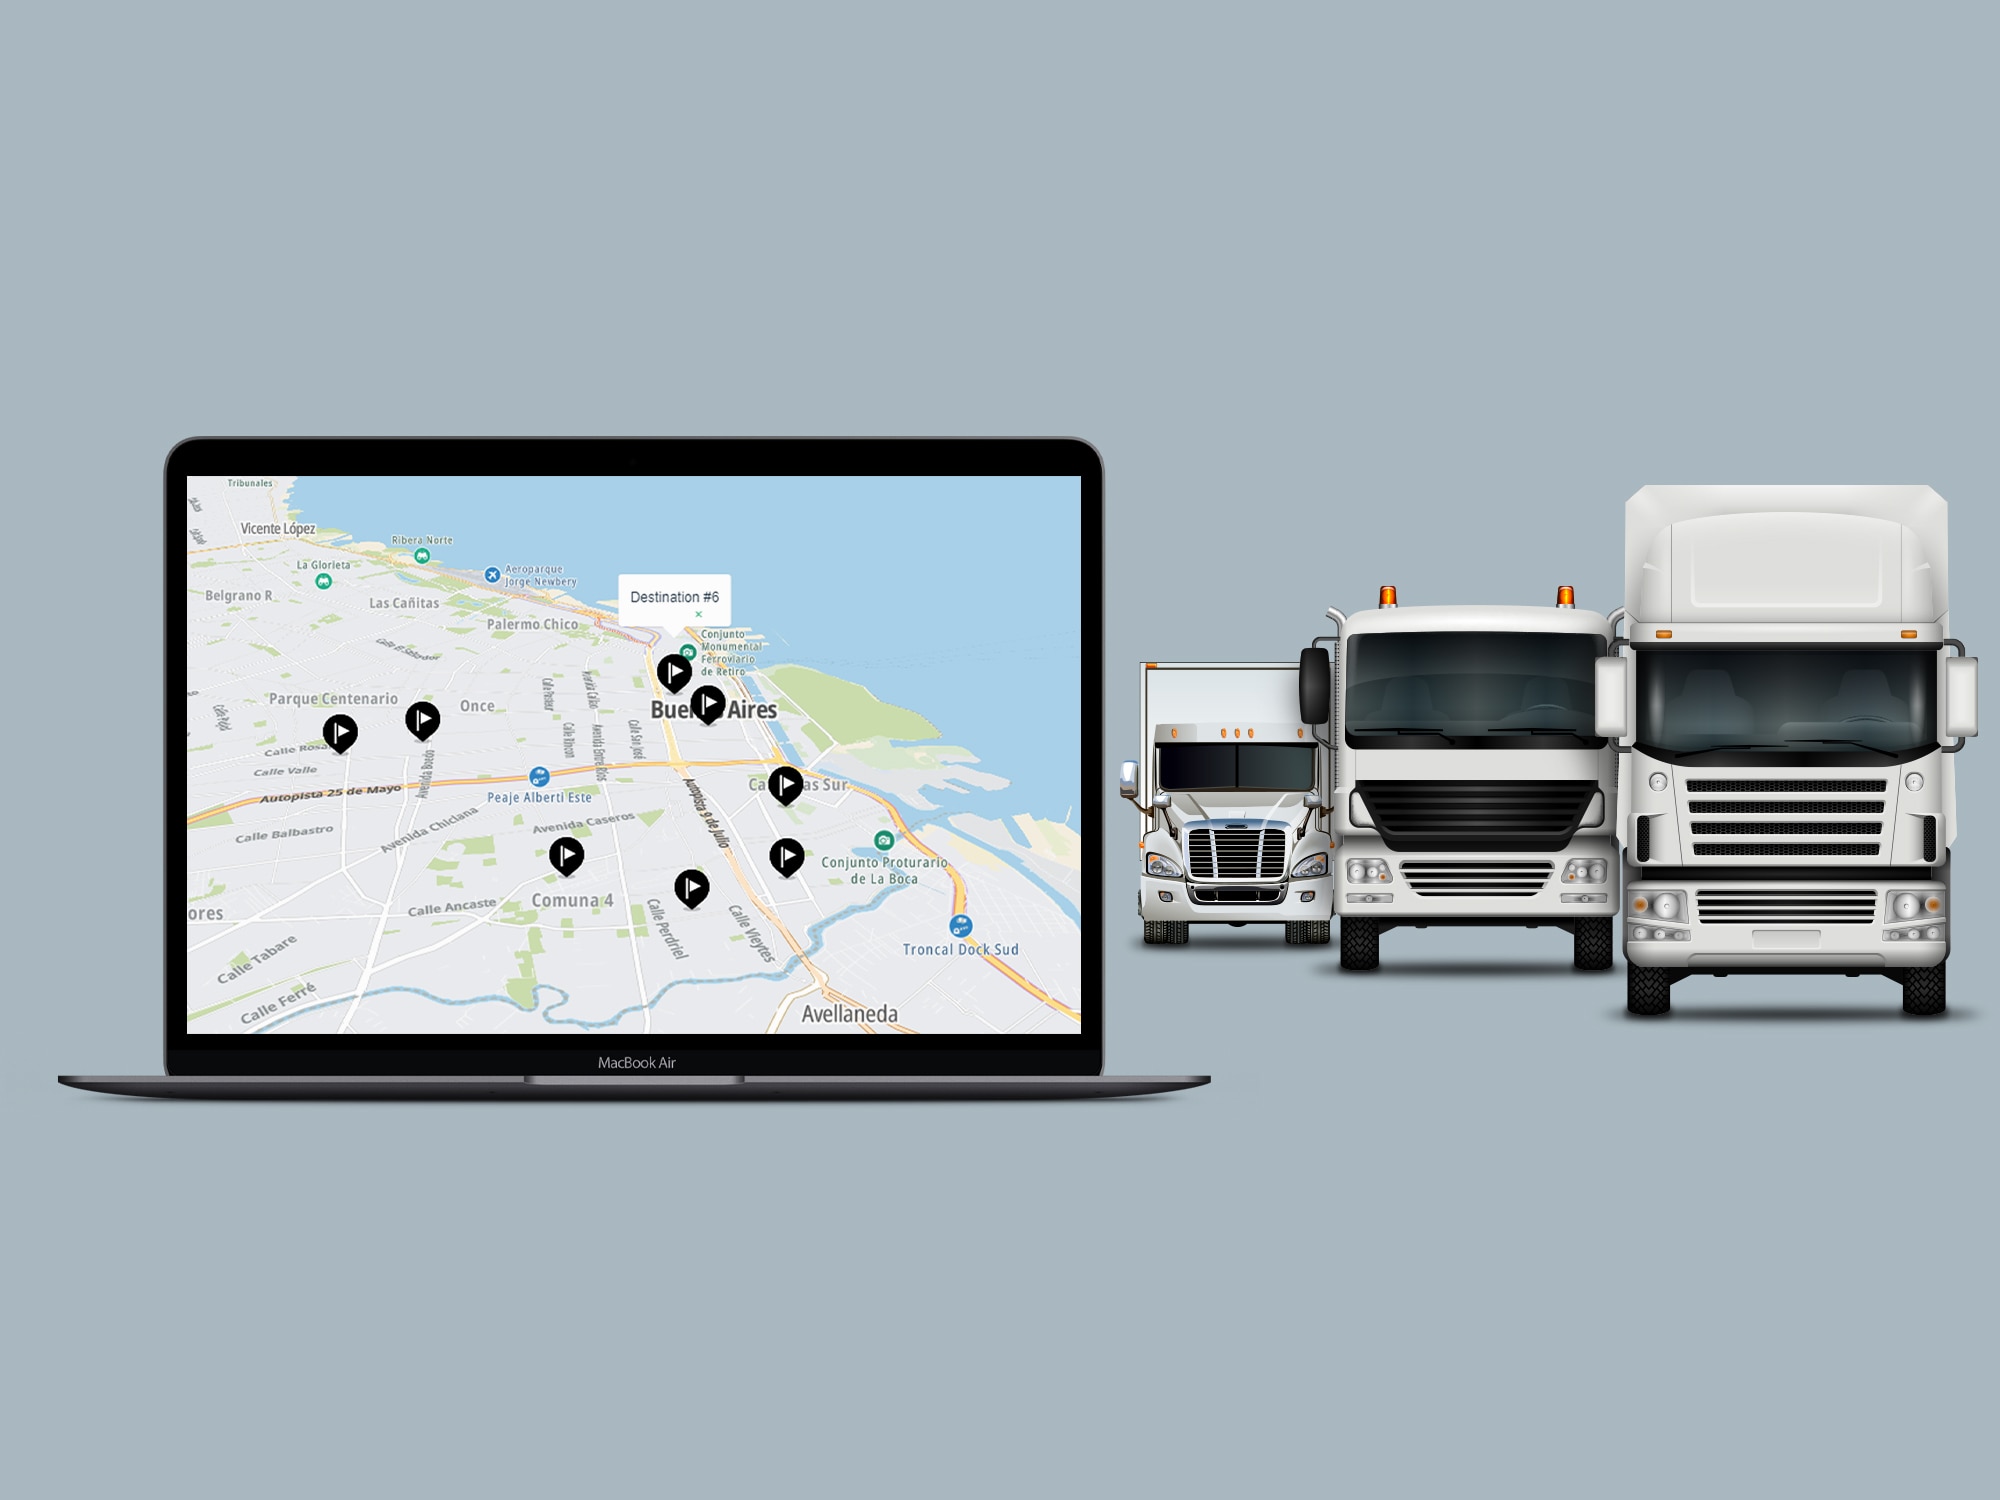
TomTom’s Waypoint Optimization API helps users find the best route to their next destination. In this tutorial, we’ll create an app that lets our users enter the places they want to see and receive an optimized schedule using Waypoint Optimization.
If you frequently deliver or travel with your truck to unknown destinations, you’ve most likely experienced what it’s like to be unfamiliar with the city’s road network. So, you may have sought guidance from the locals about the best routes to your destination.
TomTom’s Waypoint Optimization service is one of these local guides, but digital. The service works to optimize the order of a given set of waypoints (destinations) by the fastest route. It includes features like optimizing waypoints for cars and trucks.
Using this service, our location-based applications and services can collect coordinates for notable places and locations from a user. Then, we can display the optimal routes to those destinations from nearest to farthest.
In this tutorial, we’ll create a Vue application and add the TomTom Maps SDK. On the homepage of our app, there will be several gorm inputs for users to provide their starting location and the waypoints they want to optimize. These coordinates will then be sent to the Waypoint Optimization service, which will list them in the optimal order. Finally, our app will display the results on a map.
Prerequisites
To follow this tutorial, ensure you have the following:
Node.js and its package manager, npm (version 5.2 or higher)
Familiarity with the JavaScript/ES6 syntax and the basics of building apps using Vue.js. This tutorial uses Vite to develop Vue apps.
A code editor, such as Visual Studio Code
A TomTom developer account. This tutorial will require an API key from your account. It’s free to sign up, and you can make thousands of free requests per day, but you can pay to extend the API limits and add more features, depending on your application requirements.
You can check out the final project code here.
Getting Started
To get started, let’s create a new Vite project via the command-line interface (CLI). To do so, start a terminal on your computer, enter your project directory, and execute the following command:
npm init viteIn response to this command, the CLI requests information about our application, like the project’s name and preferred development language or framework. Name the project tomtom-demo and select Vue as the development framework.
After providing that setup information, a scaffold Vue app is generated for us.
Next, run the following commands to install the necessary dependencies from npm:
cd tomtom-demo
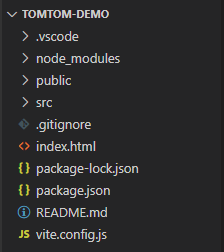
npm installWait for the installation to conclude before opening the project folder using a code editor like VS Code. You’ll find a folder structure like that shown in the image below:
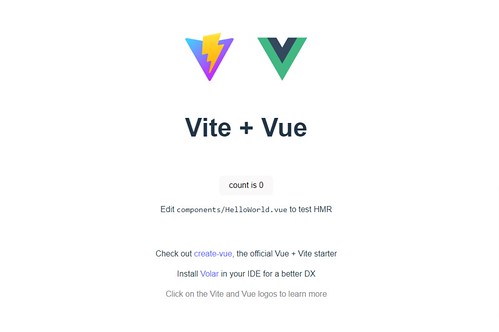
Start the Vite development server by executing the npm run dev command on your terminal. After that, navigate to https://localhost:5173 on your web browser. You’ll see the default Vite page, which is shown below:
Now that our app has been set up, let’s bring in TomTom’s Map SDK and start adding our code.
Using TomTom’s Map SDK in Vue
As outlined in the Maps SDK overview, there are several ways to integrate the TomTom Maps SDK. In this tutorial, we’ll use CDN version 6.
Go to tomtom-demo/index.html in your code editor. Copy the following code and paste it into the file:
<!DOCTYPE html>
<html lang="en">
  <head>
    <!-- [...] -->
    <title>Vite + Vue</title>
    <link rel='stylesheet' type='text/css' href='https://api.tomtom.com/maps-sdk-for-web/cdn/6.x/6.15.0/maps/maps.css'>
  </head>
  <body>
    <div id="app"></div>
    <script type="module" src="/src/main.js"></script>
    <script src="https://api.tomtom.com/maps-sdk-for-web/cdn/6.x/6.15.0/maps/maps-web.min.js"></script>
    <script src="https://api.tomtom.com/maps-sdk-for-web/cdn/6.x/6.15.0/services/services-web.min.js"></script>
  </body>
</html>
With this, we’ll now have access to all of the code in the Maps SDK. Next, we’ll create an HTML form for collecting waypoints from the user.
Create a Form to Collect the Waypoint Sequence from the User
We need two sets of coordinates from the user: the origin, such as a warehouse, and the destination waypoints for which they’d like an optimized route. To collect this information, we’ll create a simple HTML form.
Inside your project’s src/components folder, delete HelloWorld.vue, create a file named Map.vue, and populate it with the following code:
<template>
    <form id="sole-form">
        <!-- Origin where the user is starting from -->
        <div class="row">
            <label class="form-label">Your Origin:</label>
            <div class="col">
                <input type="text" class="form-control" placeholder="Enter longitude" v-model="waypoints[0].lng">
            </div>
            <div class="col">
                <input type="password" class="form-control" placeholder="Enter latitude" v-model="waypoints[0].lat">
            </div>
        </div>
        <hr>

        <!-- Destinations-->
        <div class="row">
            <label class="form-label">Destination 1:</label>
            <div class="col">
                <input type="text" class="form-control" placeholder="Enter longitude" v-model="waypoints[1].lng">
            </div>
            <div class="col">
                <input type="password" class="form-control" placeholder="Enter latitude" v-model="waypoints[1].lat">
            </div>
        </div>
         <hr>

        <div class="row">
            <label class="form-label">Destination 2:</label>
            <div class="col">
                <input type="text" class="form-control" placeholder="Enter longitude" v-model="waypoints[2].lng">
            </div>
            <div class="col">
                <input type="password" class="form-control" placeholder="Enter latitude" v-model="waypoints[2].lat">
            </div>
        </div>
         <hr>

       <!-- Add 9 other destinations here -->

        <button @click="getOptimizedRoutes">Submit</button>
    </form>

    <!-- Map below -->
<div id='map' class='map'></div>
</template>
With the code block above, we first created the form responsible for collecting the waypoints the user wants to optimize.
The inputs in the first div element collects the longitude and latitude of the origin, while the remaining inputs collects coordinates of the destinations. Each input has a v-model directive that allows us to access whatever the user types inside the form input in the script section of this component.
Below the form inputs, we added a button element for getting the optimized routes. The last div element in the template is where the map will be loaded into.
Save the Map.vue file and go to your browser to see the form. Here’s what it will look like in your browser:

Defining the Script
In the previous section, inside Map.vue, we created the HTML markup for our form inside of <templates>, which rendered the form shown above.
Now, below <templates>, create a <script> section. This will contain the component’s JavaScript code. Inside <script>, access the waypoint data using the code below. Note that this will be the form inputs inside the data function.
<script>
export default {
  name: "post-request",
  data() {
    return {
            waypoints: [
                { lat: '',  lng : ''},
                { lat: '', lng: '' },
                { lat: '', lng: '' } ,
                { lat: '', lng: '' },
             // add up to the same number of input fields in the form
            ],
    };
   methods: {
     // methods go here
   }
  },
};

</script>
Next, we define our first method, getOptimizedRoutes. First, we construct the data, configure our request with our preferred options, and then include both data and options in the body of the POST request:
getOptimizedRoutes(e) {
        e.preventDefault();

        const data = {
            waypoints: this.waypoints.map((location) => {
                return {
                    point: {
                        latitude: Number(location.lat),
                        longitude: Number(location.lng),
                    },
                };
            }),

            options: {
                travelMode: "truck",
                vehicleCommercial: true,
                traffic: "live",
                departAt: "now",
                outputExtensions: ["travelTimes", "routeLengths"],
                waypointConstraints: {
                    originIndex: 0,
                    destinationIndex: 0,
                },
            },
        };

        const requestOptions = {
            method: "POST",
            headers: { "Content-type": "application/json;charset=UTF-8" },
            body: JSON.stringify(data),
        };

        // fetch request goes here
}
It’s worth noting that the traffic parameter’s value can be either historical or live. For other Routing APIs, live traffic data is used by default. The Waypoint Optimization API, in contrast, uses historical data by default. Furthermore, the historical data considers previous traffic jams and road closures during the given travel time window.
Next, we make the POST request to TomTom’s Waypoint Optimization API to get the optimized order of the waypoint sequence that we added in the request body:
fetch("https://api.tomtom.com/routing/waypointoptimization/1?key=put-your-api-key-here", requestOptions)
            .then(response => response.json())
            .then((data) => {
                // For the markers
                let markers = []
                let solution = data.optimizedOrder

                // Get user origin
                var centerLocation = this.waypoints[0]

                // Hide the form
                document.getElementById('form').remove()

                // create the map
                let map = tt.map({
                key: put-your-api-key-here,
                container: 'map',
                center: centerLocation,
                bearing: 0,
                maxZoom: 21,
                minZoom: 1,
                pitch: 60,
                zoom: 14,
                });

                map.addControl(new tt.FullscreenControl());
                map.addControl(new tt.NavigationControl());

                // other code
         })
In the code above, the optimized waypoints order is returned. We stored them in a variable, hid the form, created a map focusing on the user’s starting point, and added navigation controls to allow us to navigate the map.
Next, we add markers to our map, which will show the waypoint sequence in the original order given by the user:
    // Add markers to map
  this.waypoints.forEach(function (location, index){
    markers.push(new tt.Marker().setLngLat(location).addTo(map))
    })
The objective of waypoint optimization is to sequence the provided waypoints by the fastest route. To optimize the waypoints the user provides, we call the map() method on the array of optimized waypoints. We create a popup text for each waypoint showing its order in the optimized sequence, which we add using the code below. Note that based on how our code is structured, the first location sent to the API will always be the user’s starting point, which has an index of 0.
  let optimizedLocs = solution.map((order, index) => {
    if(order === 0) {
      const popup = new tt.Popup({ offset: 50 }).setText("Origin")
      markers[order].setPopup(popup)
    } else {
      const popup = new tt.Popup({ offset: 50 }).setText("Destination #" + index)
      markers[order].setPopup(popup)
    }

    return this.waypoints[order]
  })
In the code above, we first checked to see if the current location in the optimized array is the starting point of the journey. Once confirmed, the code inside the if block will run, which creates a popup with the text “Origin” and adds the text to its corresponding marker on the map. This tells the user that the location is their starting point.
(Note: With the Waypoint Optimization API, setting a specific origin isn’t mandatory if the use case doesn’tt require one.)
Now, save the file. Go to src.App.vue and import (and register) the Map component:
<script setup>
import Map from './components/Map.vue'
</script>

<template>
  <Map/>
</template>
Then, start your dev server with the following command:
npm run devNow, visit http://127.0.0.1:5173/ on your web browser and add the coordinates for a starting point and several nearby destinations in the form. Click Submit. If you don’t have the coordinates handy, use the coordinates found in the coordinates.txt file.
The map should emerge and should contain markers for each location. Click on the markers to learn which destination comes first, then continue through to the last!

Next Steps
In this article, we used the TomTom Waypoint Optimization in our Vue app to optimize the order of waypoints retrieved from the user’s form inputs. We then displayed the optimized order of the locations to the user by adding the order number in the popup text for each marker on the map.
Moreover, TomTom Maps SDK and other APIs easily be integrated with other web frameworks such as React, Angular, and even plain JavaScript.
Do you want to add top-tier map features to your application? Sign up for a free TomTom Developer account and get started with TomTom’s Waypoint Optimization API!