Theming guide
You can customize the Automotive Navigation Application to reflect your brand by adapting both the map and the user interface elements.
This guide outlines the key resources and steps to help you through the process.
1. Customize your map with Map Maker
Use Map Maker, our web application, to create and publish your unique map theme.
Start by selecting a map template that fits your use case. Change map colors in seconds, use Modules to customize what data is shown, and choose the services to include.
When you are happy with the results, publish your style and use it in your applications.
Once your map theme is ready, import it into Figma using the TomTom Maps Generator plugin.
For more information, watch the video Customize your Map Maker:
2. Download the Automotive UI Toolkit and Visual Assets for UI theming
Automotive UI Toolkit
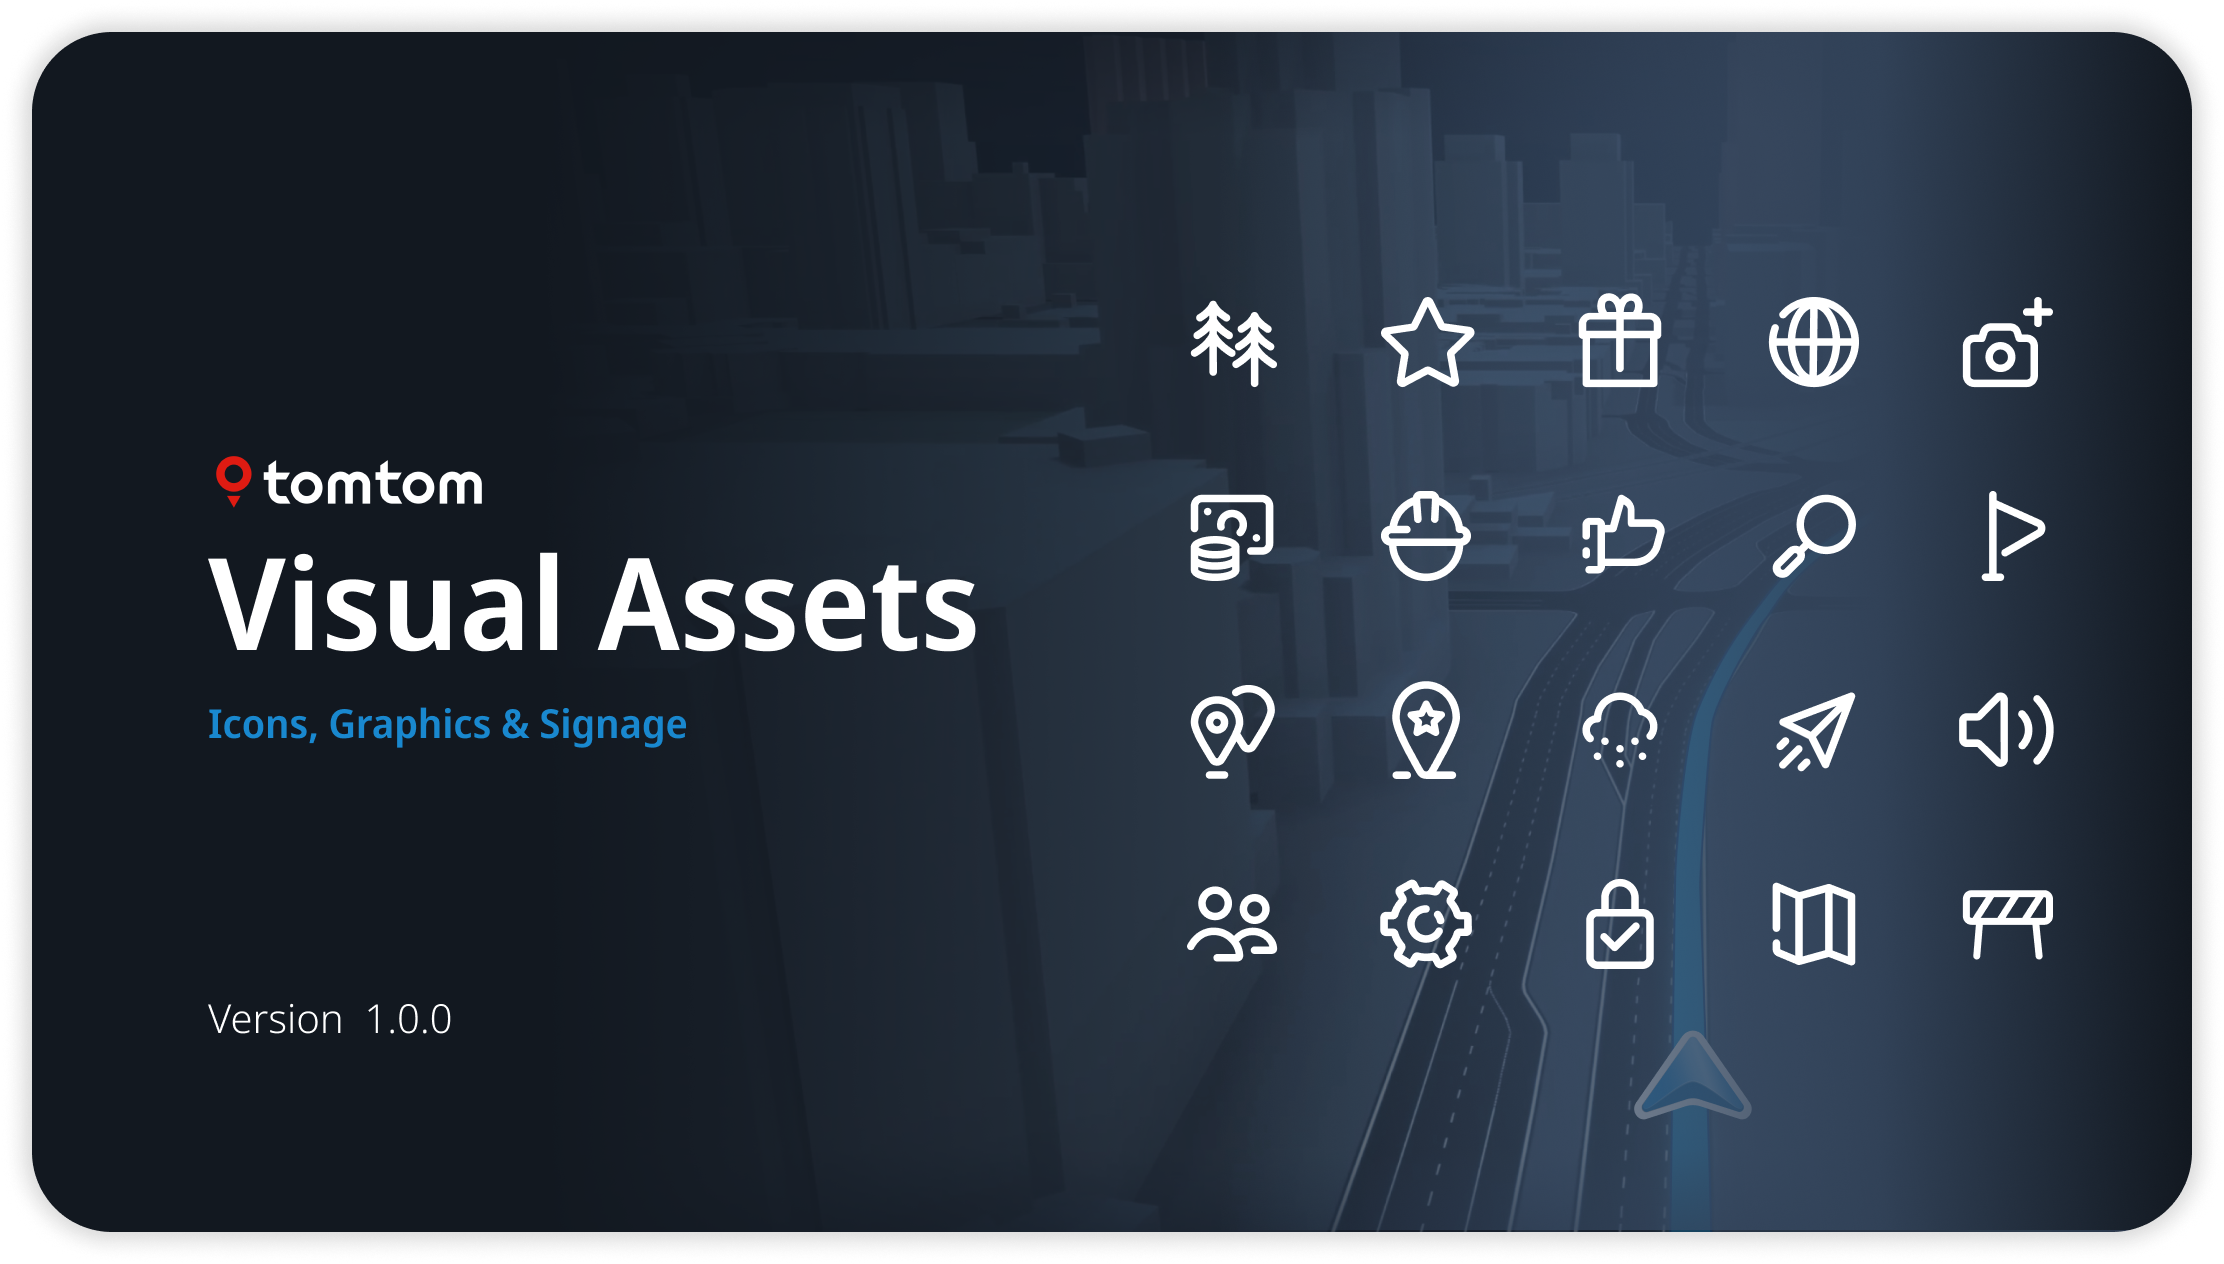
Visual Assets
Start by downloading the Automotive UI Toolkit and Visual Assets Figma files, then follow the step-by-step theming guideline to apply your branding to the navigation UI.
At TomTom, we design user interfaces in Figma and manage design tokens and styles with Token Studio. These tools work seamlessly together:
Figma is used to create and organize designs, while Token Studio ensures that styles and tokens remain structured and easy to maintain.
Together, they make it easy to adapt designs for multiple brands or products without starting from scratch.
The Automotive UI Toolkit is a Figma file that contains all the core UI components and experience stacks used in our navigation applications. It helps you explore how the navigation UI works and provides a starting point for theming it to match your brand and product needs.
The Visual Assets file serves as the single source of truth for all icons, graphics, and signage in the TomTom navigation application, ensuring a consistent and intuitive visual language across both the UI and the map. You can replace any visual element—icons, graphics, or signage—to suit your needs. By updating assets in this file, all necessary exports for both the map and UI can be generated. Once changes are published, the new assets can be previewed directly in the UI Toolkit.
3. Bring your custom map style into Figma with the TomTom Maps Generator plugin
Once you style your map with Map Maker, you can easily bring your map into Figma using the TomTom Maps Generator plugin.
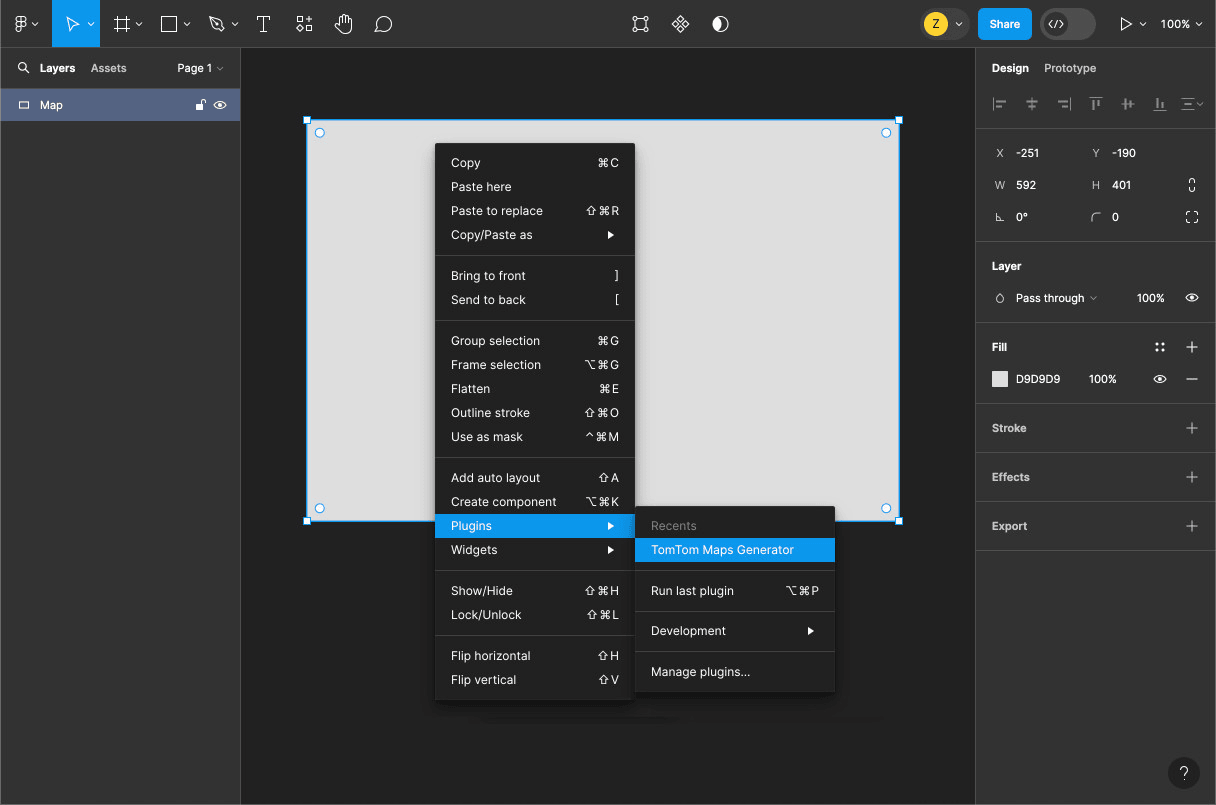
With the plugin, you can:
- Export a map image into any shape or frame.
- Search for specific locations using the search bar.
- Set the camera view with your preferred location, zoom level, and bearing.
- Choose from different map styles such as Street, Street Satellite, Street Driving, and Mono.
- Enable or disable extra information layers such as traffic flow, traffic incidents, and POIs, as well as base layers like water and roads.
4. Apply your branding through theming options
The Automotive UI Toolkit includes step-by-step guidance to help you set up your working file and start theming.
You can customize colors, shapes, sizes, icons, and fonts to align the application with your brand.
Follow the instructions to configure your Figma workspace, connect related files, and begin updating:
- Colors
- Typography
- Assets
- Radius of UI elements
For more information, watch a video Apply your branding:
Recommended resources & guides
Before diving into hands-on theming, we recommend first becoming familiar with our Design System, Design for Driving Guidelines, and Adaptiveness framework.
These resources provide the foundation for creating a consistent and flexible experience, and will help you better understand how to apply your brand effectively to the Navigation application.

TomTom Design System
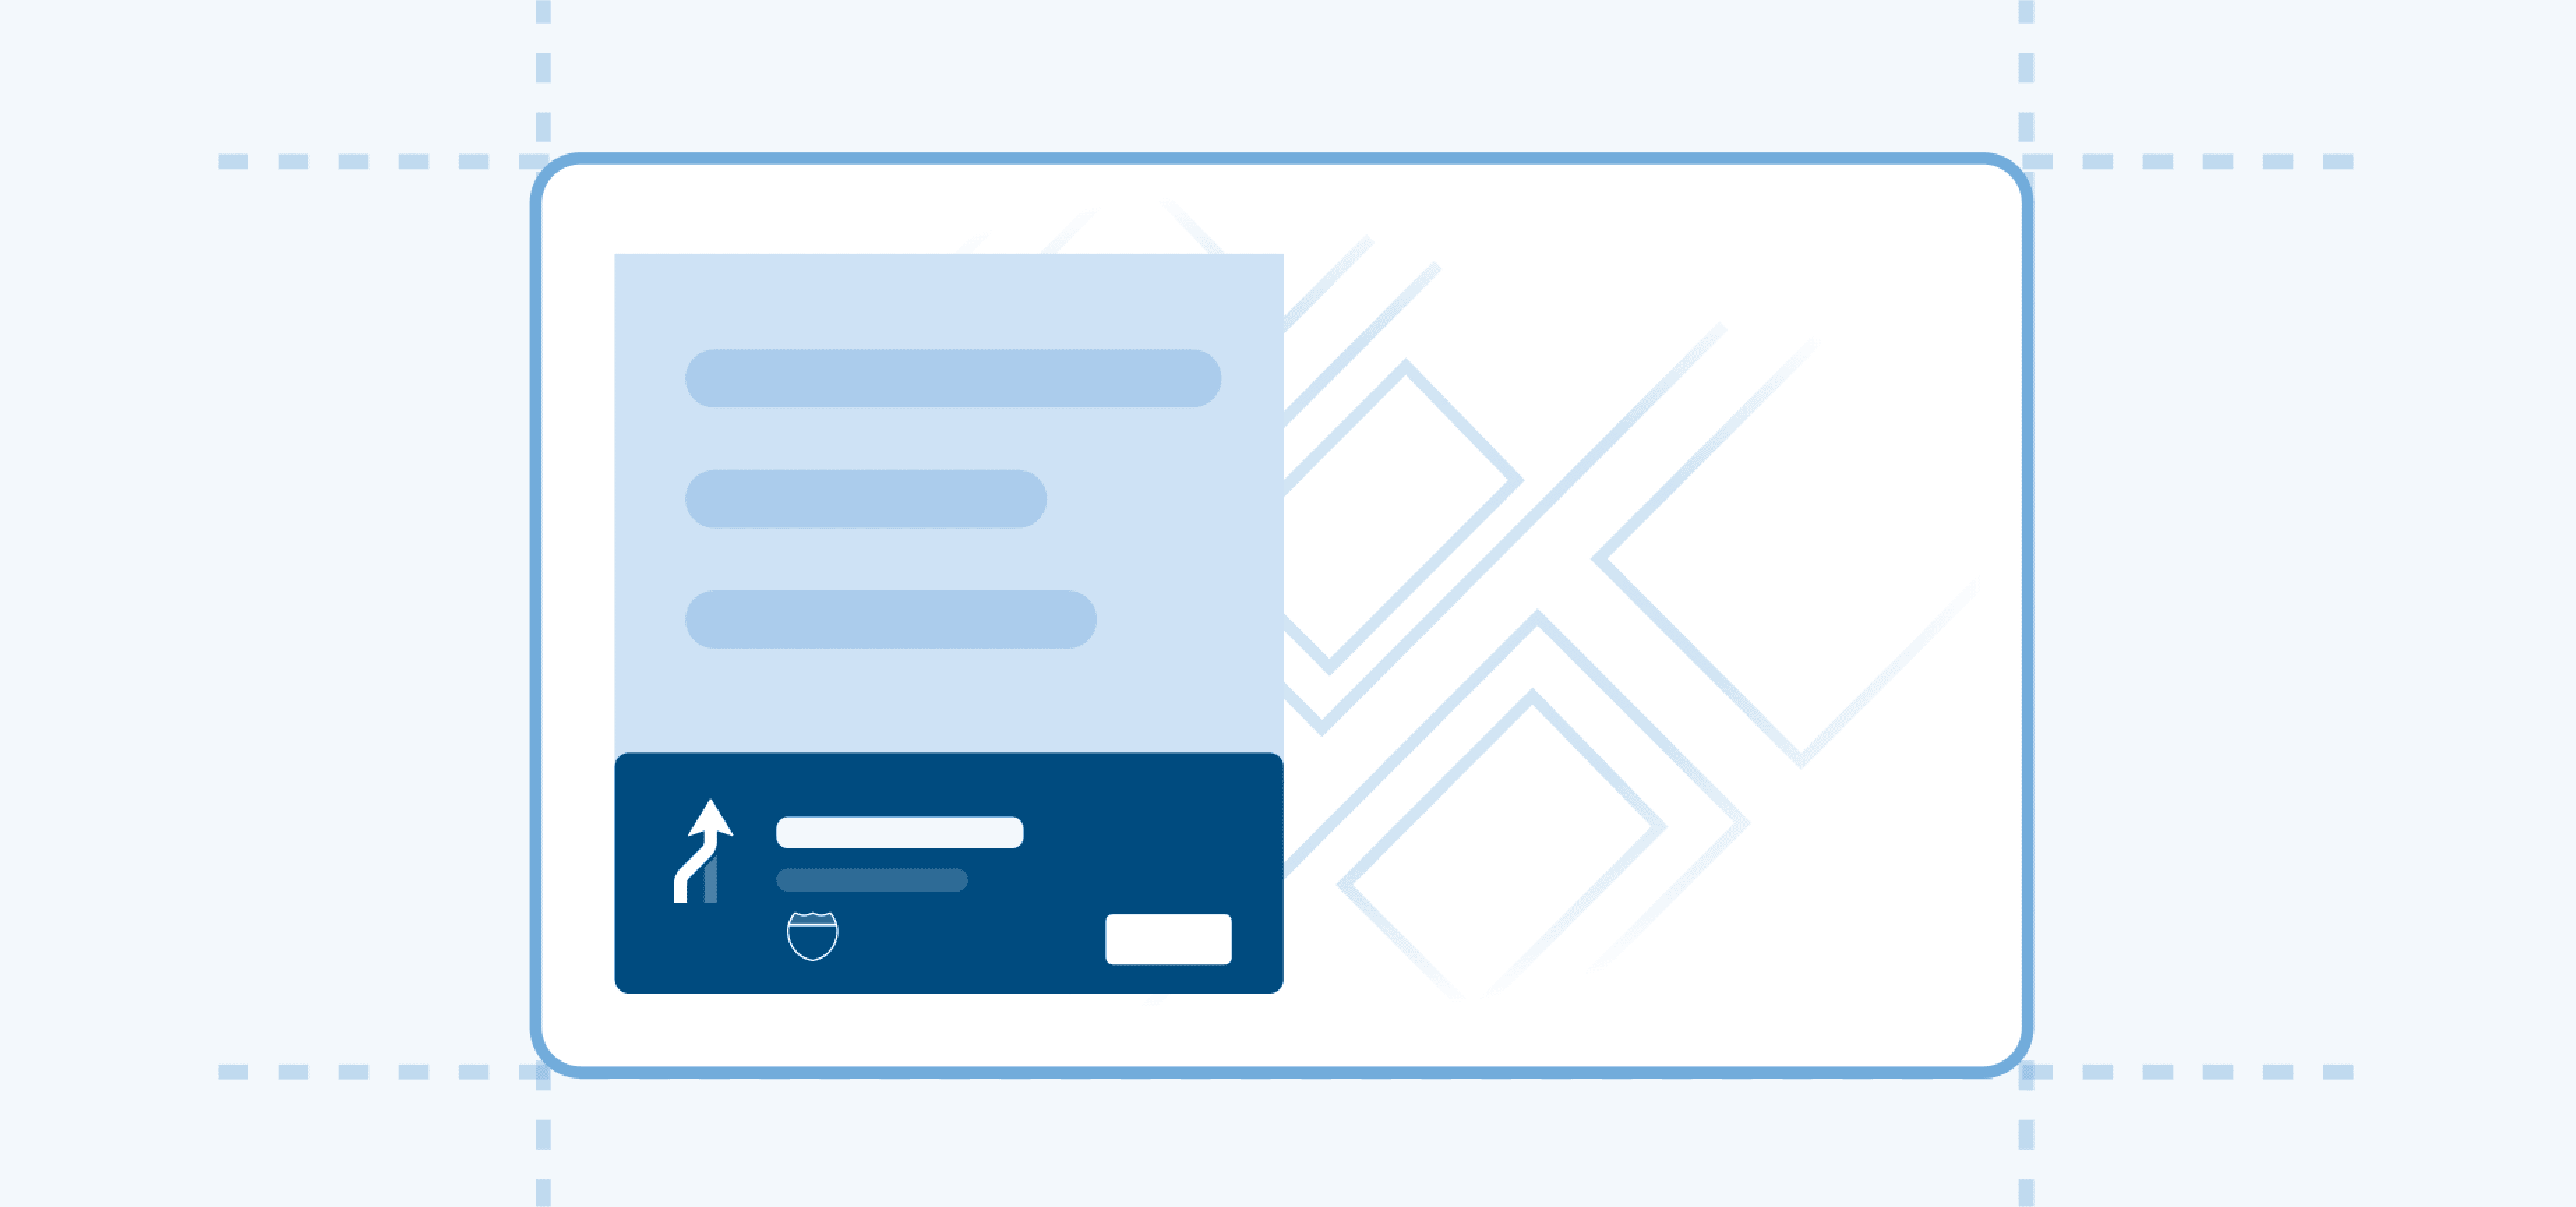
Design for driving guidelines
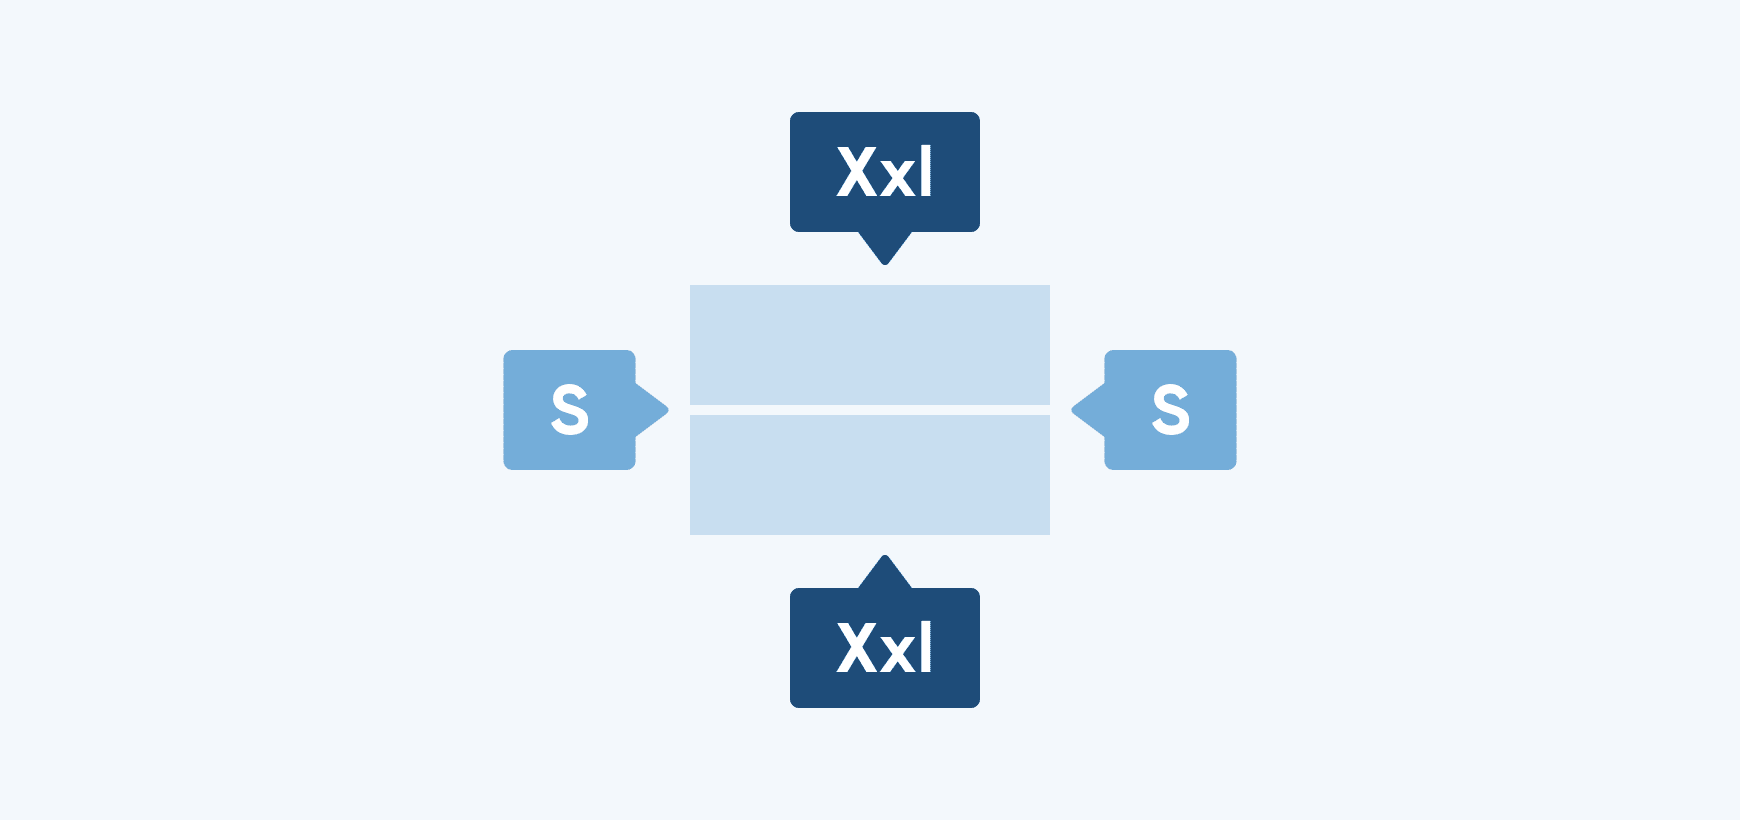
Adaptiveness framework
A system for adapting layouts, components, and behaviors across screens, contexts, and driving states.