Leverage Routing, Geofencing, and Notifications APIs to Send ETA Alerts
)
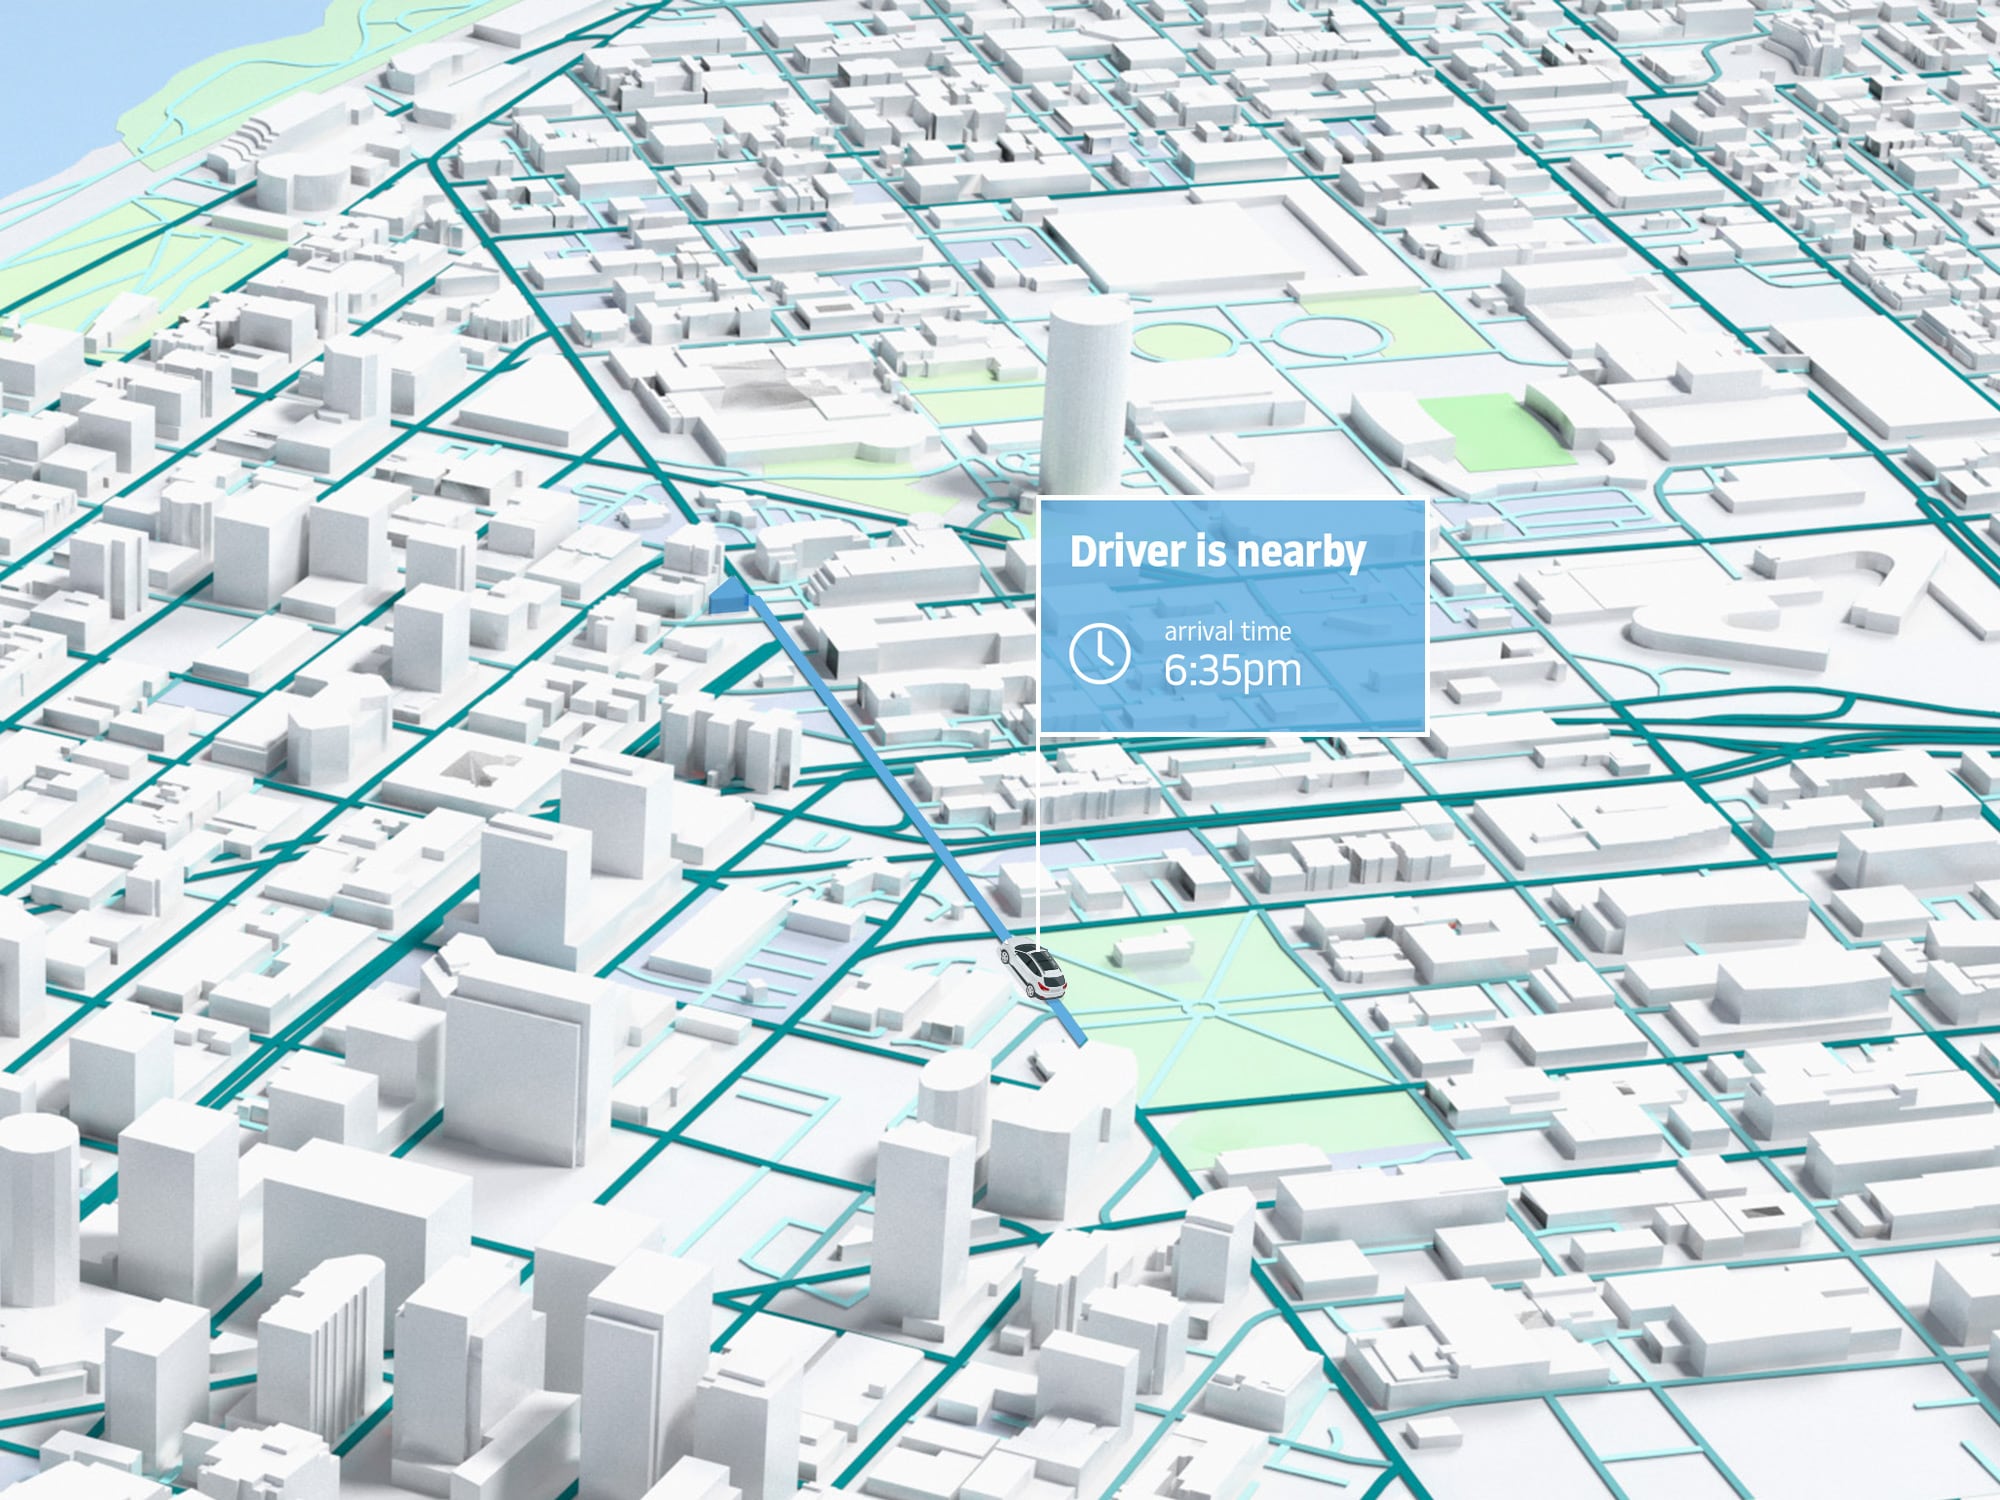
A good user experience includes timely notifications. Customers want alerts when their ride, food, or groceries are nearby, without having to constantly refresh their phone. This article will explore how you can create these essential tracking and notification functions using TomTom’s Routing, Geofencing, and Notifications APIs.
Convenience services, such as ride-hailing, food delivery, and grocery delivery, have become an essential part of our society. These services would not be the same without the strong backing of GPS technologies.
A good user experience includes timely notifications. Customers want alerts when their ride, food, or groceries are nearby, without having to constantly refresh their phone.
While consumers raise their expectations of what good customer service means, the technology to create better experiences, more quickly and easily, has also evolved. This article will explore how you can create these essential tracking and notification functions using TomTom’s Routing, Geofencing, and Notifications APIs.
Project Requirements
This article will focus on the tracking and notification functions of a ride-hailing app. This means we assume a driver is already dispatched and the rider already has a reliable ETA.
To learn more about planning a driver’s trip, the Pizza Delivery App example is a good start. The Pizza Delivery App tutorial demonstrates how to use the Routing API to calculate routes and travel time.
Here is what else we need for our example use case:
We need up-to-date driver location tracking.
We need to send notifications when a driver is approaching.
Using TomTom APIs, we can build the back-end service that makes this all possible in five simple steps:
Create an object to track the driver’s location.
Build a geofence around the destination.
Create notification groups who will receive notifications.
Configure alert rules for that driver (object), geofence, and notification combination.
Report the driver’s location.
A geofence is a virtual barrier centered around a point of interest, such as a rider’s pickup location. The Geofencing API makes it easy to determine whether any object — such as a person, vehicle, package — is within, outside, or close to a defined geofence.
When the driver enters or exits that geofence, it can trigger an alert, sending a notification to the assigned notification group. The Notifications API allows us to manage communications, sending out alerts via email or webhooks. In our example, we want to trigger an alert as our driver approaches our rider, so we can notify the rider that their driver is nearby.
Note: this tutorial focuses on APIs. The content applies to any language or framework.
Get Your API Key
To access any TomTom API, we need to get an API Key by signing up for a free account on the TomTom Developer Portal.
Get a Geofence Service Key
Let’s use the Geofencing API to determine when our driver is close, so we can base our alerts on a geofence.
To manage geofences, we need to generate an admin key by making a POST call to:
https://api.tomtom.com/geofencing/1/register?key=Your_API_Key
{
  "secret": "your_secret"
}
This is equivalent to the curl call:
curl -XPOST "Content-type: application/json" -d
'{
   “secret”: “your_secret”
}'
'https://api.tomtom.com/geofencing/1/register?key=Your_API_Key'
This generates an admin key to create geofences.
{
  "adminKey": "value_of_admin_key"
}
Create an Object
Before you can start reporting driver positions, an admin must give TomTom consent to store and track user locations.
This can be accomplished through the curl command. Note: Your_Key and Your_Admin_Key refer to the API key and admin key from the previous steps.
curl -XPOST "Content-type: application/json" -d
'{

   "consentForStoringObjectsPositionsHistory": true
}'
'https://api.tomtom.com/locationHistory/1/settings?key=Your_Key&adminKey=Your_Admin_Key'
Now that we can collect and store location data from drivers, we need to create an object to represent a driver by using the Add new object endpoint.
curl -v -XPOST -H "Content-type: application/json" -d
'{
   "name": "my_driver"
}'
'https://api.tomtom.com/geofencing/1/objects/object?key=Your_API_Key&adminKey=Your_Admin_Key'
This will return an object ID in the response.
{
    "name": "object_name",
    "id": "object_id",
    "defaultProject": "project_id",
    "properties": {}
}
Having the driver’s (object’s) location history means we can plot these positions and display them on a map. It also means we can create geofences and react based on the last known driver position.
Build a Geofence
Creating a geofence involves the following steps:
Create a project to manage the geofence.
Create the geofence around an area of interest for the given project.
To create a project, use the following curl command:
curl -v -XPOST -H "Content-type: application/json" -d
'{
"name": "a_project_name"
}'
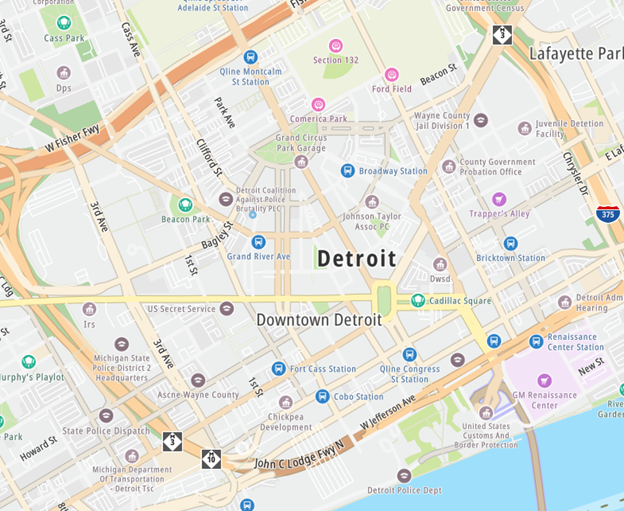
'https://api.tomtom.com/geofencing/1/projects/project?key=Your_API_Key&adminKey=Your_Admin_Key' This call will respond with an ID. Keep it handy for later. To keep this tutorial simple, let’s create a geofence with a 300 meter radius around our destination.
curl -XPOST -H "Content-type: application/json" -d '{
  "name": "my_fence",
  "type": "Feature",
  "geometry": {
    "radius": 300,
    "type": "Point",
    "shapeType": "CIRCLE",
    "coordinates": [-83.052281, 42.334306]
  }
}' 'https://api.tomtom.com/geofencing/1/projects/projectId/fence?key=Your_API_Key&adminKey=Your_Admin_Key'
Again, keep the ID handy as we will use it in a later step.
Create a Notification Group and an Alert Rule
Now that we have a geofence, we need to create rules for it to be useful. Let’s create a rule so we know when a driver enters and exits the geofence.
We need two things:
A notification group to receive a notification
An alert rule that triggers the notifications
To create a notification group, we use the Notifications API:
curl -v -XPOST -H "Content-type: application/json" -d
'{
   "name": "group_name",
   "webhookUrls": ["your_web_hook_url"],
   "emails": ["your@email.com"]
}'
'https://api.tomtom.com/notifications/1/groups?key=Your_API_Key
Notice webHookUrls and emails are arrays. A notification group can contain multiple emails and webhooks.
With a notification group created, we assign it to an alert rule. When the conditions of the alert rule are met, TomTom sends a notification to all of the webhooks and email addresses submitted via the API.
We create an alert rule using the following call. This is where we fill in all those IDs we collected earlier.
curl -v -XPOST -H "Content-type: application/json" -d
'{
   "name": "my_alert_rule",
   "project": "{project_id}",
   "fence": "{fence_id}",
   "object": "{object_id}",
   "alertType": "TRANSITION",
   "alertRuleConstraints": {
     "transitionType": "ALL"
   },
   "notificationGroup": "{notification_group_id}",
   "enabled": true
}'
'https://api.tomtom.com/geofencing/1/alerts/rules?key=Your_API_Key&adminKey=Your_Admin_Key'
There are four types of alerts:
TRANSITION: When an object enters or exits the fence.
DWELL: When an object stays too long inside a fence.
OBJECT_COUNT: When the limit of objects in a fence is exceeded.
PROXIMITY: When the distance between an object and a fence is smaller than the provided threshold.
AlertRuleConstraints defines parameters for each type of alert. See the API documentation for more details.
We can trigger these alert rules by entering the geofence from outside.
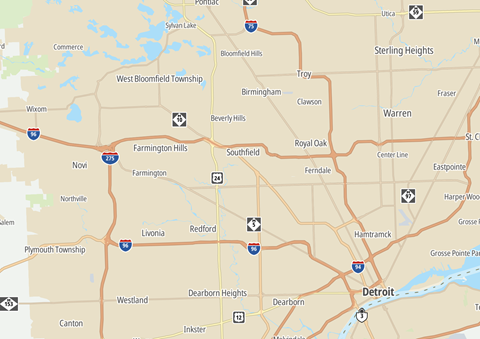
curl -XPOST 'https://api.tomtom.com/geofencing/1/report/{project_id}?key=Your_API_Key&point=-83.072649,42.340485&object={objectId}'-d ''
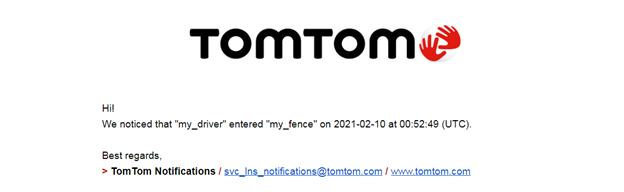
curl -XPOST 'https://api.tomtom.com/geofencing/1/report/{project_id}?key=Your_API_Key&point=-83.052281,42.334306&object={objectId}'-d '' If everything was successful, you receive an email like this:
We can change the list of emails and webhooks in the group using the Edit contact group partially endpoint:
curl -XPATCH -d '{
  "name": "group_name",
  "webhookUrls": ["https://url.to.webhook"],
  "emails": ["your@email.com"]
}'
'https://api.tomtom.com/notifications/1/group/notifications/versionNumber/groups/groupId?key=Your_API_Key'
Now, if you triggered the geofence again by updating the driver’s (object’s) location, your webhook receives something like this:
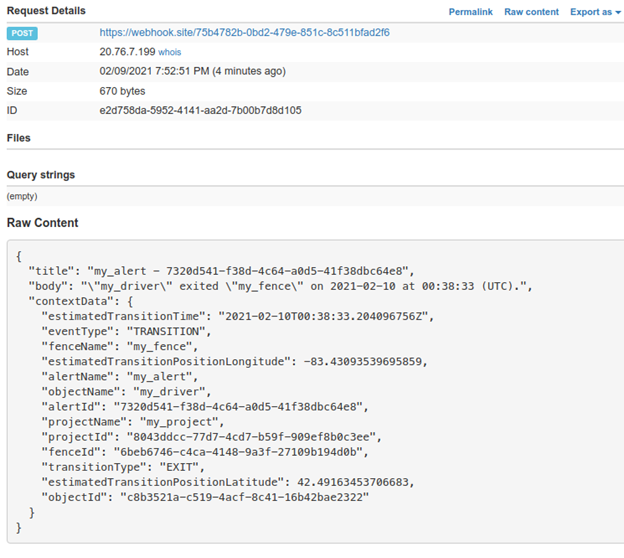
The POST message includes information about the driver (object), project, and geofence. This information opens up a world of possibilities.
For example, at this point, we may want to send a text message, provide an updated ETA to the rider using the Routing API, or, less interestingly, clean up our geofences and projects.
If you are wondering if a notification was sent, it is a simple GET call away:
curl 'https://api.tomtom.com/notifications/1/history?key=Your_API_Key&from=timestamp[&to=timestamp]' Summary
To recap, we demonstrated how to use the Geofencing API and Notifications API to create a notification service for a ride-hailing app. When a driver enters our designated geofence, we send a notification to the waiting rider.
Here are the steps to accomplish this flow:
Create an object for the driver if one doesn’t already exist, and a new project as this is a new journey or order.
Create a geofence for the given project ID.
Create a notification group for the recipient if one doesn’t already exist.
Create an alert rule for the given combination of notification group, object, and geofence.
Report a driver’s location to determine where they are in relation to the geofence.
When the driver enters the geofence, TomTom notifies all listed emails and webhooks assigned to the notification group. The webhooks can receive additional context information to perform additional actions.
Next Steps
We explored how to directly call TomTom APIs to create geofences and alerts using a subset of the available options. For an overview of how this process ties into a full delivery flow, see how to build a delivery service. These geofences and notifications are helpful in any app where your users need to know location, from ride-hailing to food and grocery delivery services and more.
TomTom’s wide range of APIs enables you to add powerful mapping capabilities to enhance your app’s user experience. To learn what you can do, start by reviewing TomTom’s Geofencing API Documentation and Notifications API Documentation.
What are you waiting for? Register your developer account today and get in on the action!