This module is built on top of the Maps SDK for iOS and contains logic and helpful utils that can be
used in more complex scenarios, like driving or cycling.
To use this library, add the following dependency to the Podfile file:
pod 'TomTomOnlineSDKMapsDriving'
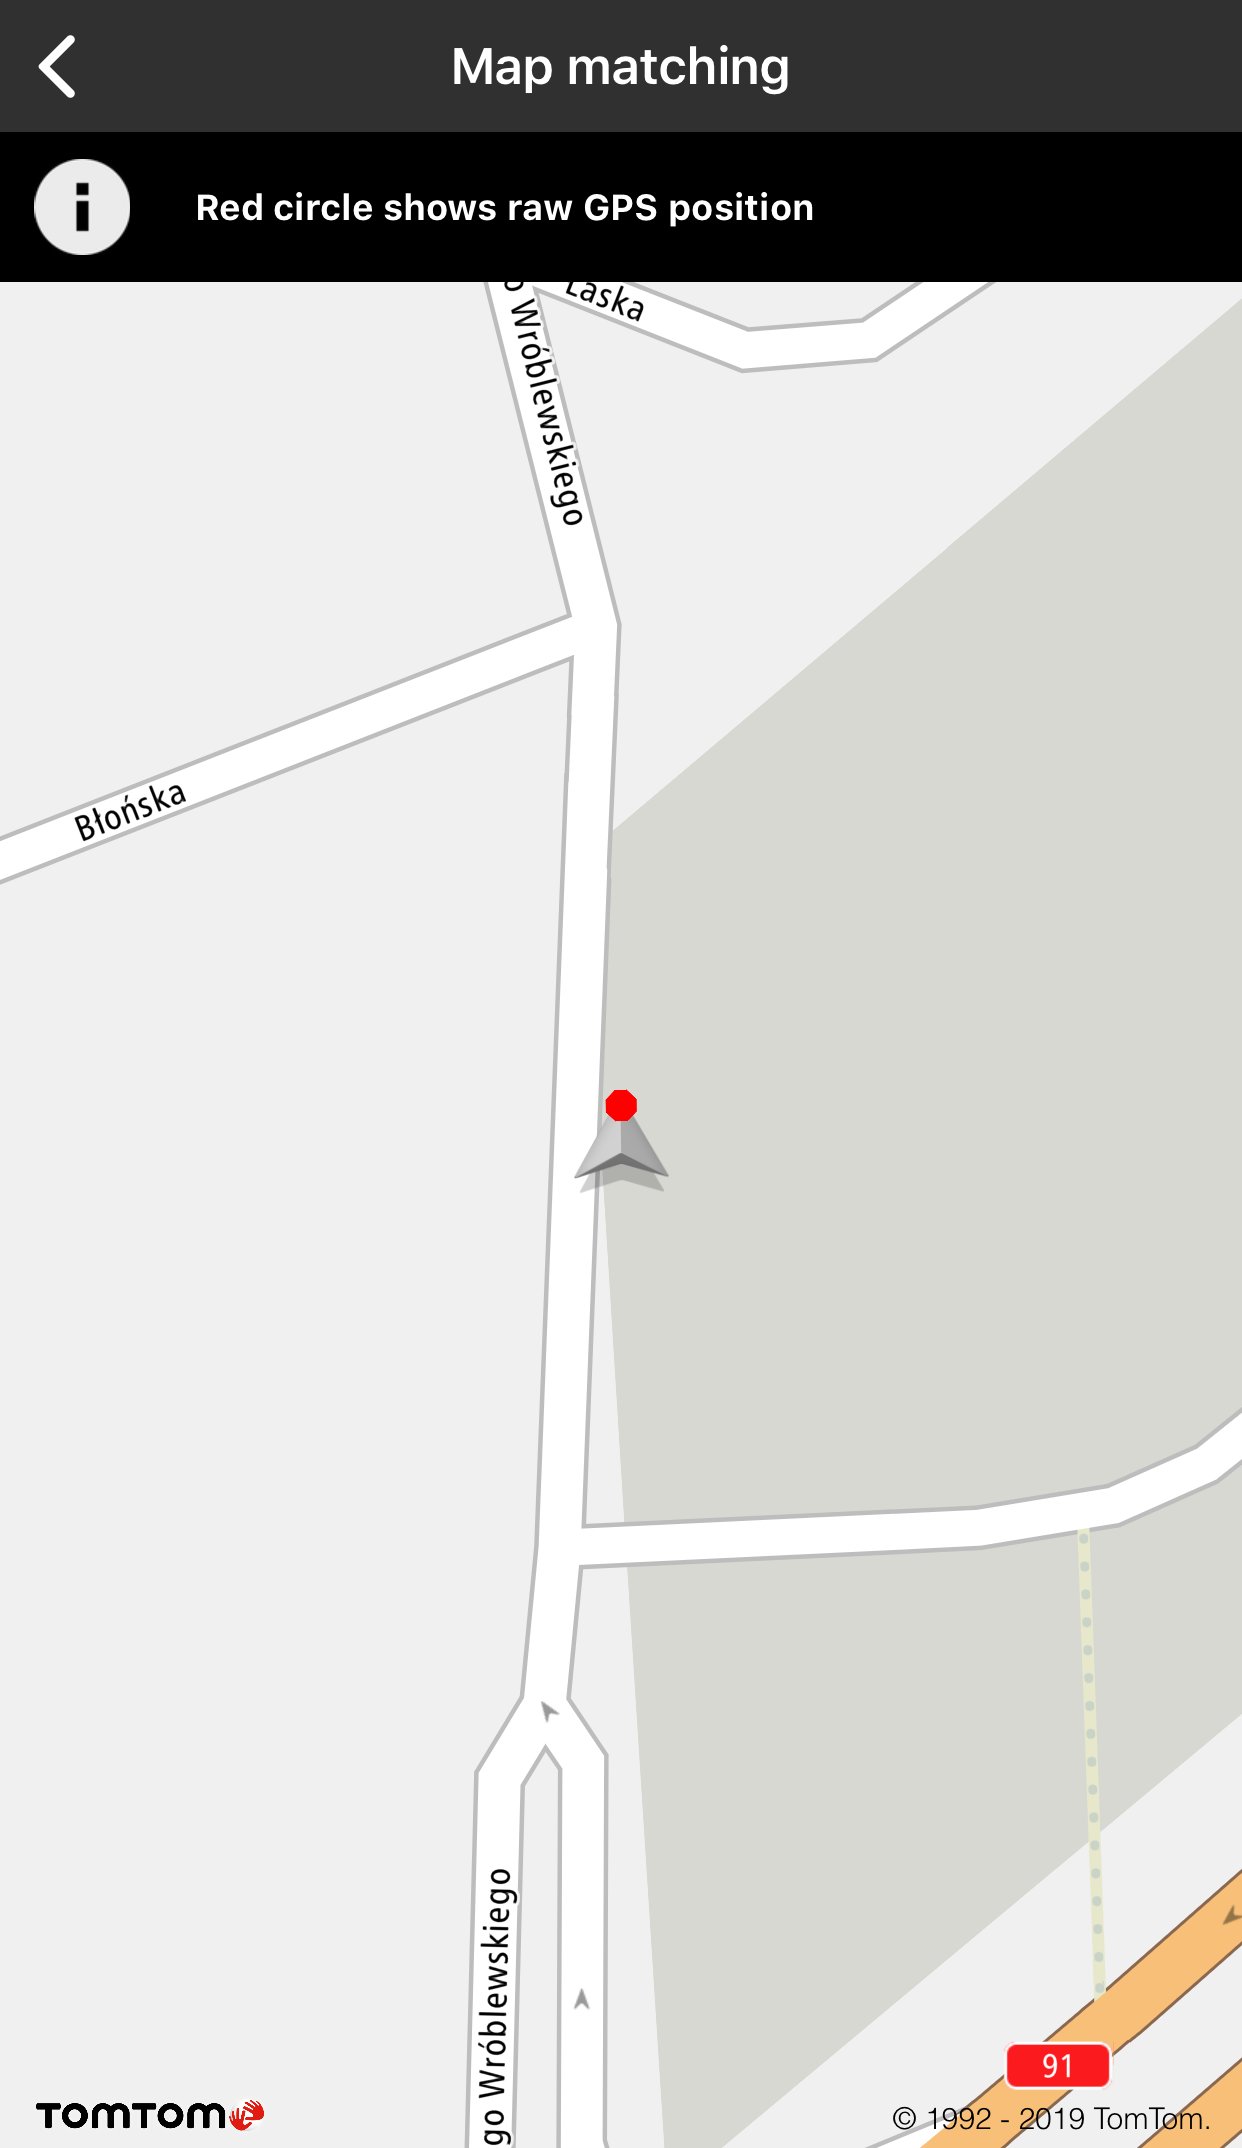
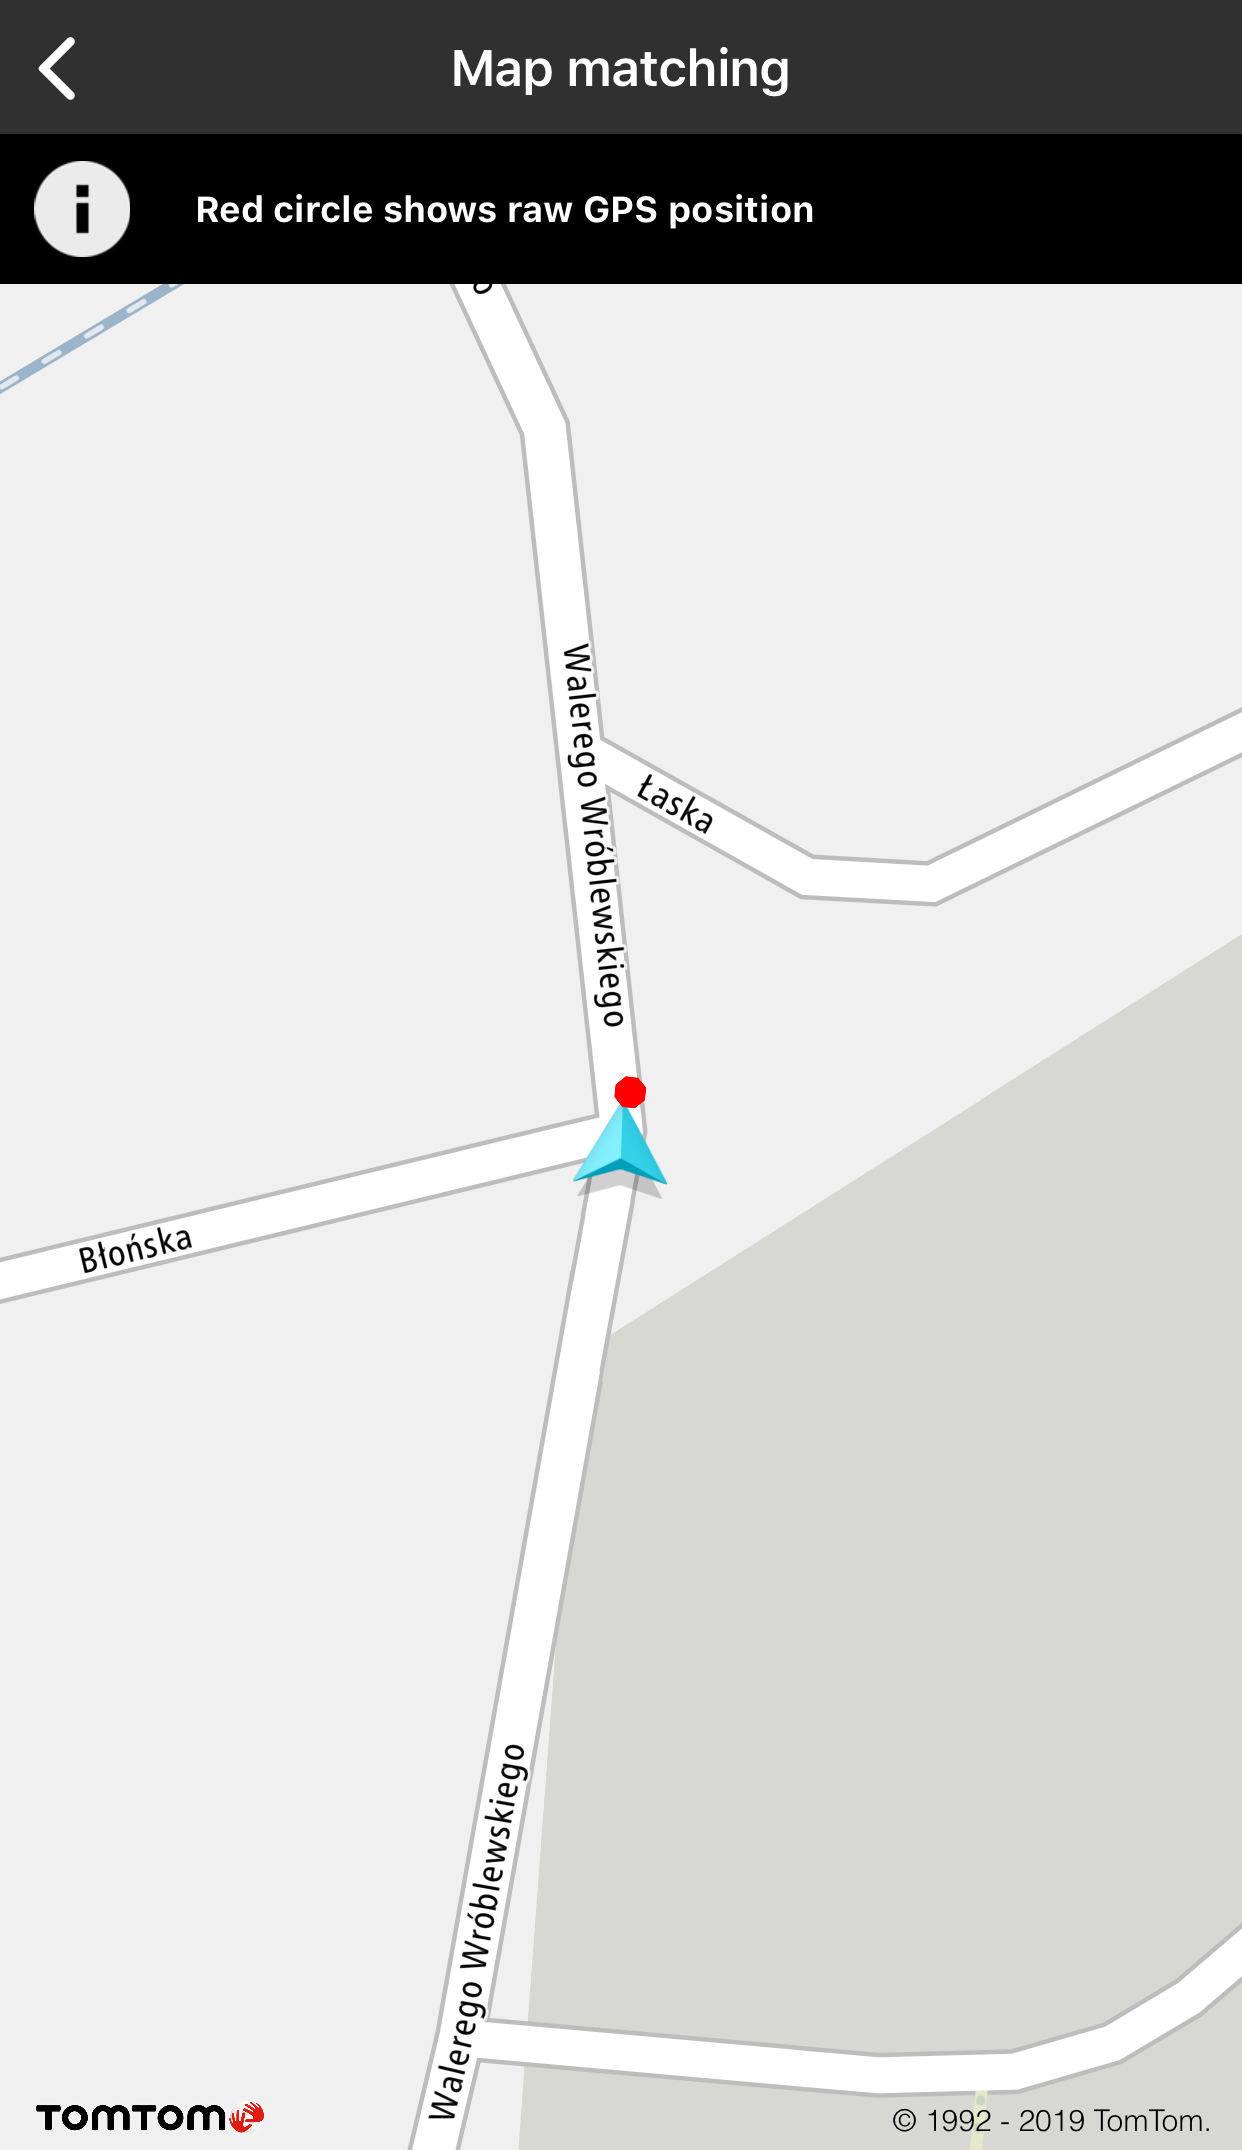
Map and route matching
Map matching snaps an inaccurate GPS probe to the road network obtained from map tiles, so roads are
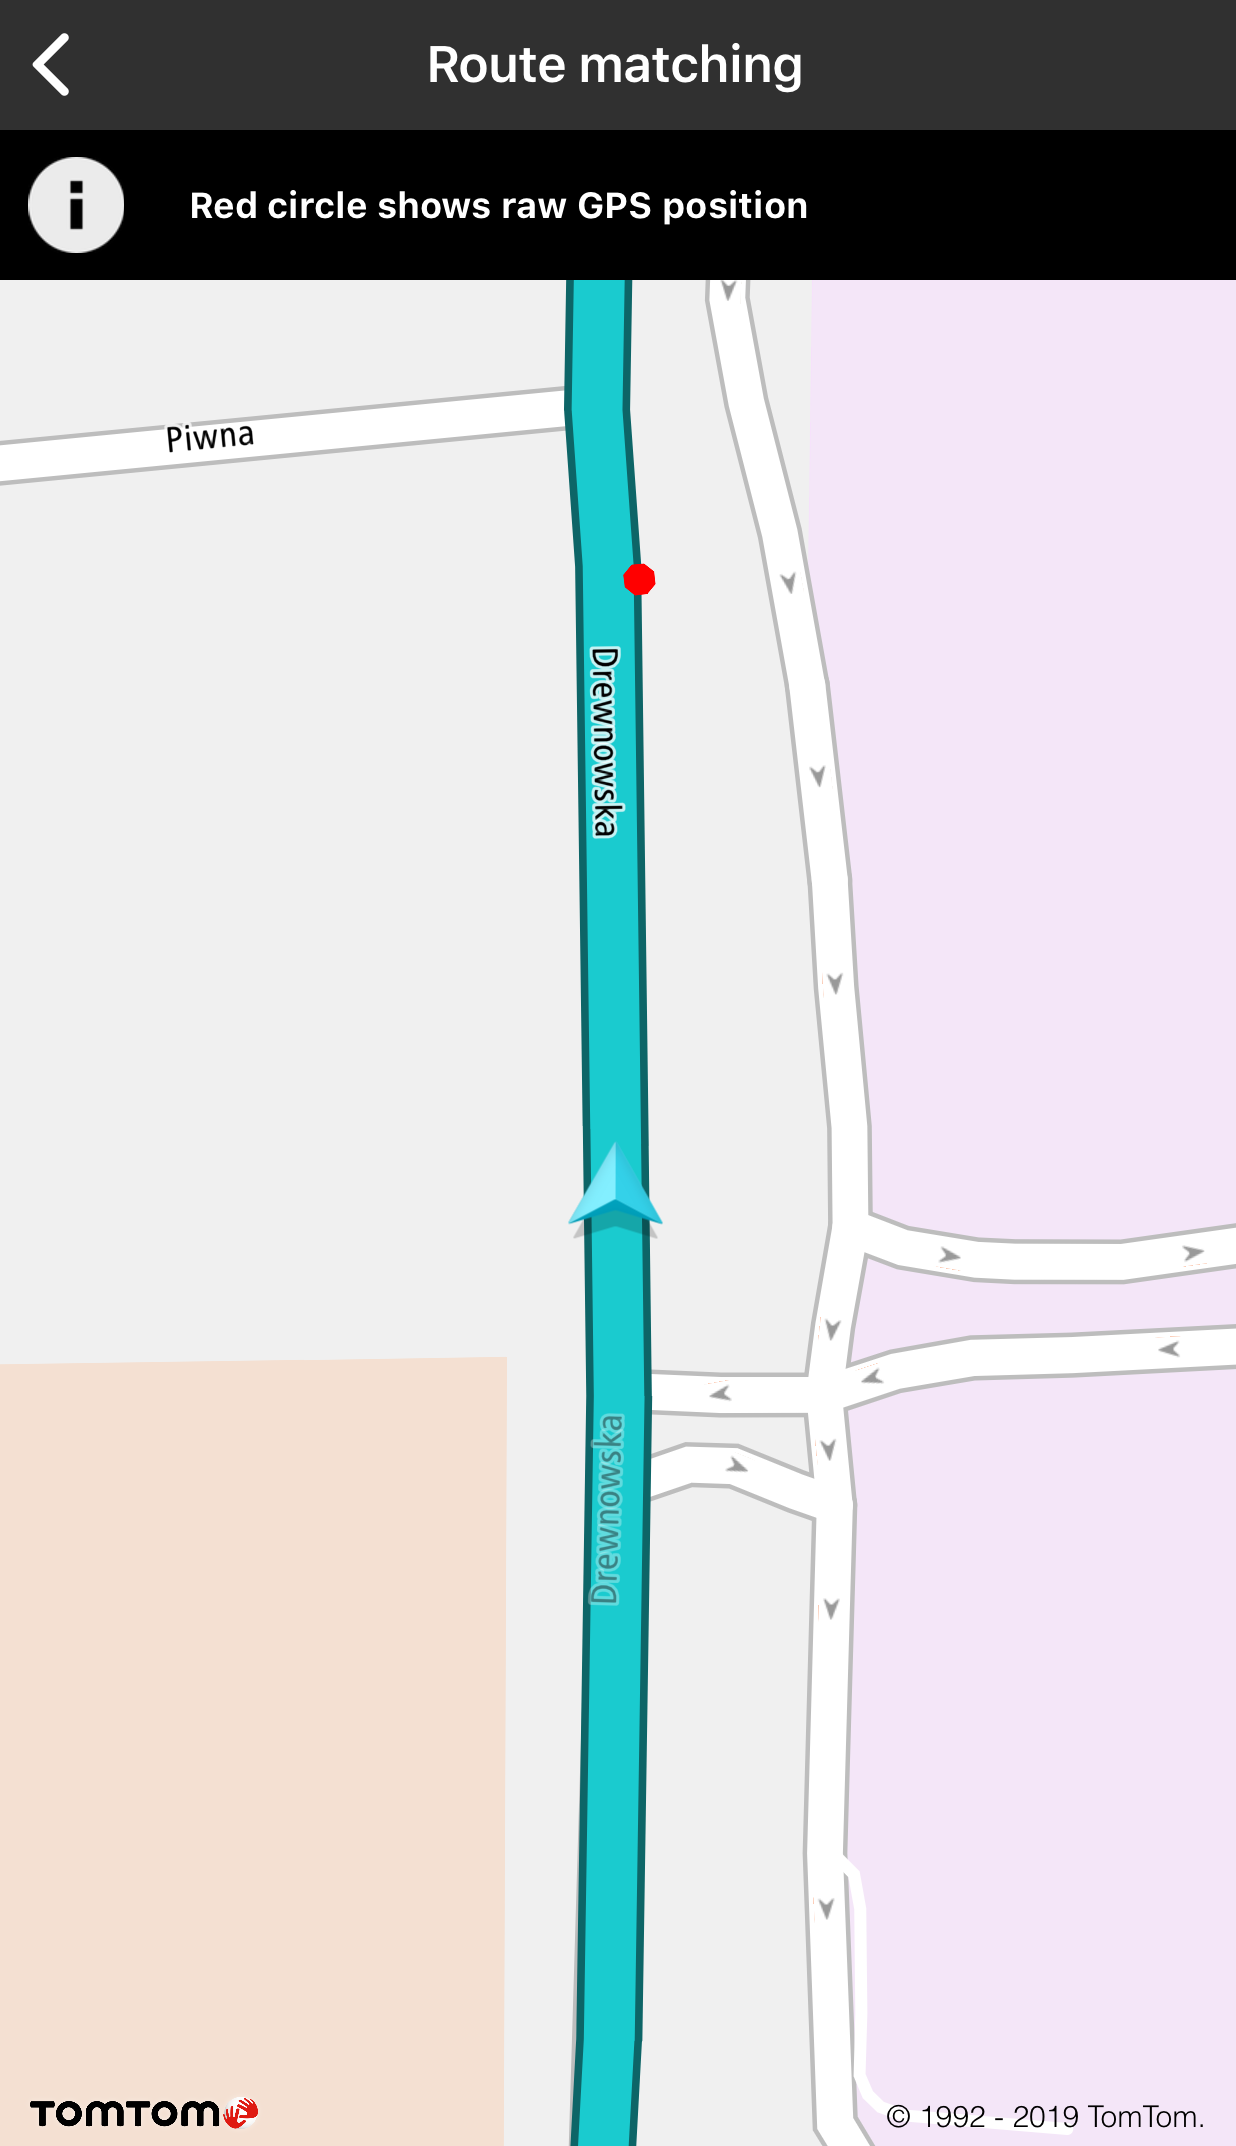
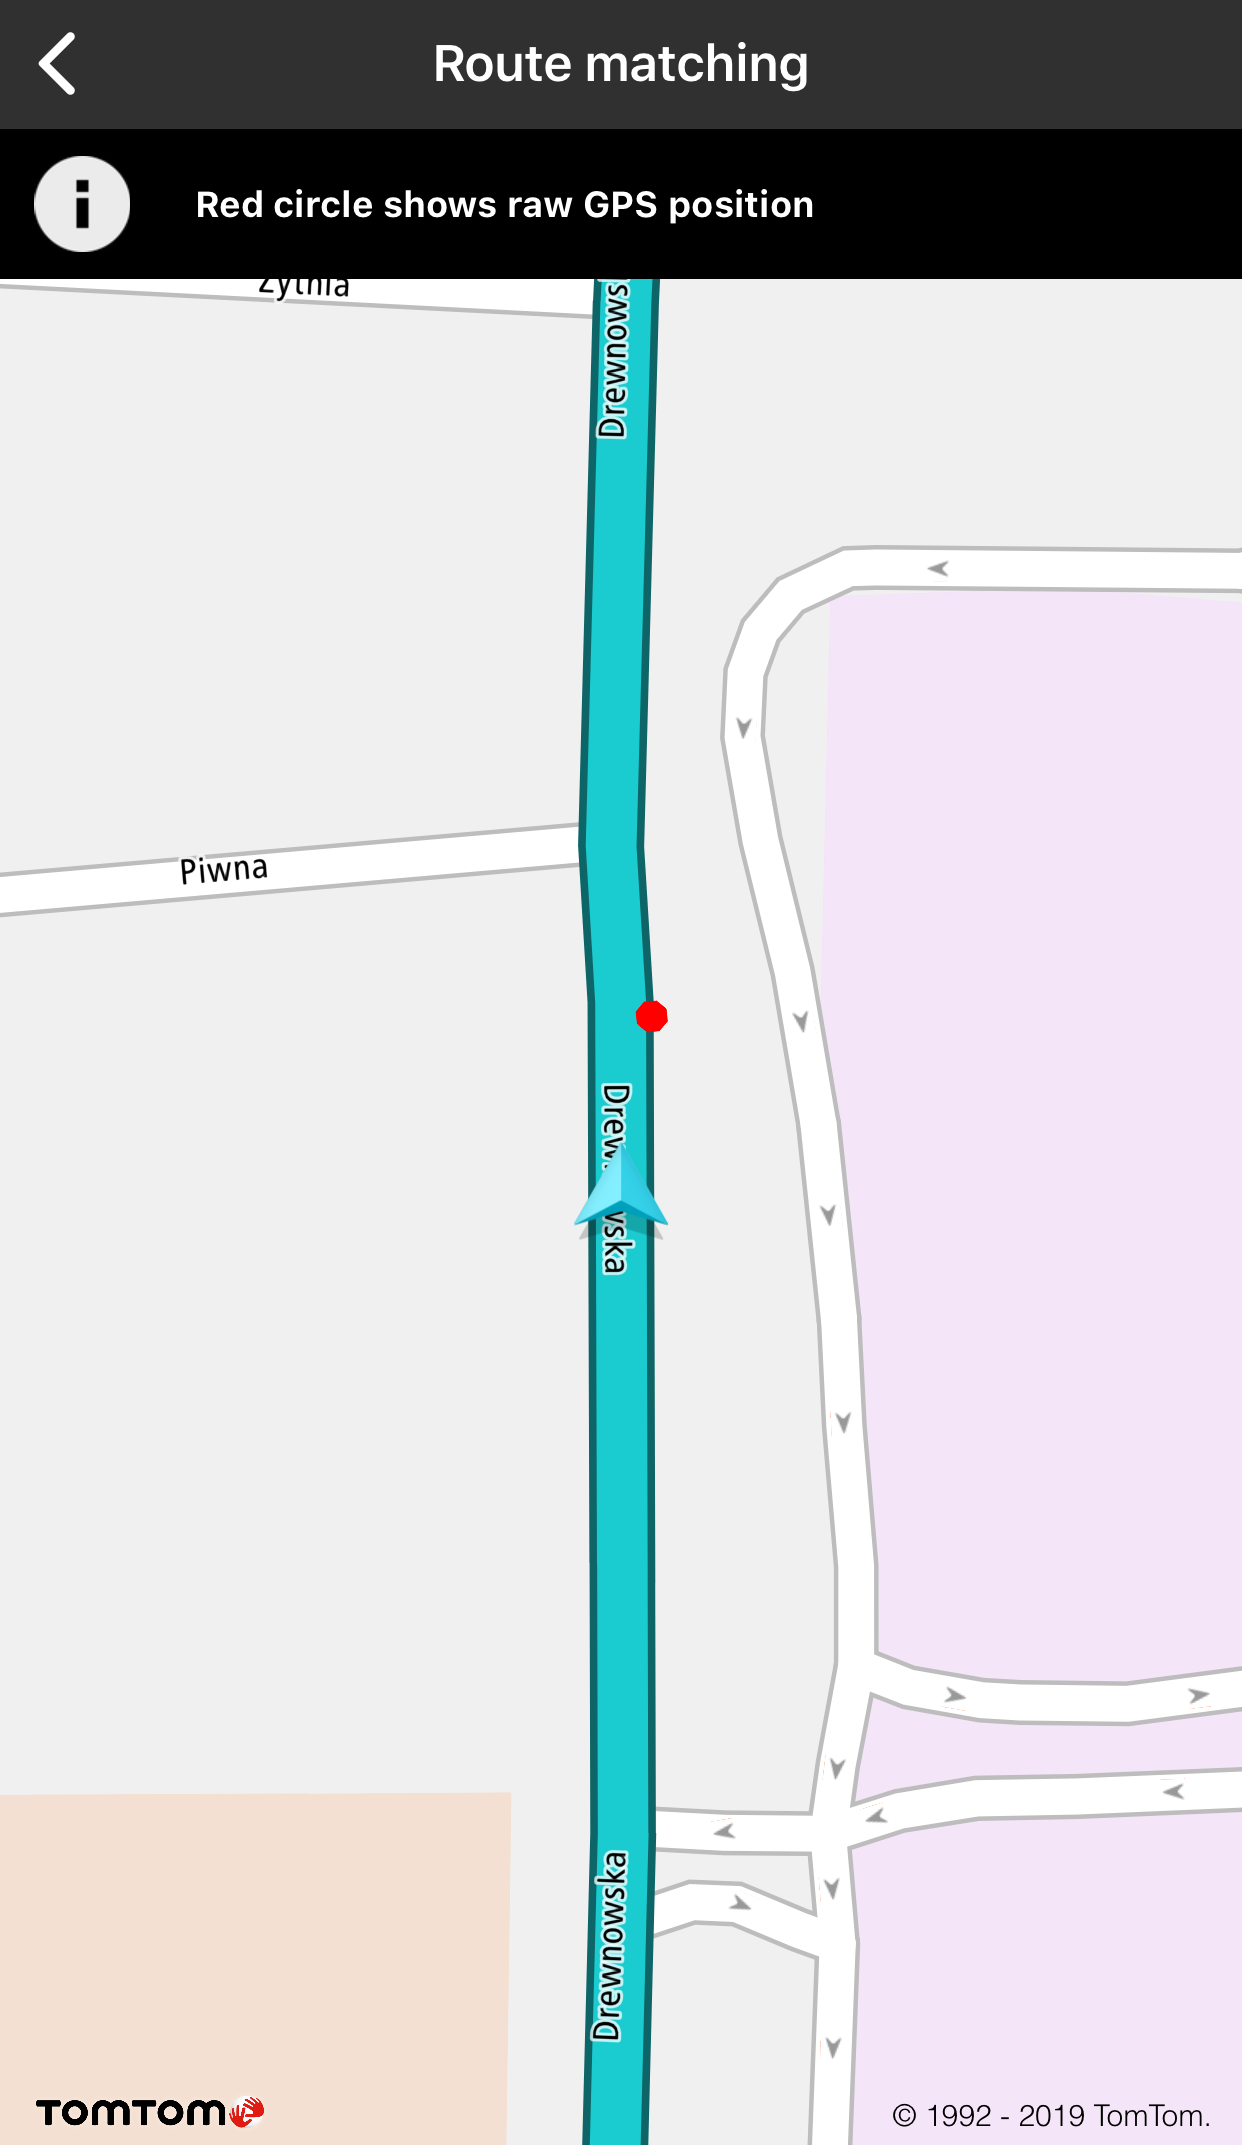
represented by collections of coordinates. Route matching is a special case of map matching which
snaps an inaccurate GPS probe to the given route. The reference route is represented by a collection
of coordinates. The route can be calculated using the Routing API or provided manually.
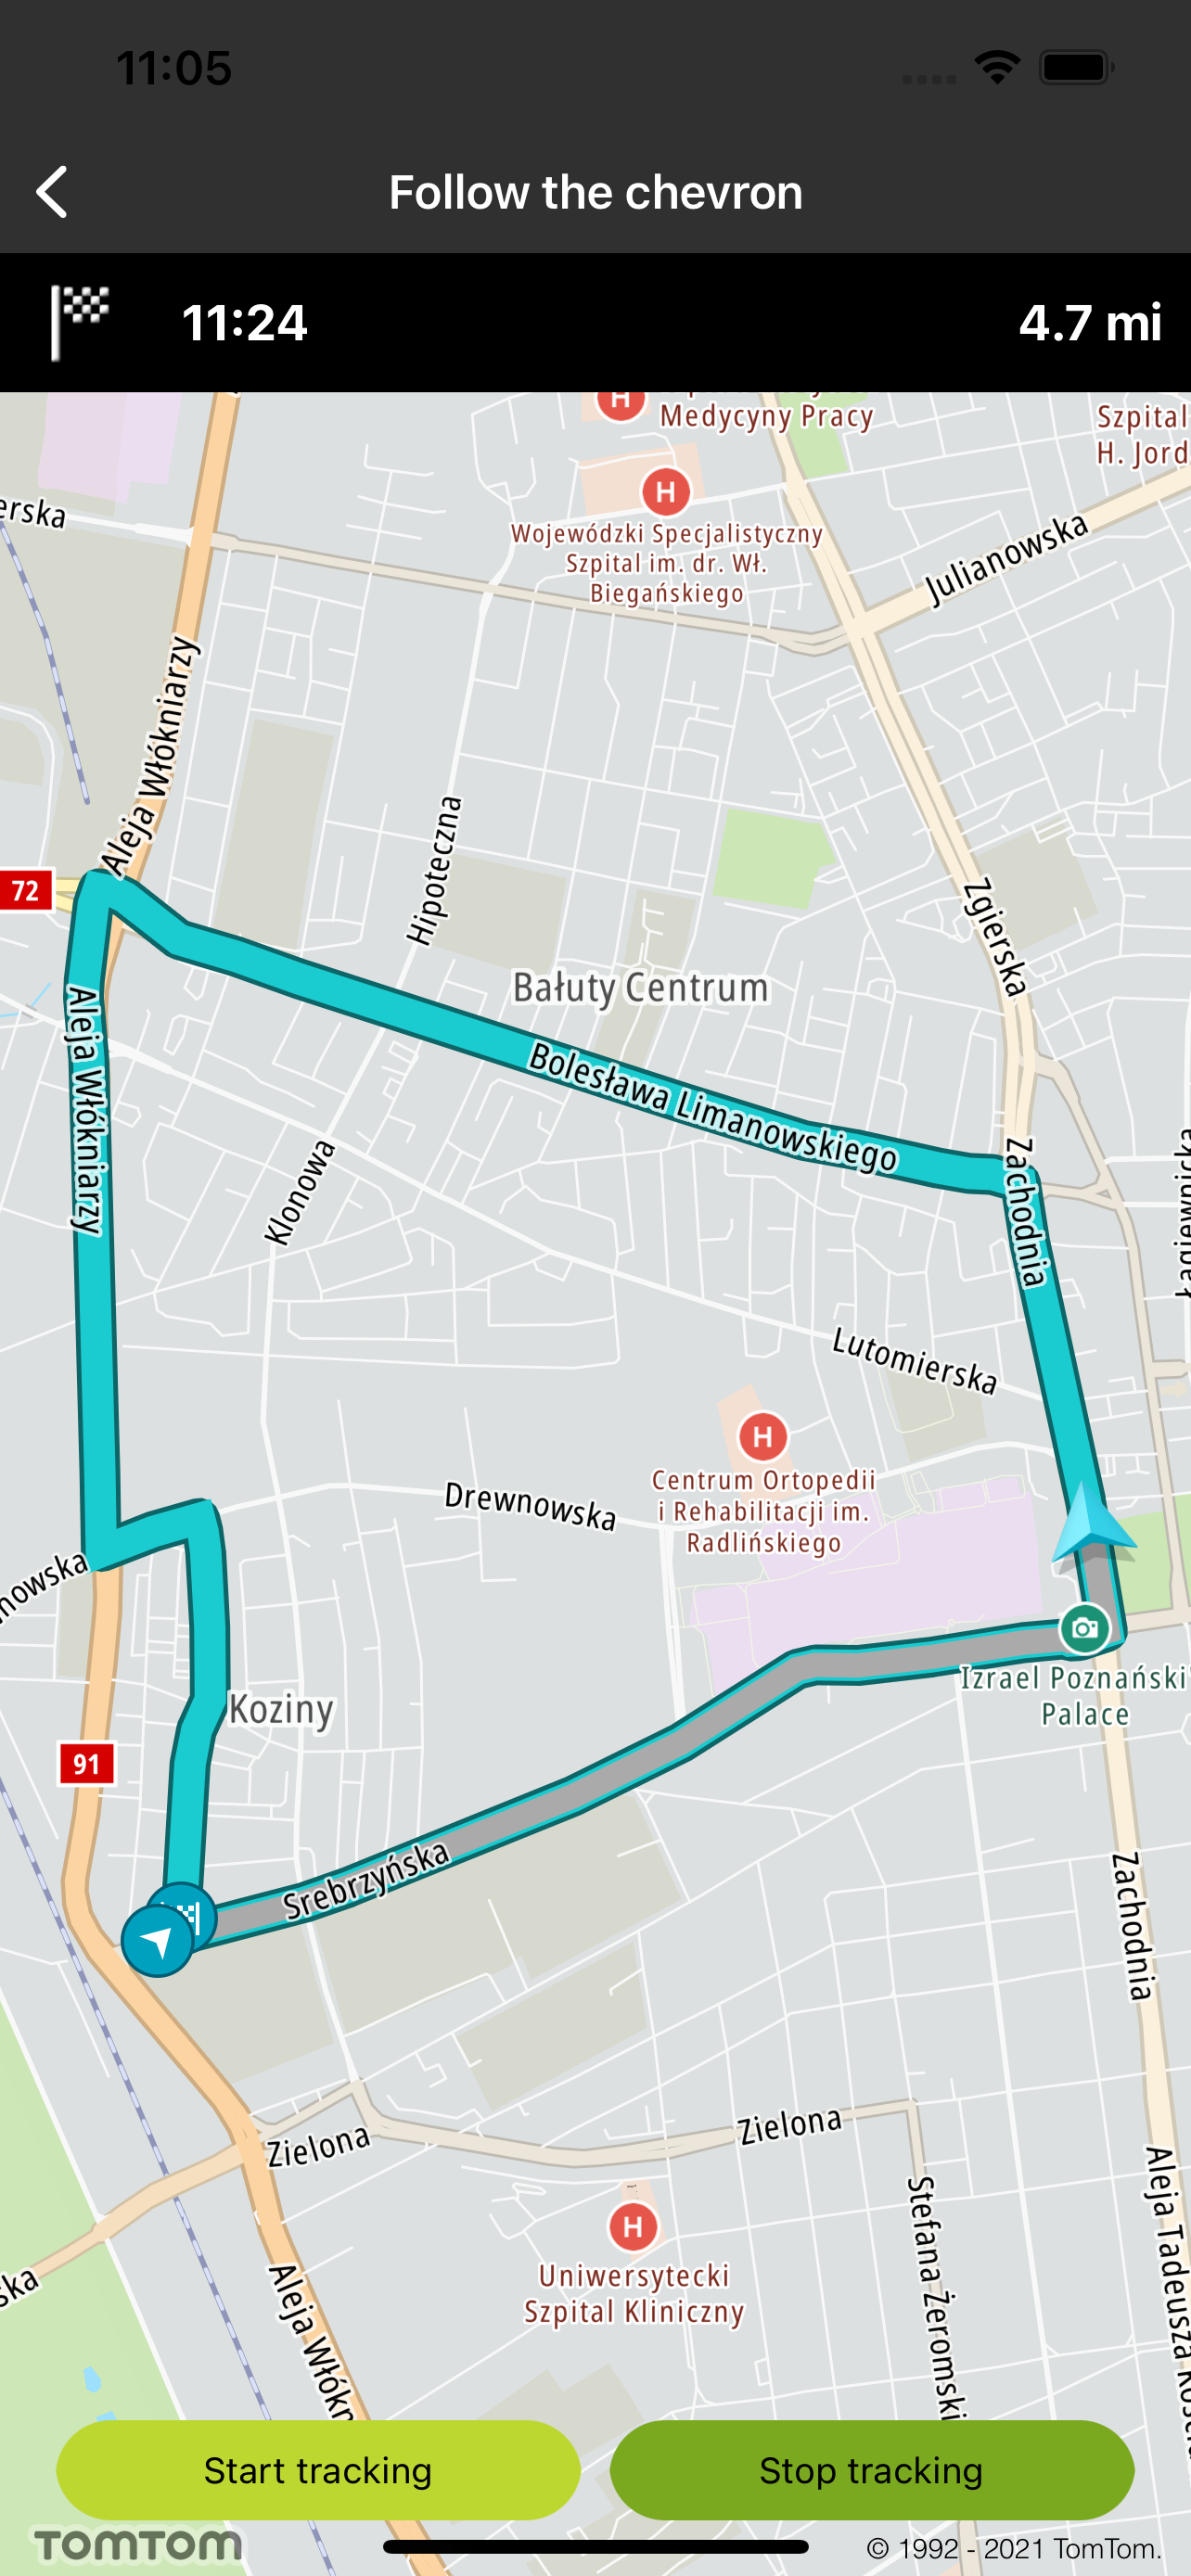
Sample use case: You have a speed radar application that is used when driving. To have a proper
user experience, you want to match GPS positions with the road data obtained from map tiles.
Sample use case: You want to match/place the chevron with the the right road.
Sample use case: A user plans and displays a route on the map in your app. The vehicle position
is being matched along the planned route.
To create map matcher instance and register for updates:
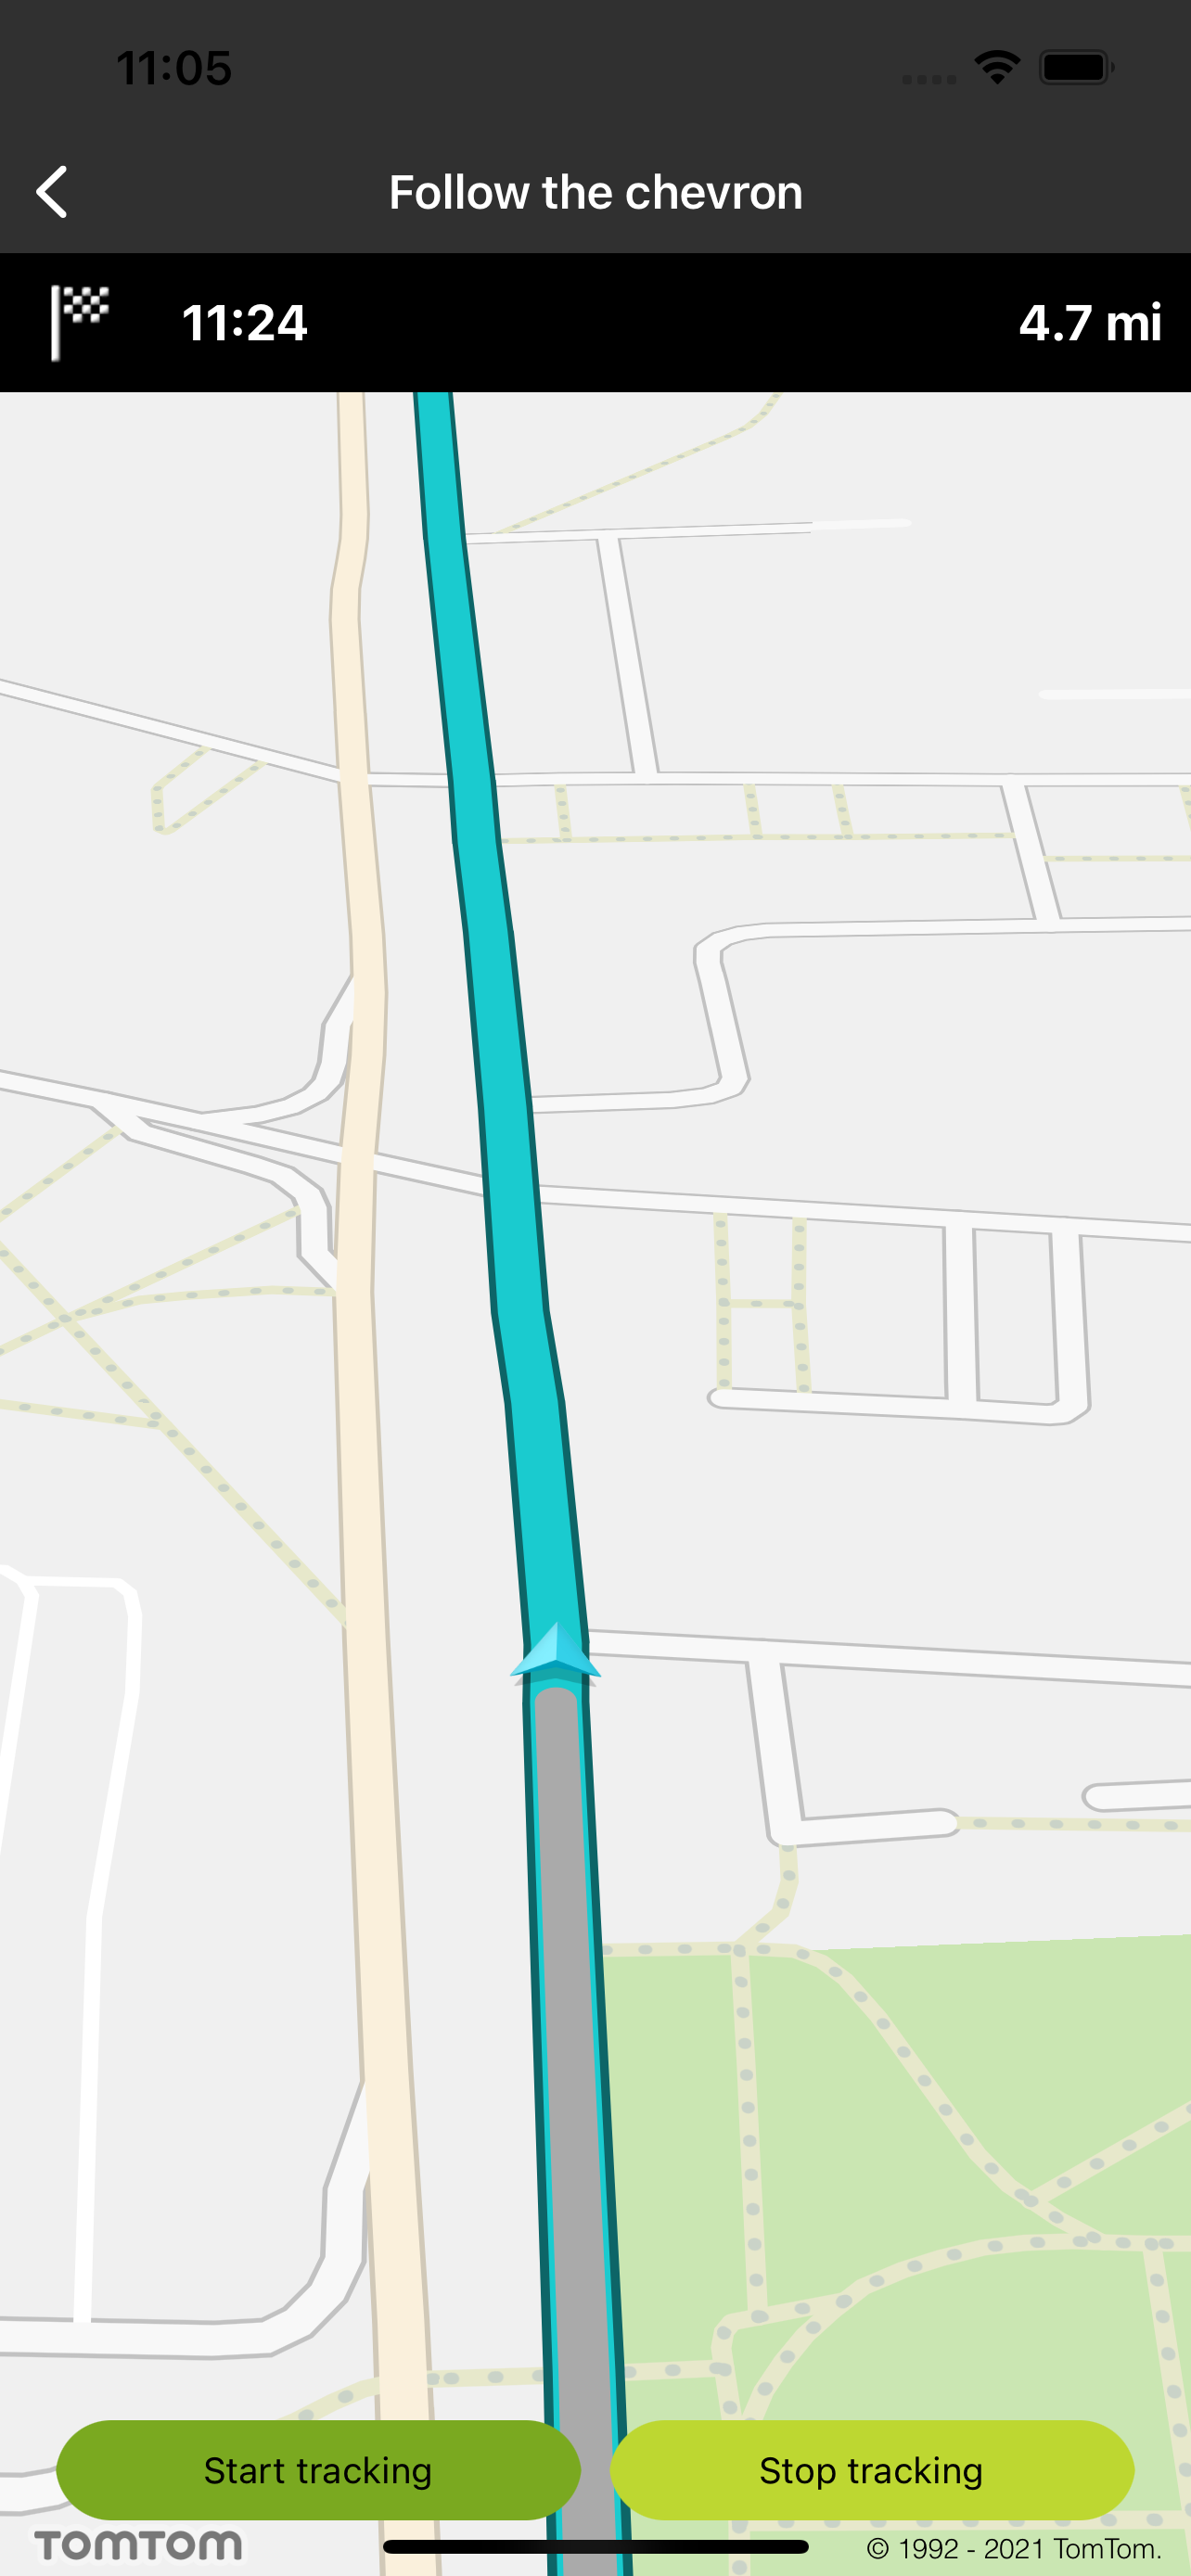
Allow your users to follow their changing positions on the map e.g., when driving. When a new
location is set, the animation moves the chevron to the new position.
Sample use case 1: You want to show your user position when driving.
Custom chevron indicator
You can set a custom icon for the chevron indicator.
To create a custom chevron:
let animation =TTChevronAnimationOptionsBuilder.create(withAnimatedCornerRounding:false).build()
Additionally, it is possible to track the chevron. It means that the camera/map and the chevron move
when a new location is received so that the map is always centered on the chevron with the bearing
of the drive. In the tracking mode, rotate and pan gestures are blocked. The user can only change
the zoom level, while the map camera is automatically adjusted to follow the chevron.
Zooming in and out are used to navigate through map areas that are too large or too small to be
conveniently displayed within a single window. While following the chevron, zooming alters the map
scale because it changes the proportion of the workspace shown in each window.
Sample use case: You are a taxi driver navigating through the city of Łódź, and thanks to the
zoom level adjusted to the velocity of your car you see a convenient map area for you to move.
Use the following code snippets to try this in your app:
Allow your users to visually distinguish the part of the route that has already been traveled. When
a new location is set, the specified route style layer is drawn up to the desired location.
Sample use case: You want to show your user the part of the route that has already been
traveled.
Use the following code snippet to create your route progress style:
let style =TTMapRouteStyleLayerBuilder().withColor(UIColor(red:255/255, green:153/255, blue:0, alpha:1.0)).build()
Use the following code snippet to activate showing the route progress layer on top of a route: