Getting Started
TomTom Bridge acts like any Android based device. You can use the standard Android Developer Tools ( ADT) to develop applications for BRIDGE, the ADT package contains eclipse and the android SDK, see Android Developers Portal to download it. BRIDGE is a secure but open platform meaning the system is protected against unauthorized access by end users, though open for standard development to administrators.
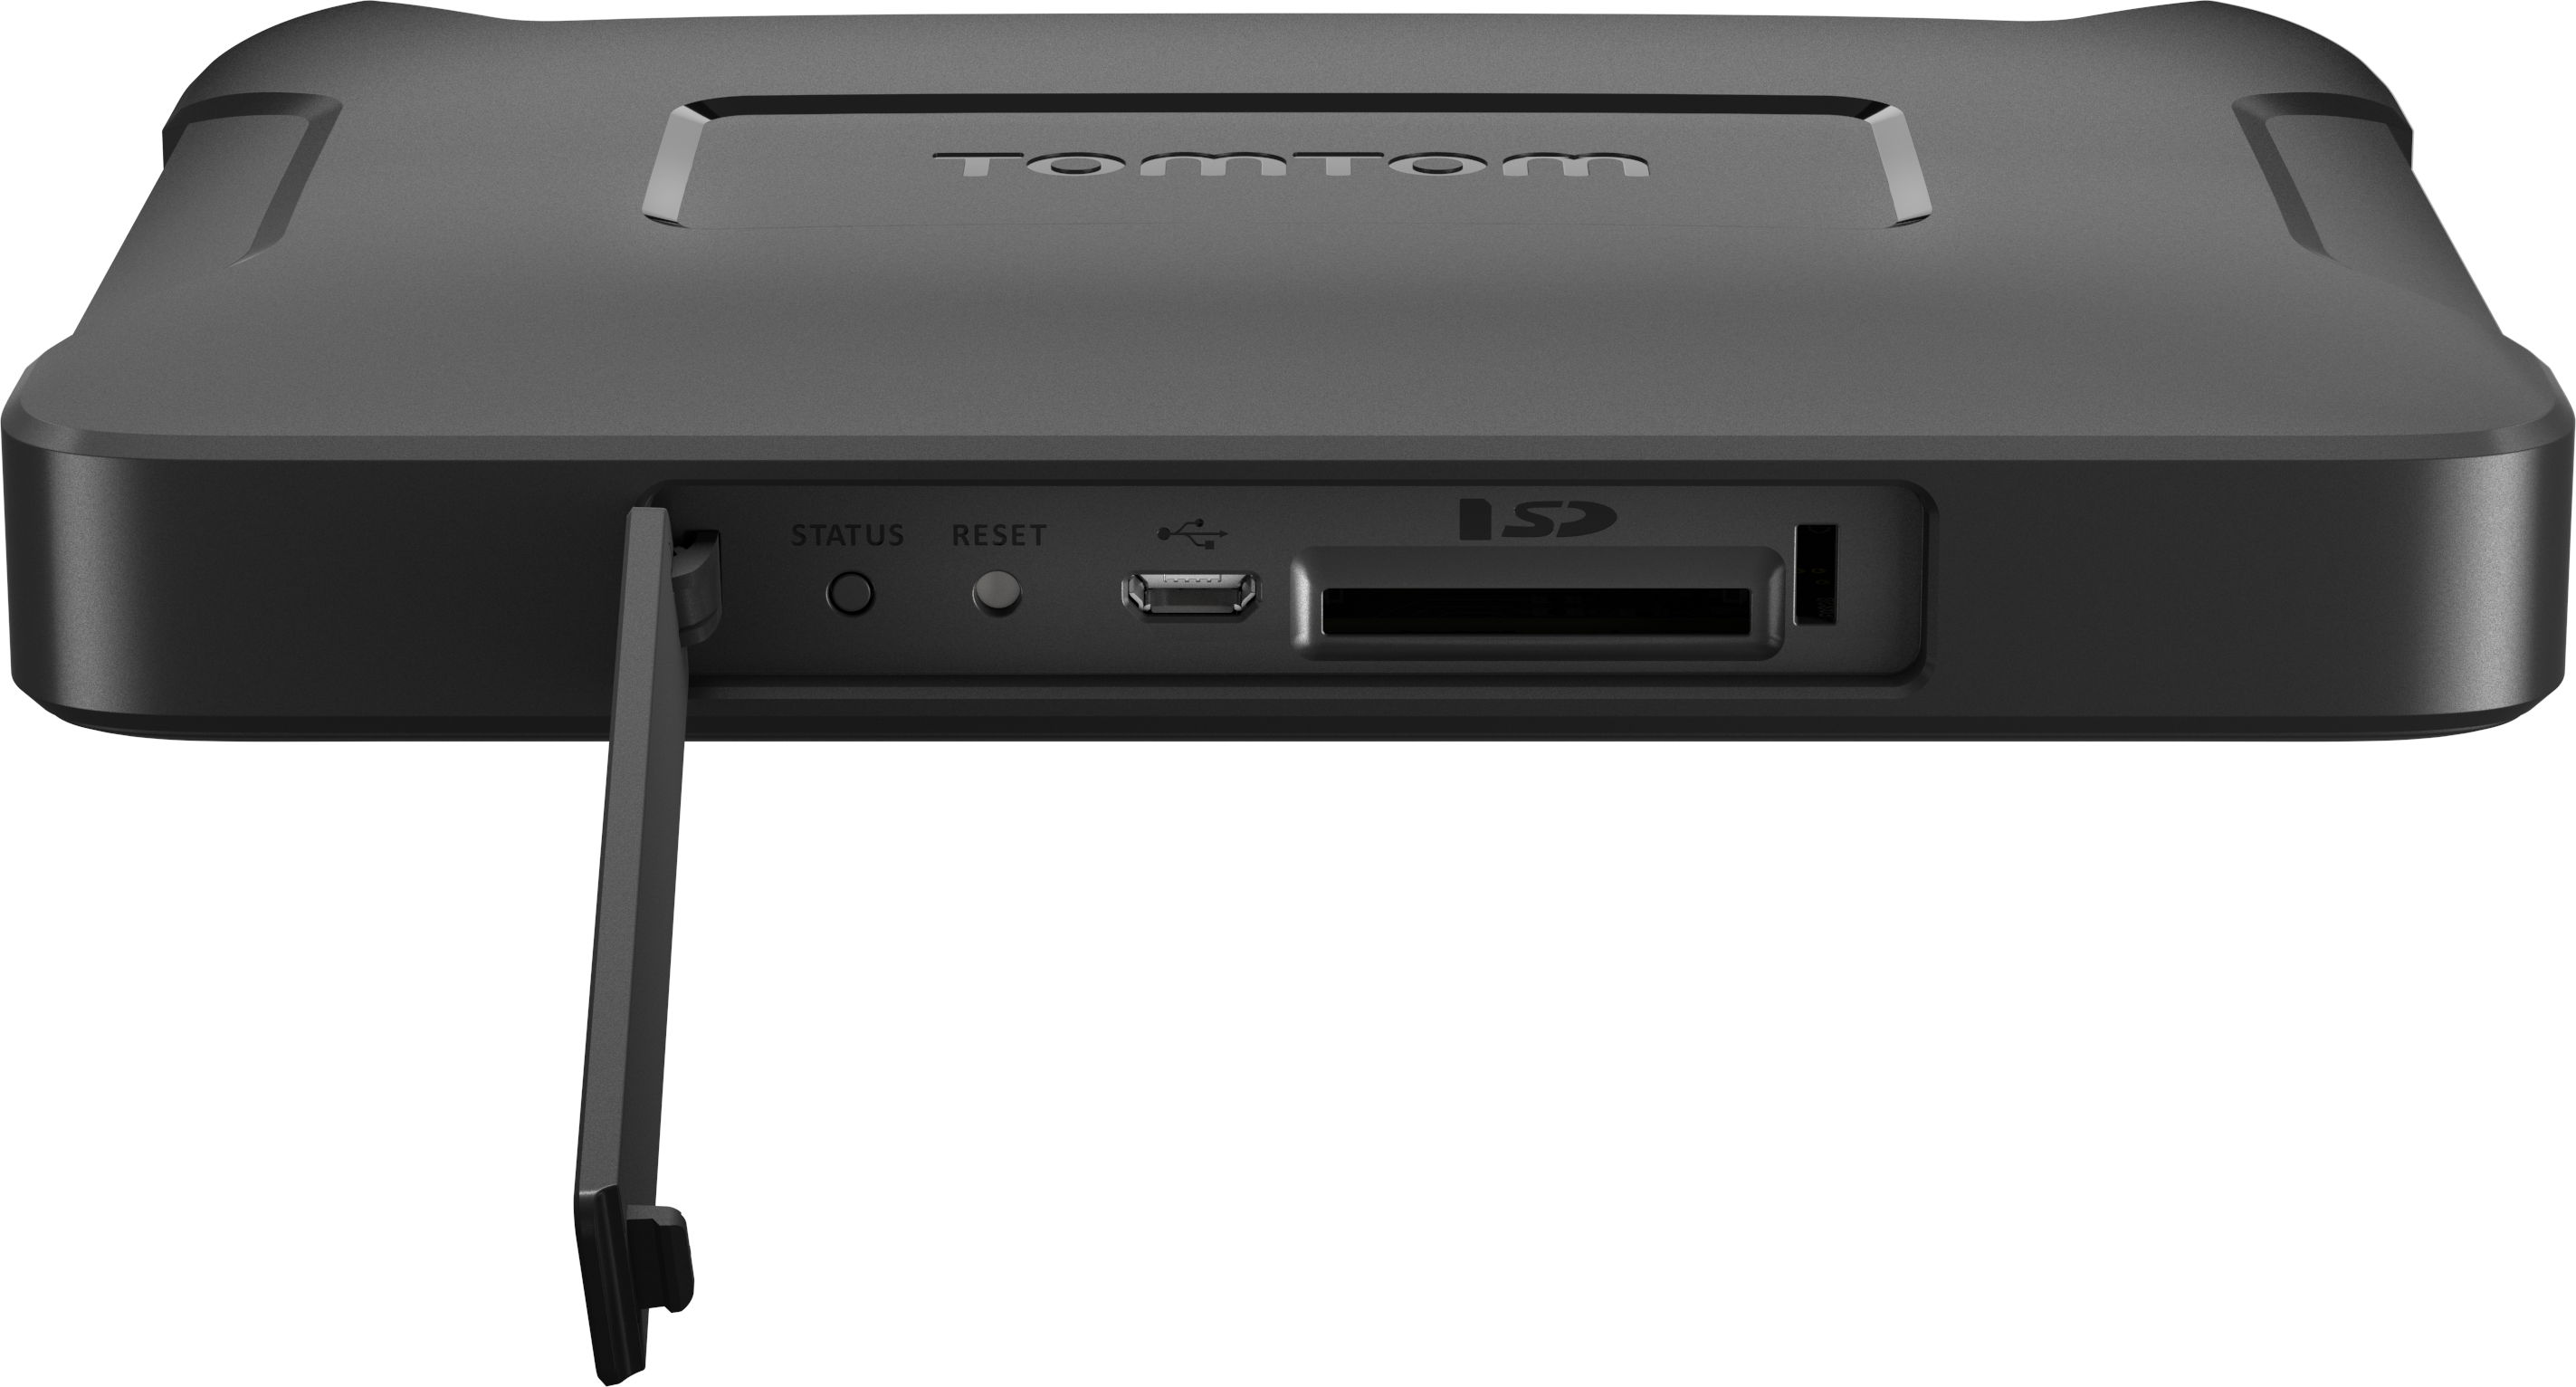
Connect
Bridge Terminal
Connect the Bridge Terminal to a computer via the USB port on the device or on the cradle.
NOTE: If the device is docked into the cradle, the cradle MUST be powered otherwise the device will not get a connection via USB
Bridge Hub
The Bridge Hub comes with three USB ports which serve distinct purposes:

- Black port: Primarily this port is intended for development and ADB debugging. It supplies up to 0.5A. With an OTG dongle the port can also be used for USB peripherals such as mouse, keyboard, etc.
- Grey port: Used for connecting remote displays over USB. This port supplies up to 1.5A (in CDP mode). Peripherals can also be attached to this port via an OTG dongle.
- Front micro USB: The purpose of this port is ADB debugging in the event that the black port is already in use. It is not intended to serve any other function.
ADB setup
Bridge devices are setup with ADB and MTP enabled out-of-the-box. ADB gives you complete development control of the device. MTP allows browsing the internal storage of the device on the connected PC.
The driver installation for ADB access on Windows is automatic. If you encouter any problems the driver can be obtained from the “Downloads” section and installed manually.
Please install the Android ADT tooling as described in the Android homepage link above if not already done before. Ensure USB debugging is enabled in the Developer Options section of the Settings screen. If you cannot find the Developers Options then you will need to enable Developer mode by going to the "About Tablet" settings screen - press the "Build number" row eight times repeatedly until Developer mode is enabled, press back and you should now see "Developer options" in the menu.
In order for your device to be recognized by ADB, you must first add the TomTom Vendor Id to the adb configuration file adb_usb.ini
This file is located on Windows in your /Users/\[*username\]*/.android directory.
On Linux it's located in the /home/*\[username\]*/.android directory.
Add the TomTom vendor id 0x1390 to the last line of the file (add a new line if needed), for example:
1# ANDROID 3RD PARTY USB VENDOR ID LIST -- DO NOT EDIT.2# USE 'android update adb' TO GENERATE.3# 1 USB VENDOR ID PER LINE.40x1390
When connecting your device with ADB enabled and set up, you will be presented with an authentication message on the BRIDGE device, you have to accept the message in order to gain ADB access.
Test the adb connection by typing the following at a command line prompt on your computer:
adb devices
ADB should display the connected bridge device ID:
1adb devices2List of devices attached3OC6154F00321 device
If you are experiencing problems getting the ADB connection up and running (adb devices doesn't display the device) ensure the following:
- USB debugging is enabled in the "Developers options" screen on your TomTom BRIDGE "Settings" section.
- 0x1390 is present in the
adb_usb.inifile on your computer. - The TomTom device driver is installed and visible in the device manager if using windows.
- ADB was started from root if using Linux, otherwise do
adb kill-serverandadb devicesfrom root. - If device is in the cradle, ensure the cradle is powered otherwise USB connection will not happen.
- Try entering
adb kill-serverthenadb devicesagain. - Disconnect and reconnect the USB cable.
ADB via WIFI setup
Ensure that the TomTom BRIDGE device is connected to the PC via USB and that ADB works properly and provides access to the device.
Enable WiFi on the device and make sure it is working properly, then run: adb shell ifconfig wlan0. This will get you the ip address used for WiFi on this device (You can also get this information
from the Advanced tab in Settings->WiFi).
Now switch adbd to network mode by running: adb tcpip 5555. The device should respond with the
following message: restarting in TCP mode port: 5555
Now disconnect the USB connection and re-connect to the device via WiFi by
running: adb connect <ip-address>:5555 and use the IP address recorded above in place
of <ip-address>, When you now run: adb devices you should see the device listed with IP address
and port 5555. You can now connect to the device via WiFi. Note that a reboot will put adbd back
into USB mode.
Next steps
Now the device and computer are set up, you can start developing apps and configuring your BRIDGE device.
Developing apps
You can develop and run applications on your TomTom BRIDGE just like any other android device. If you want to interact with the Navigation application (plan routes etc) from within your own applications then you will need to use the Bridge SDK (see "SDK" section). This is not required for developing apps that don't require this functionality.
Customize the device
Add a startup animation, add your developed applications and/or widgets to the home screen page, change the size of the navigation widget, define which applications end-users are allowed to access and which settings they are permitted to change. These are just some of the customization features available for you to adapt, see the "Customize" section for more details.
Deploy the setup to multiple devices / end users
Fleet managers can "deploy" the setup (installed apps and customizations) to their fleet. In the first place via an SD card - as the updater is not configured for WIFI update out of the box. The SD card contains files which will clone the setup to other devices. If the fleet manager has configured the setup to perform updates via WIFI, then these devices can be updated over the air from then on.
User privacy notice
In Europe and many countries around the world there are laws that require companies to explain to their users how companies collect, store and use user data. We have provided guidance on this in the downloads page of the portal, please read it for further information.